Enterprise DLP
Panorama
Table of Contents
Panorama
Configure role-based access for Enterprise Data Loss Prevention (E-DLP) on your Panorama™ management server.
Panorama allows you to define 1 of 3 different access privileges for any
given UI node:
- Enable—Admin has full read and write access.
- Read Only—Admin has read only access. Admin cannot make any configuration changes.
- Disable—Admin has no access to the UI node and it is not displayed in the Panorama web interface when they are logged into Panorama.
- Log in to the Panorama web interface.An administrator with access privileges to create an admin role and commit to Panorama is required.Select and Add a new admin role.If you want to modify an existing admin role, select that admin role instead of creating a new one. Only one admin role profile can be associated with an administrator account.Configure the Enterprise DLP admin role.
- Enter a descriptive Name for the admin role.For the Role, select Panorama.In the Web UI, define the Enterprise DLP access privileges you want to grant the Panorama administrator.
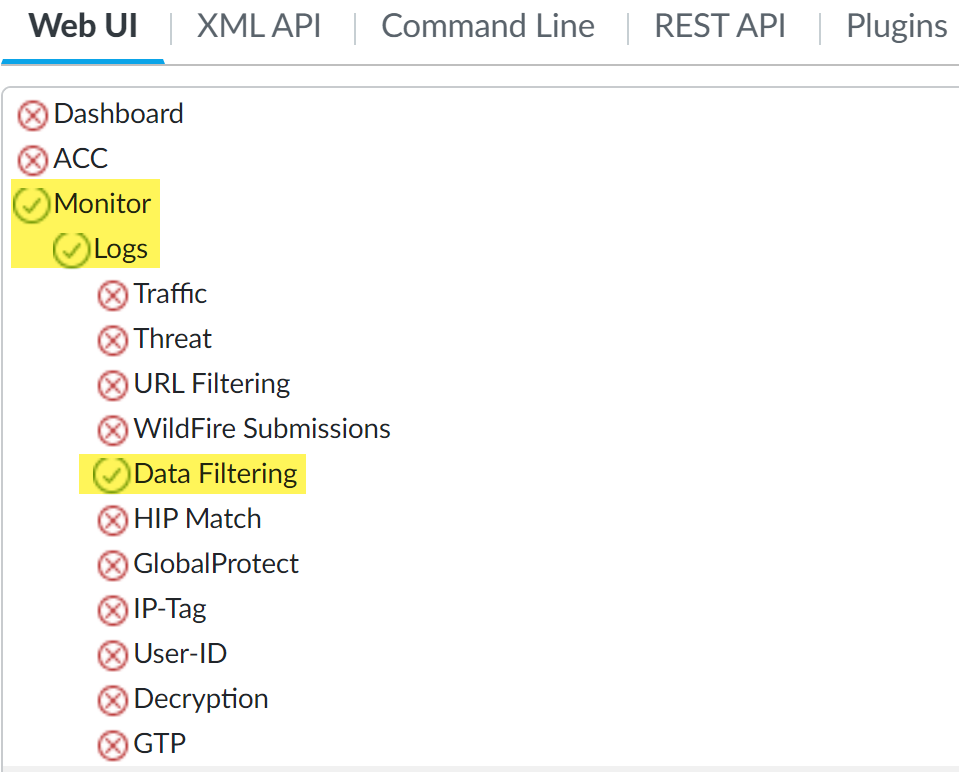
- —Access privileges to data filtering logs. You must Enable or give Read Only access to data filtering logs to allow the administrator to view Enterprise DLP log details.
![]()
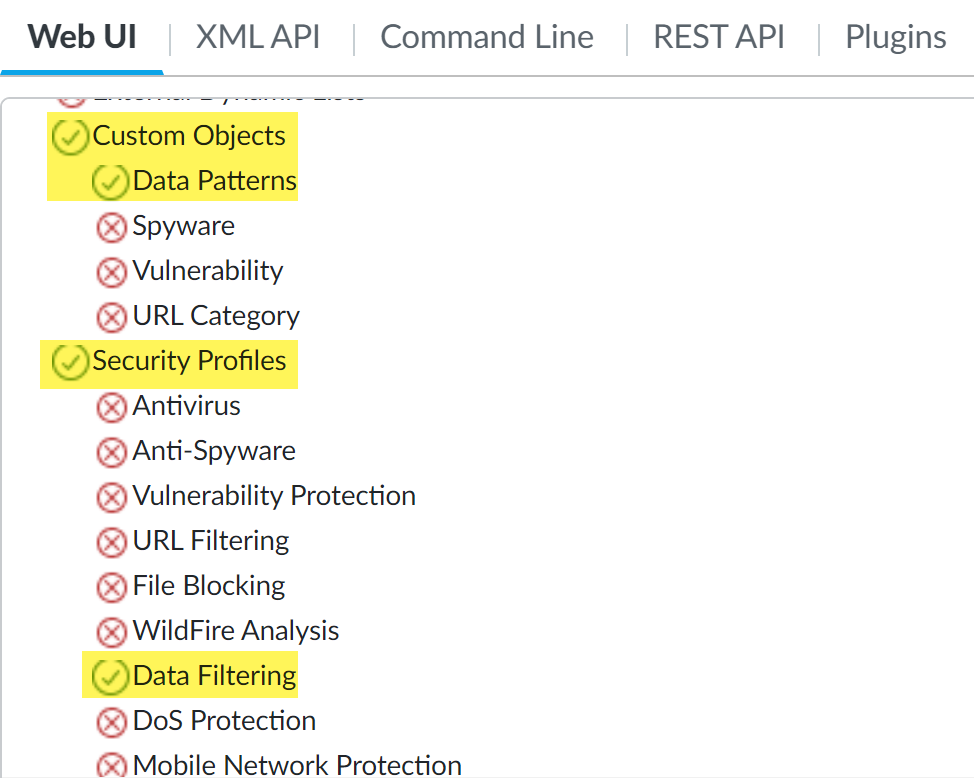
- —Access privileges to Enterprise DLP data patterns.
- —Access privileges to Enterprise DLP data profiles.
![]()
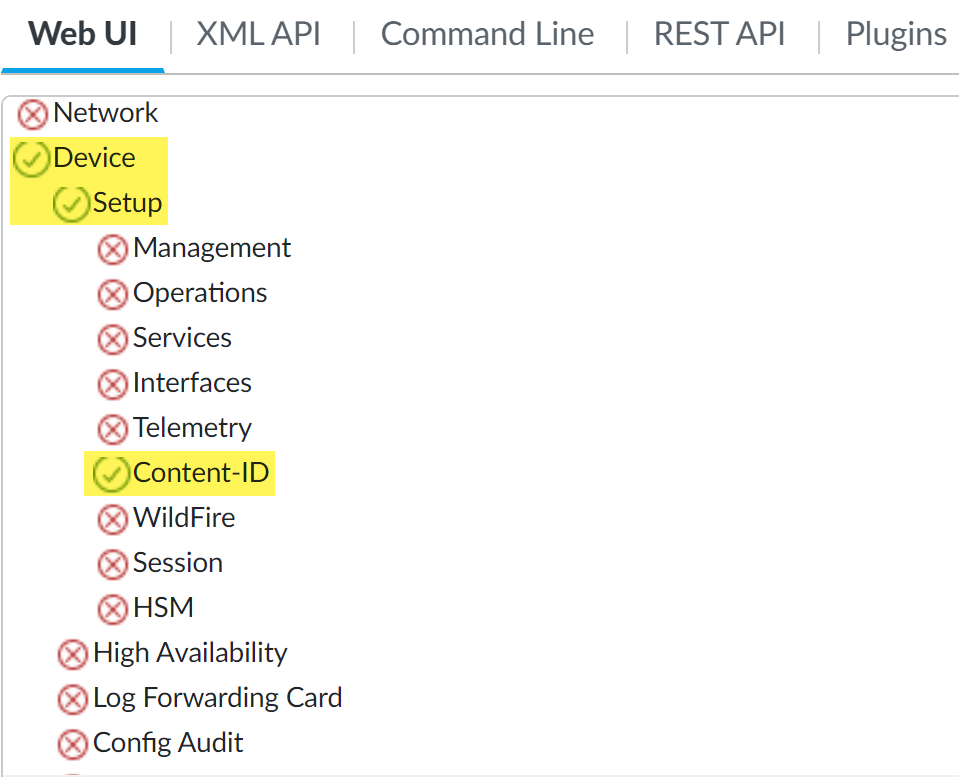
- —To grant read and write access to the Enterprise DLP data filtering and Cloud Content settings, you must enable read and write access to the Content-ID tab and disable access for the remaining settings.
![]()
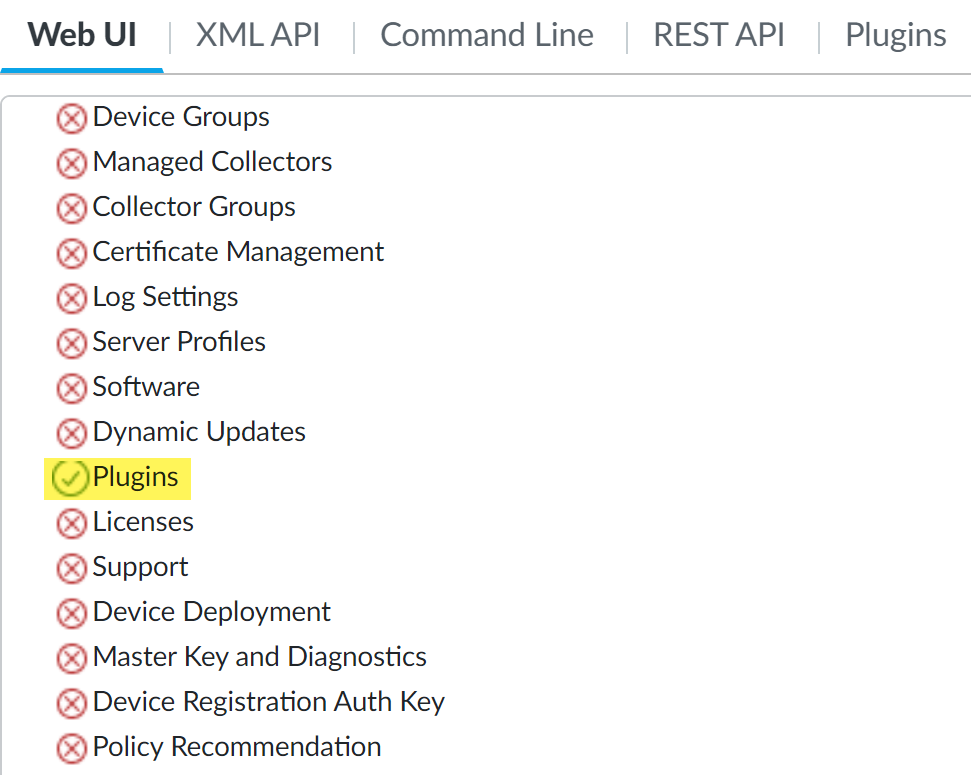
- —Access privileges to upgrade the Enterprise DLP plugin on Panorama and read and write access to the Enterprise DLP snippets settings.If you have other Panorama plugins installed, this will enable access to those configuration nodes in the Panorama tab as well.
![]()
Configure any additional admin role access privileges as needed.For example, you can enable Push All Changes, , and Tasks to allow the administrator to commit and push Enterprise DLP changes from Panorama to managed firewalls and then view the job status in the Task Manager.Click OK.Create an Enterprise DLP administrator account.Skip this step if you modified an existing admin role already associated with an administrator account.- Select and Add a new administrator.Enter a descriptive Name for the Enterprise DLP administrator account.Configure the authentication method for the administrator account using one of the following methods.
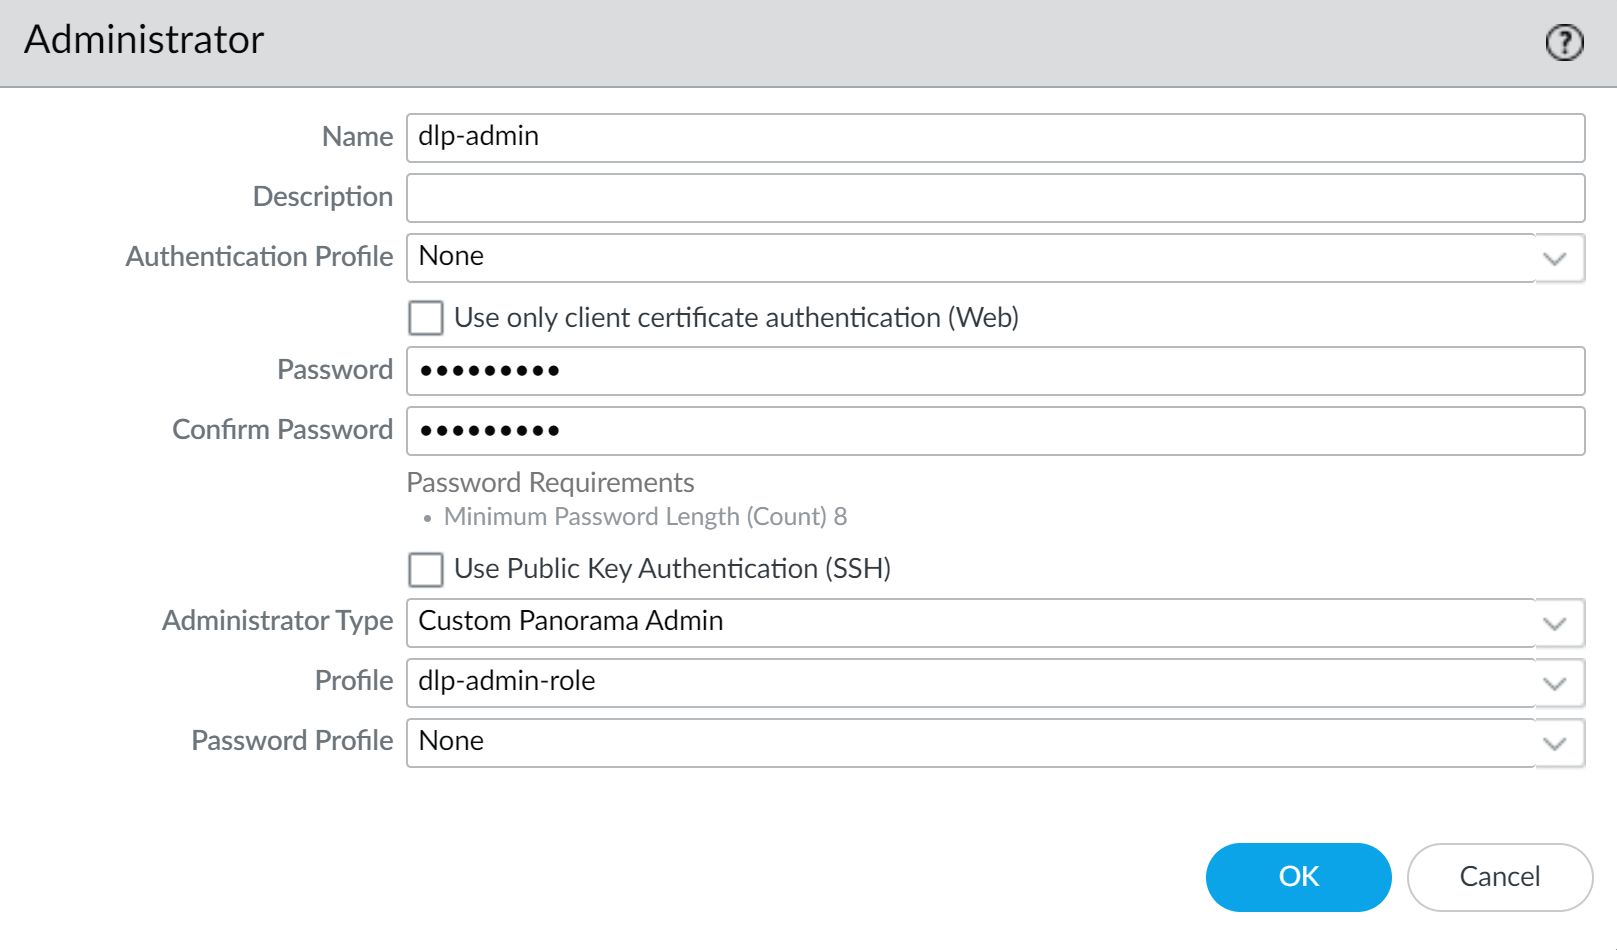
- Enter the Password and Confirm Password.
- Check (enable) Use Public Key Authentication and click Import Key to import the SSH key.
For the Administrator Type, select Custom Panorama Admin.For the Profile, select the admin role you created in the previous step.Click OK.![]() Select and Commit.Verify the Enterprise DLP administrator account is correctly configured.In this example, access to the data filtering logs, data patterns, data profiles, and the plugin tabs are enabled.
Select and Commit.Verify the Enterprise DLP administrator account is correctly configured.In this example, access to the data filtering logs, data patterns, data profiles, and the plugin tabs are enabled.- Log in to the Panorama web interface using the Enterprise DLP administrator account you created in the previous step.Select Monitor and confirm only the Data Filtering logs are displayed.Select and confirm that Data Filtering Profiles and Data Filtering Patterns are displayed and configurable.Custom Objects and Security Profiles are also displayed but the Enterprise DLP is not able to configure these.Select and confirm only the Content-ID and DLP tabs are displayed and configurable.Select and confirm that the Enterprise DLP Configuration settings are displayed and configurable.