How to use folders to simplify configuration for NGFWs you are managing with Strata Cloud Manager.
To help manage folders and firewalls, you can apply labels to filter
and target specific groups of firewalls for configuration changes. Additionally,
each folder displays the currently installed software version, dynamic content
release versions, and GlobalProtect app Version of the firewalls associated with the
folder.
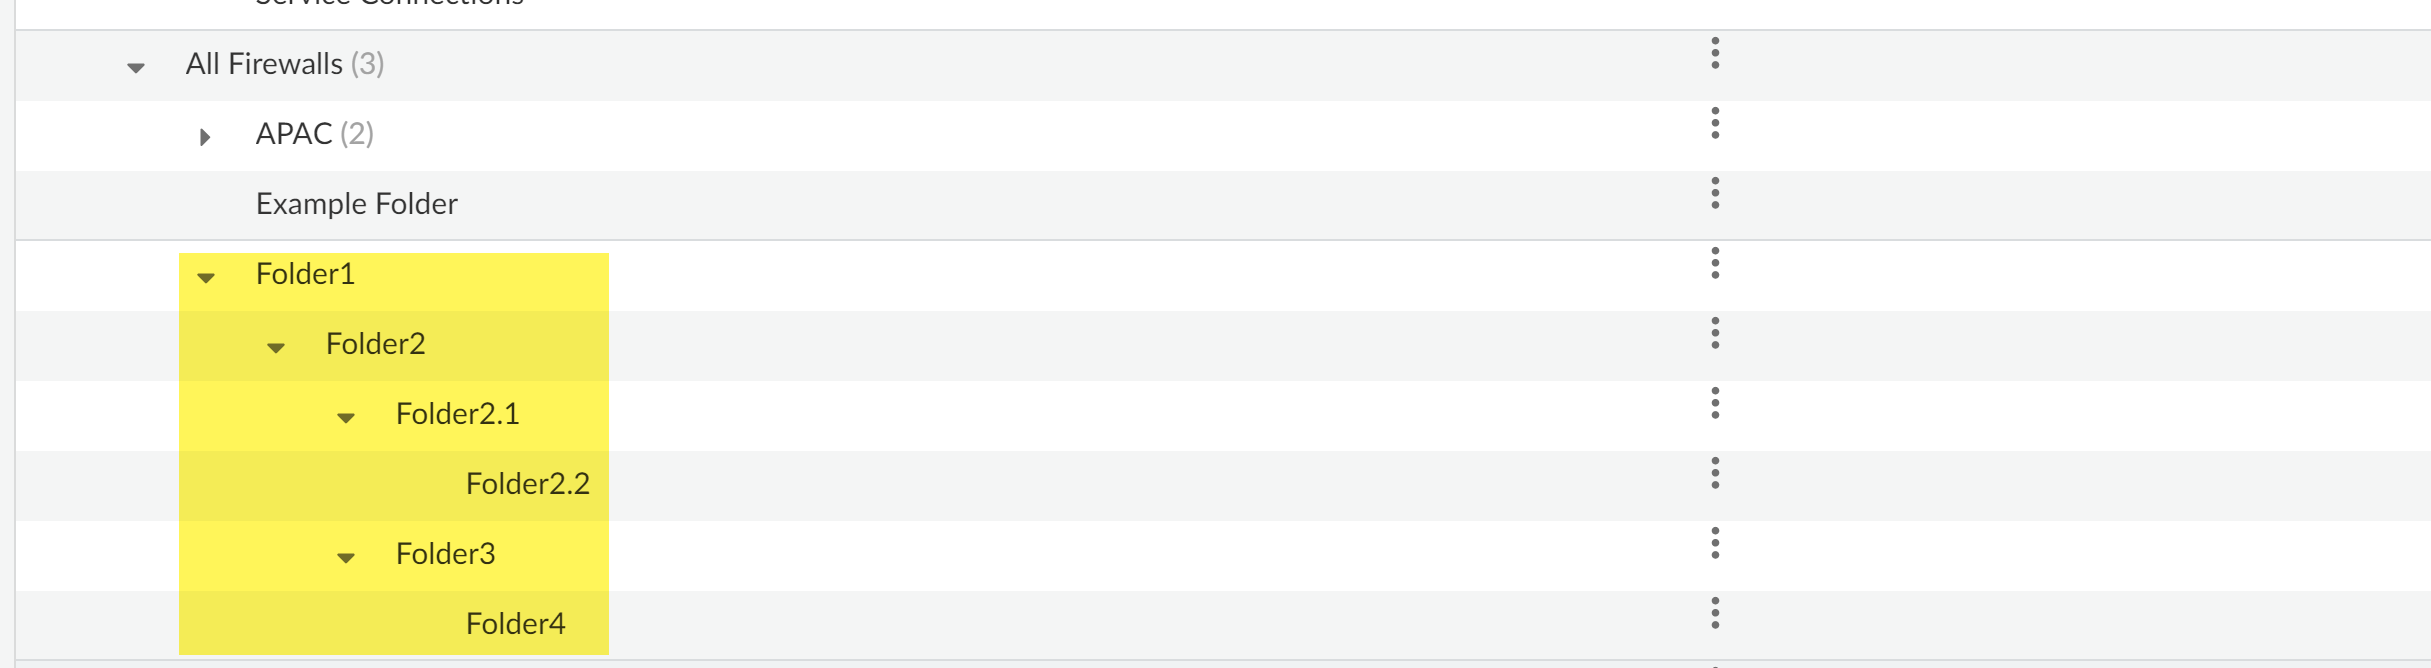
For firewall folders, Strata Cloud Manager supports up to four nested folders within
any given folder hierarchy, with the default All
Firewalls folder always being the top-most level of any folder
hierarchy. For example, consider the below when designing your folder hierarchy. In
the example below Folder1,
Folder2, Folder3, and
Folder4 are nested under the All
Firewalls folder and you can’t best any additional folders to
this particular folder hierarchy. Additionally,
Folder2.1 and
Folder2.2 are nested under
Folder2 and you can’t add any nest any additional
folders either.
Create a Folder
Create a folder to logically group your firewalls for simplified configuration
management. You can create a folder under the default
Firewalls
folder
or under another existing folder.
Log in to Strata Cloud Manager.
Select WorkflowsNGFW SetupFolder Management and Add
Folder.
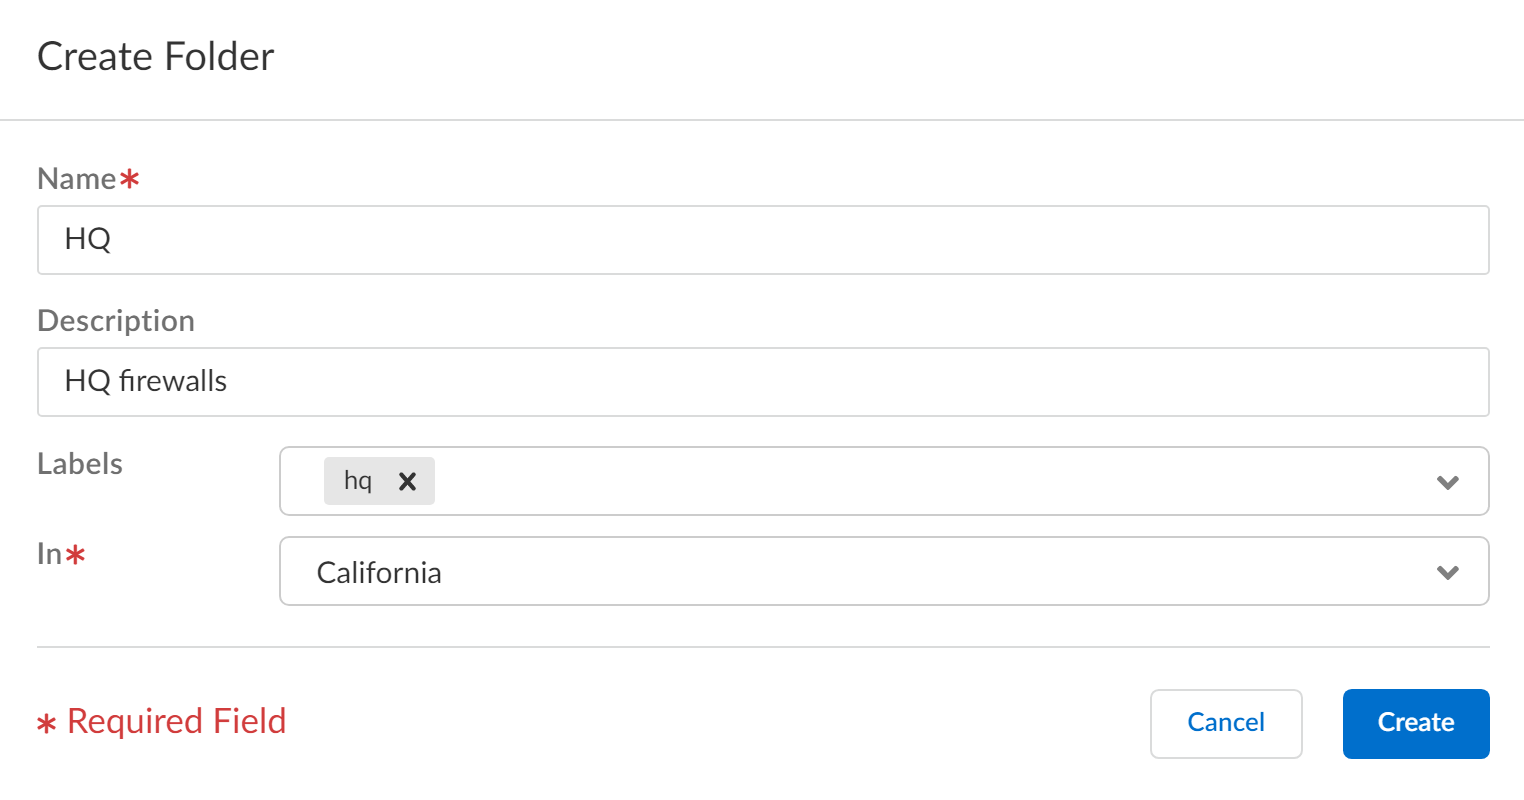
Give the folder a descriptive
Name.
(Optional)
Enter a Description for the
folder.
(Optional)
Assign one or more Labels.
You
can select an existing label or create a new label by typing the label
you wanted to
create.
Specify where to create the folder In.
Select
All Firewalls or select an existing folder to
nest the folder under
it.
Create
the folder.
Modify a Folder
Modify an existing folder to edit the name, description, and to add or change the
labels. Additionally, you can move or delete the folder as needed.
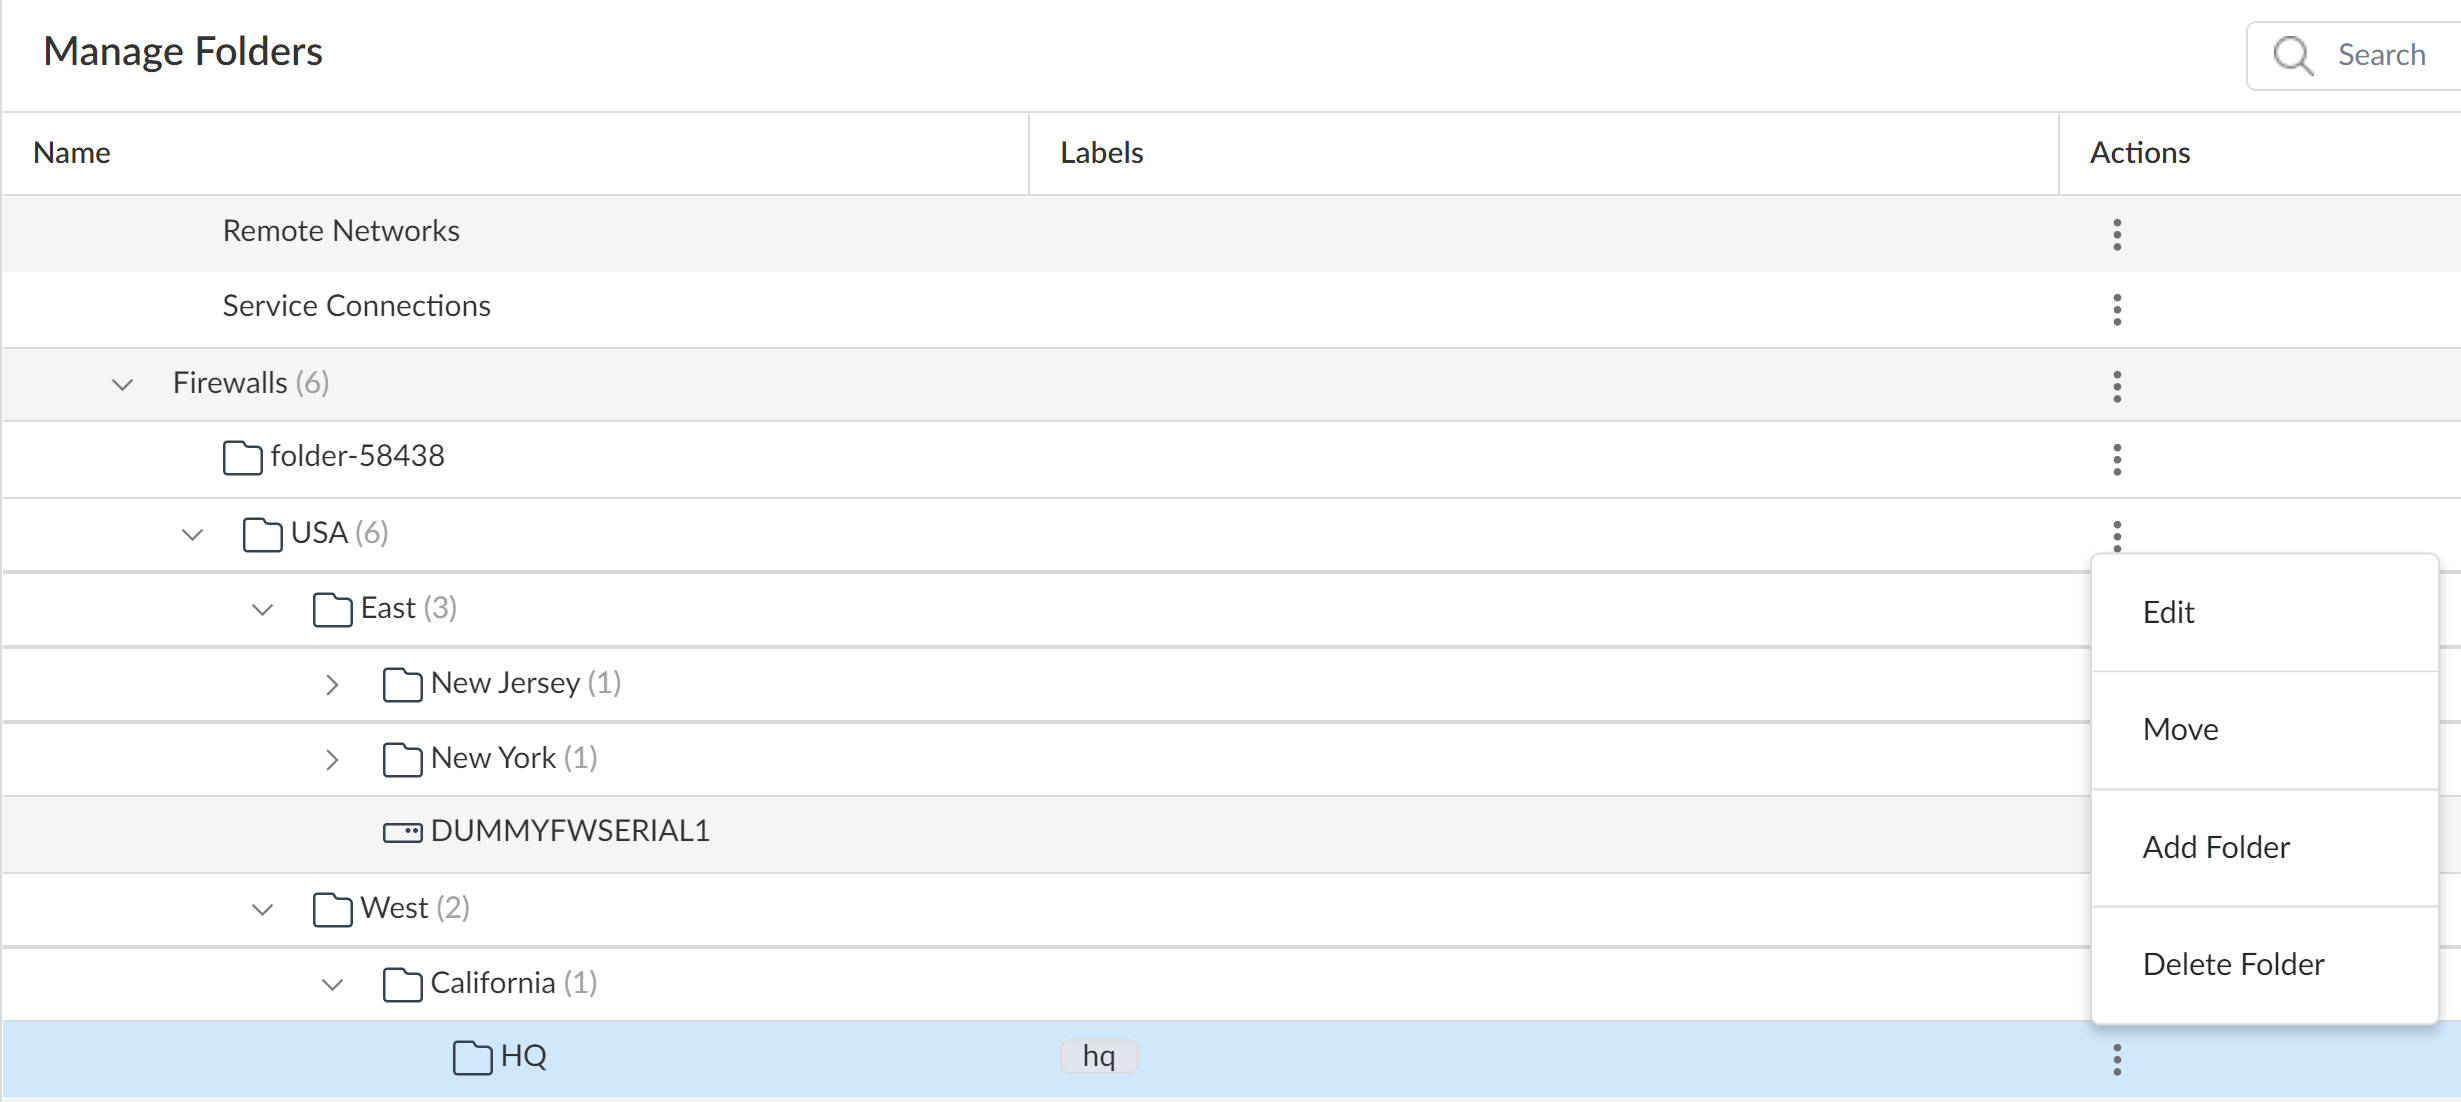
Log in to Strata Cloud Manager.
Select WorkflowsNGFW SetupFolder Management and expand the Actions menu.
Modify the folder as needed.
Edit the folder
Edit the folder Name.
(Optional) edit the folder
Description.
Select or create Labels.
You can assign entirely different labels to the folder or add
additional labels.
Save.
Move the folder and select the
Destination.
You can move a folder in the following ways.
You can move a folder to nest it under a different folder.
You can move a nested folder under the
Firewalls folder.
You can move a nested folder from one folder to another.
Move the folder after you select the folder
destination.
Delete Folder and click
OK to confirm.
You can only delete a folder that has no firewalls associated with it and
no folders nested under it.