GlobalProtect
Set Up SAML Authentication
Table of Contents
Set Up SAML Authentication
Setting up SAML authentication for GlobalProtect users involves creating a server
profile, importing the SAML metadata file from the identity provider, and configuring the
authentication profile. GlobalProtect supports Remote Access VPN with Pre-Logon with SAML
authentication beginning with GlobalProtect app 5.0.
Security Assertion Markup Language (SAML)
is an XML-based, open-standard data format used to exchange authentication
and authorization data between parties, specifically between an
identity provider (IdP) and a service provider. SAML is a product
of the OASIS Security Services Technical Committee.
- Create a server profile.The server profile identifies the external authentication service and instructs the firewall on how to connect to that authentication service and access the authentication credentials for your users.The following steps describe how you can import a SAML metadata file from the IdP so that the firewall can automatically create a server profile and populate the connection, registration, and IdP certificate information. If the IdP does not provide a metadata file, select , and then Add a server profile manually.
- Export the SAML metadata file from the IdP to an endpoint that the firewall can access.Refer to your IdP documentation for instructions on how to export the file.Select .Import the metadata file onto the firewall.Enter a Profile Name to identify the server profile, such as GP-User-Auth.Browse for the metadata file.Select Validate Identity Provider Certificate (default) so that the firewall validates the IdP certificate.Validation occurs only after you assign the server profile to an authentication profile and Commit the changes. The firewall uses the certificate profile within the authentication profile to validate the certificate.Enter the Maximum Clock Skew, which is the allowed system time difference (in seconds) between the IdP and the firewall when the firewall validates IdP messages. The default value is 60 seconds, and the range is 1-900 seconds. If the difference exceeds this value, authentication fails.Click OK to save the server profile.(Optional) Create an authentication profile.The authentication profile specifies the server profile that the portal or gateways use when they authenticate users. On a portal or gateway, you can assign one or more authentication profiles to one or more client authentication profiles. For more information on how an authentication profile within a client authentication profile supports granular user authentication, see Configure a GlobalProtect Gateway and Set Up Access to the GlobalProtect Portal.SAML authentication supports Remote Access VPN with Pre-Logon with GlobalProtect app 5.0 and later releases.
- Select , and then Add a new authentication profile.Enter a Name for the authentication profile.Set the Authentication Type to SAML.Select the SAML IdP Server Profile that you created in step 1.Configure the following options to enable certificate authentication between the firewall and the SAML identity provider.
- The Certificate for Signing Requests that the firewall uses to sign messages that it sends to the IdP.
- The Certificate Profile that the firewall uses to validate the IdP certificate.
Specify the username and admin role formats.- Specify the Username Attribute and User Group Attribute.
Unlike other external authentication types, the SAML authentication profile does not have a User Domain attribute.- ( Optional) If you plan to use this profile to authenticate the administrative accounts that you manage in the IdP identity store, specify the Admin Role Attribute and Access Domain Attribute.
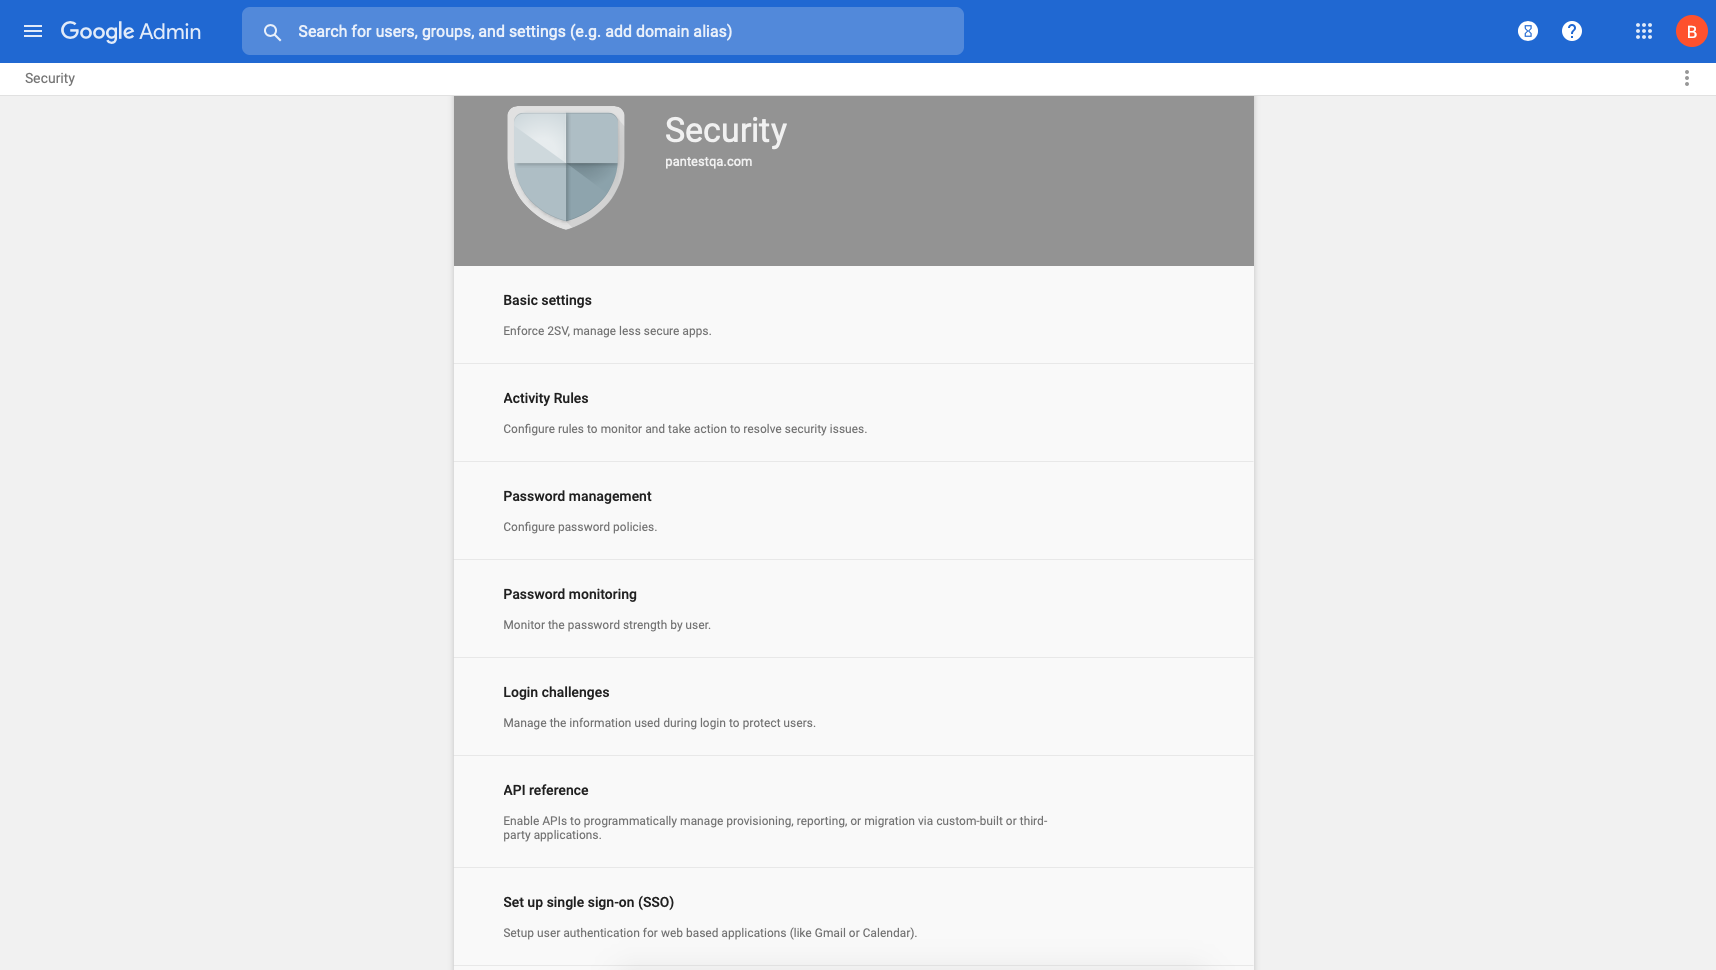
On the Advanced tab, Add an Allow List to select the users and groups that are allowed to authenticate with this profile. The all option allows every user to authenticate with this profile. By default, the list has no entries, which means no users can authenticate.Make sure the username in the Allow List matches the username returned from the SAML IdP server.Click OK.Commit the configuration.(Chromebooks only) Enable SAML SSO for Chromebooks.These steps allow you to set up SAML SSO for the GlobalProtect app for Android on Chromebooks.- Sign in to the Google Admin Console and select Security.
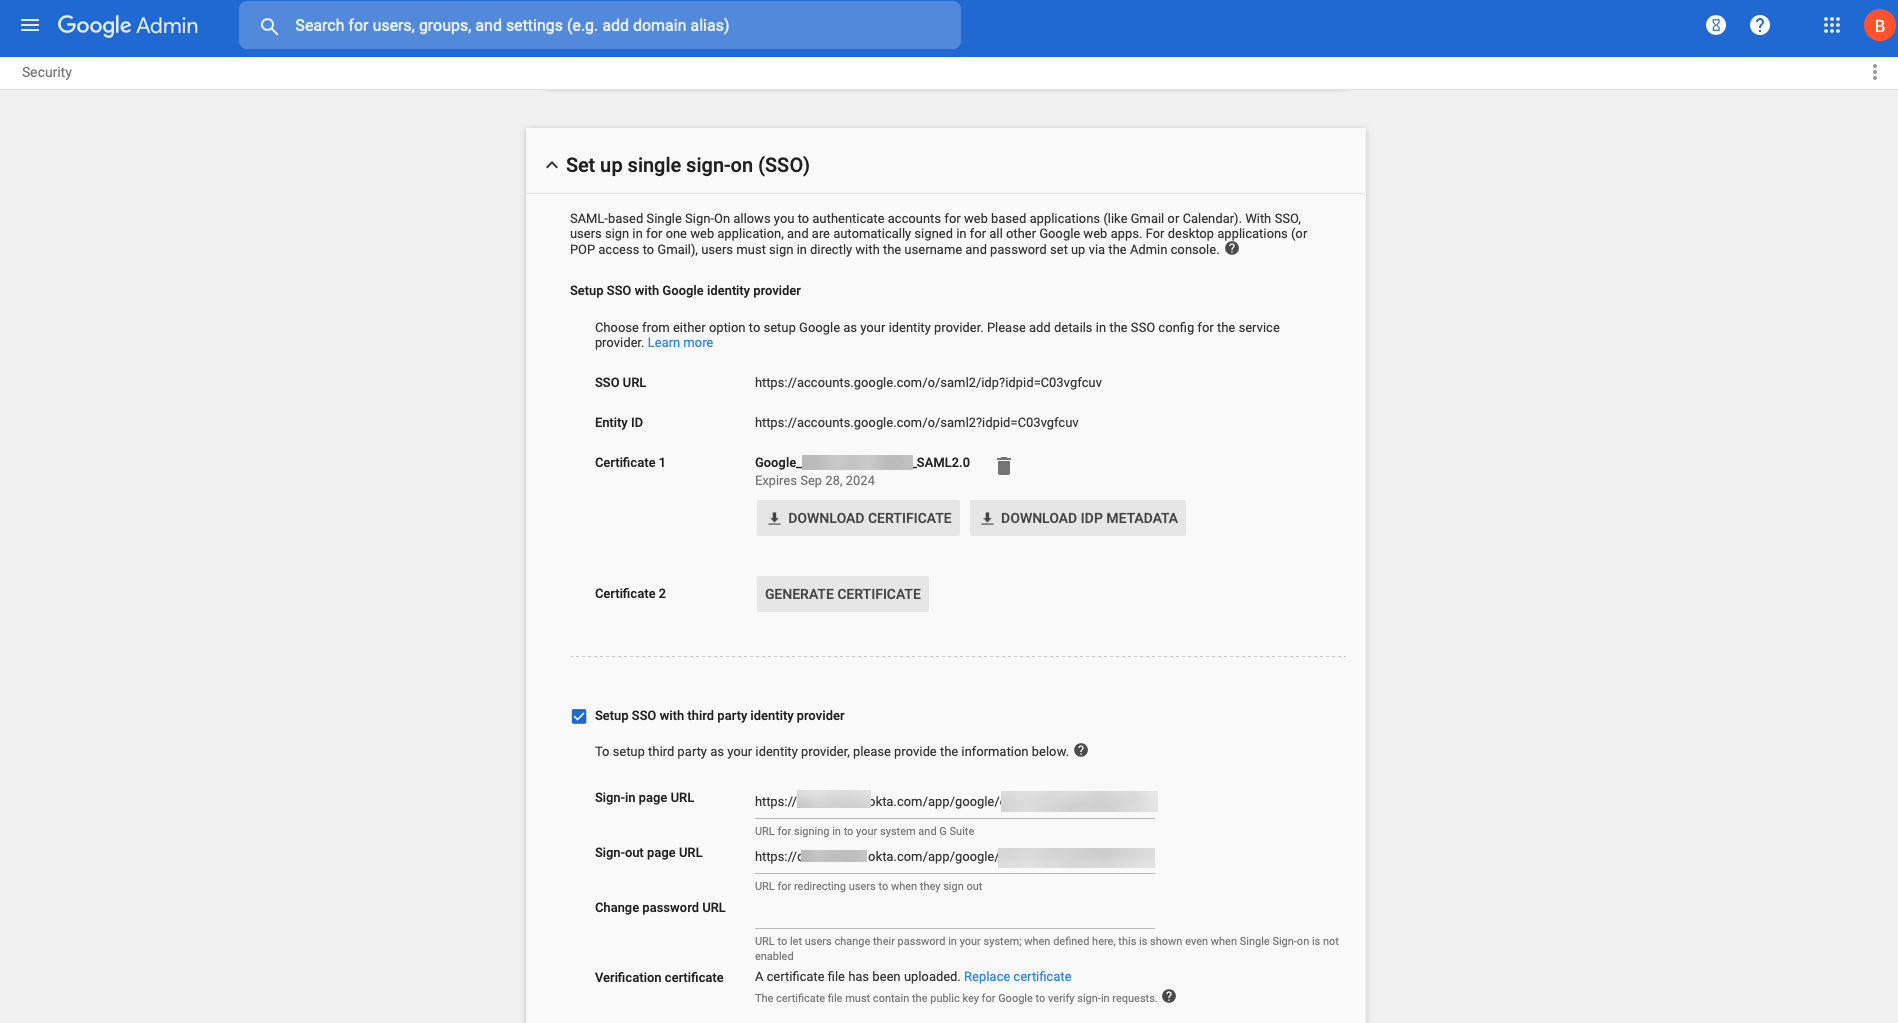
![]() Select Set up single sign-on (SSO).( Optional) If you want to set up SSO with any other provider besides Google, select Setup SSO with third party identity provider and specify the Sign-in page URL and Sign-out page URL and upload a valid Verification certificate.
Select Set up single sign-on (SSO).( Optional) If you want to set up SSO with any other provider besides Google, select Setup SSO with third party identity provider and specify the Sign-in page URL and Sign-out page URL and upload a valid Verification certificate.![]() Configure the SAML identity provider in GlobalProtect.
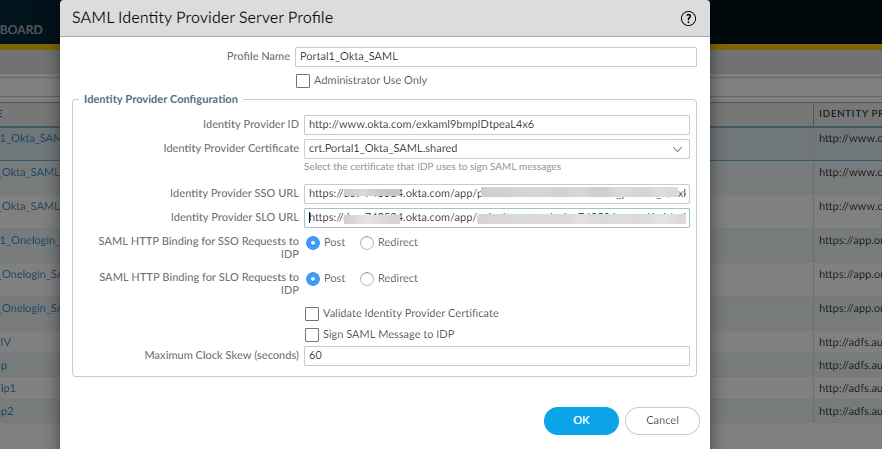
Configure the SAML identity provider in GlobalProtect.- In the GlobalProtect console, select .
- Match the values you entered for the IdP in the Google Admin Console.
![]()