IoT Security
IoT Security Devices Page
Table of Contents
Expand All
|
Collapse All
IoT Security Docs
-
-
- Firewall Deployment Options for IoT Security
- Use a Tap Interface for DHCP Visibility
- Use a Virtual Wire Interface for DHCP Visibility
- Use SNMP Network Discovery to Learn about Devices from Switches
- Use Network Discovery Polling to Discover Devices
- Use ERSPAN to Send Mirrored Traffic through GRE Tunnels
- Use DHCP Server Logs to Increase Device Visibility
- Control Allowed Traffic for Onboarding Devices
- Support Isolated Network Segments
-
IoT Security Devices Page
The Devices page in the IoT Security portal displays
an inventory of discovered devices.
| Where Can I Use This? | What Do I Need? |
|---|---|
|
|
This page (AssetsDevices) is where you can see an inventory of all the devices that were
discovered or are being monitored and the device profiles applied to them. There are
three sections on this page: filters to control what data appears on it, a high-level
summary of the devices on your network, and the device inventory table.
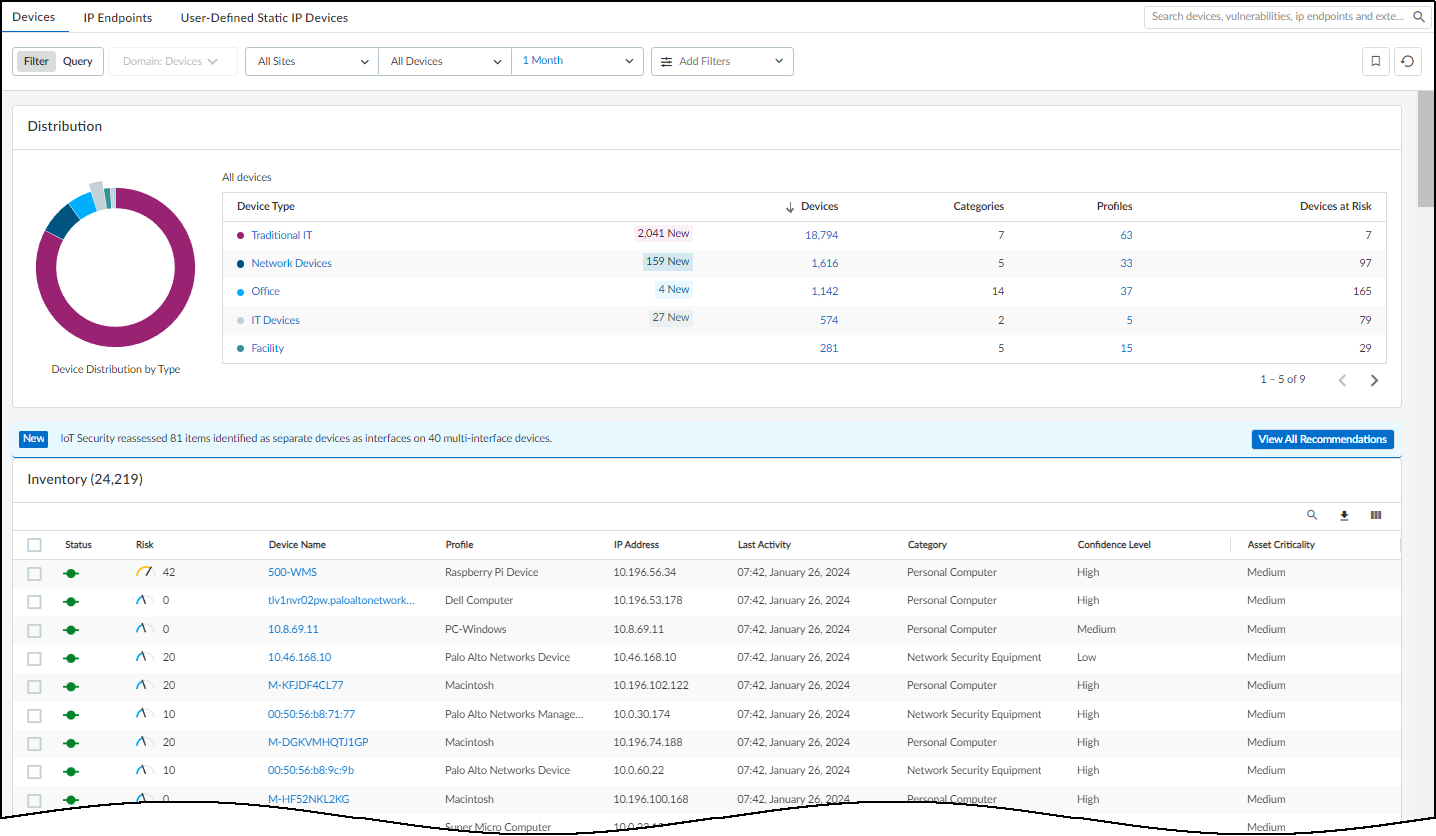
At the top of the page are filters to control the data displayed
by site, monitoring status (Monitored Devices or Discovered Devices),
device type, and time period. This same set of global filters is
at the top of the Devices page and the Dashboard. Whatever global
filters you set in one section persists when you navigate to the
other. These filters control what to display and what to download.
Whatever is currently active is what you save when you click the Download icon
(
 ) > Download.
For each device in the report, IoT Security includes whatever data
it has for all the inventory table columns, whether they are currently
visible or not at the time of the download.
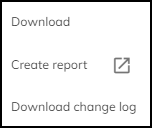
There are two other options in the Download menu. Clicking Create
report opens a new browser window or tab in which you
can configure one of the following types of scheduled reports: Summary,
Risk, New Device, and Filtered Inventory. Clicking Download
change log and selecting two dates generates a CSV-formatted
file that compares changes in your device inventory on your two
selected dates. IoT Security checks and reports changes in data
fields such as category, profile, profile vertical, OS group, device
model, IP address, and subnet.
Clicking the pie chart or clicking content in the table lets
you view device data at multiple levels of granularity.
At the top of the inventory table is a search tool, which allows
you to search for device names. You can search for a full or partial
match. If you employ a naming convention that identifies all devices
by function, location, or some other characteristic, this allows
you to search by that part of the name shared by all the devices
in a particular grouping.
There is also a tool for creating custom filters that control
what IoT Security displays in the Inventory table. To create
and apply a new filter or to apply a previously created filter,
click the Filter icon (
 ).
).
In the Filters dialog box that appears, select a previously defined
and saved filter or click in the Create a new filter field
and choose a device characteristic by which you want to filter devices.

Enter a value for the characteristic you want to use to filter
devices.

Decide if you want to include global filters in your custom filter
or not. When you select Include global filter data,
you can control the global filters for sites, device types, and
time whenever you apply the custom filter you are defining. Your
custom filter can use either the current global filters or, if you
modify them in the settings, the modified global filters. If you
do not select Include global filter data,
your custom filter will use whatever global filters happen to be
in effect at the time you apply it.
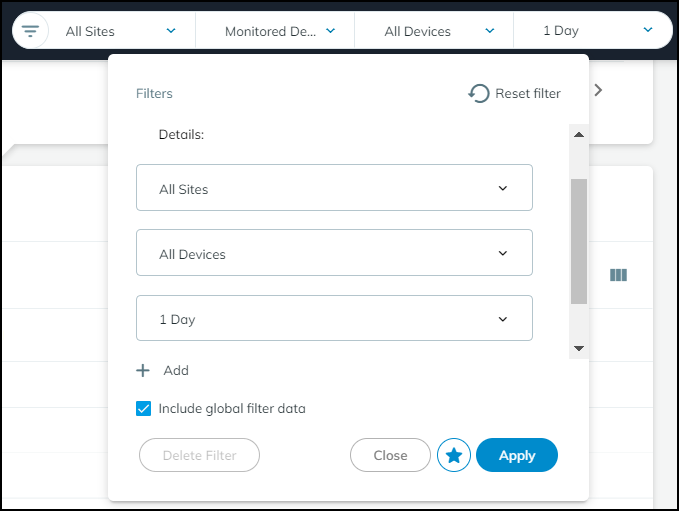
Click the star icon to save the filter for future use. Click Apply to
use it to filter the contents of the Inventory table now.
You can rearrange the columns in the device inventory table by
click-dragging column headings into different locations.
You can also change which columns appear in the table. Click
the Columns icon (three vertical bars), select
the names of the columns you want to see, and clear the ones you
want to hide. The columns with selected check boxes appear and those
with cleared check boxes do not. Use the search tool to find column
headings quickly.

To return to the default set of columns, Reset to
default.
If you select the check box for one or more devices, the Download
and Edit buttons appear.
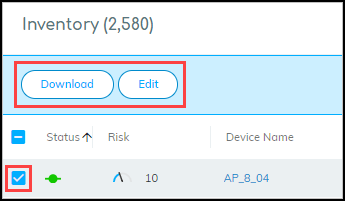
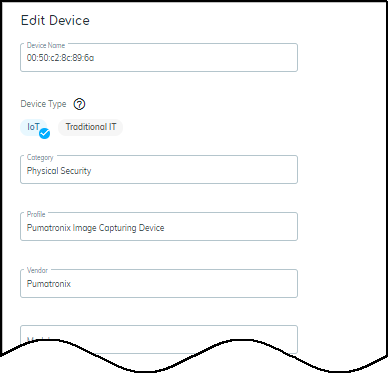
When you click Edit, a dialog box opens
where you can change the device type between IoT and Traditional
IT and define other device characteristics: category, profile, vendor,
model, OS family, OS version, location, asset tag, serial number,
user tags, and description.
When you edit a device manually and change any of its attributes,
your change is considered definitive and won't be overwritten. Therefore,
be careful when manually editing a device because you're locking
in your edits.
Whenever you manually edit a device, the modifications are fed
into machine learning. If IoT Security determines the input is valid,
it retrains its models with the added or modified data and propagates
the results to all its customers. IoT Security then applies its
revised models to other devices of the same type in all customer
environments.
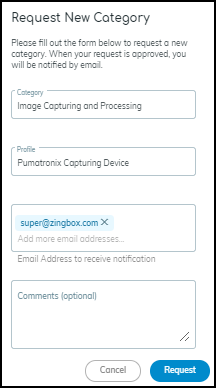
If you type something in the category field, and there isn’t
an existing category, a “Request New Category” option appears.
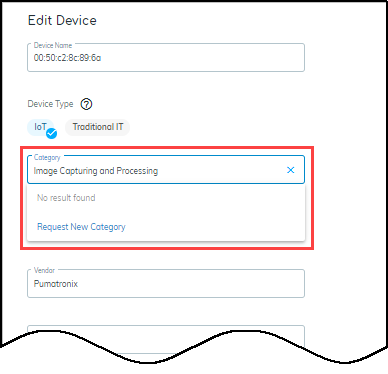
Use this option to request that IoT Security create a new category
for the device. If the request is validated, then the category is
added—not just for the person requesting it but for all IoT Security
customers.
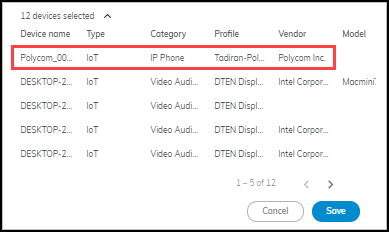
When you select multiple devices to edit, a table appears at
the bottom of the dialog box for convenience. It displays the current
values for your selections. If you mistakenly selected one that
you don’t want, you can spot it here.
