Register the Firewall
Table of Contents
Register the Firewall
Use your active Palo Alto Networks® Customer Support
account to register your firewalls on our Customer Support Portal and
then automatically configure your firewall with our recommended
Day 1 configuration.
Before you can activate support and other
licenses and subscriptions, you must first register the firewall. Before
you can register a firewall, though, you must first have an active
support account. Perform one of the following tasks depending on
whether you have an active support account:
- If you don’t have an active support account, then Create a New Support Account and Register a Firewall.
- If you already have an active support account, then you are ready to Register a Firewall.
- (Optional) Perform Day 1 Configuration on a registered firewall.
- If your firewall uses line cards such as an NPC (Network Processing Card), then Register the Firewall Line Cards.
If
you are registering a VM-Series firewall,
refer to the VM-Series Deployment Guide for
instructions.
Create a New Support Account and Register a Firewall
If you do not already have an active Palo
Alto Networks support account, then you need to register your firewall
when you create your new support account.
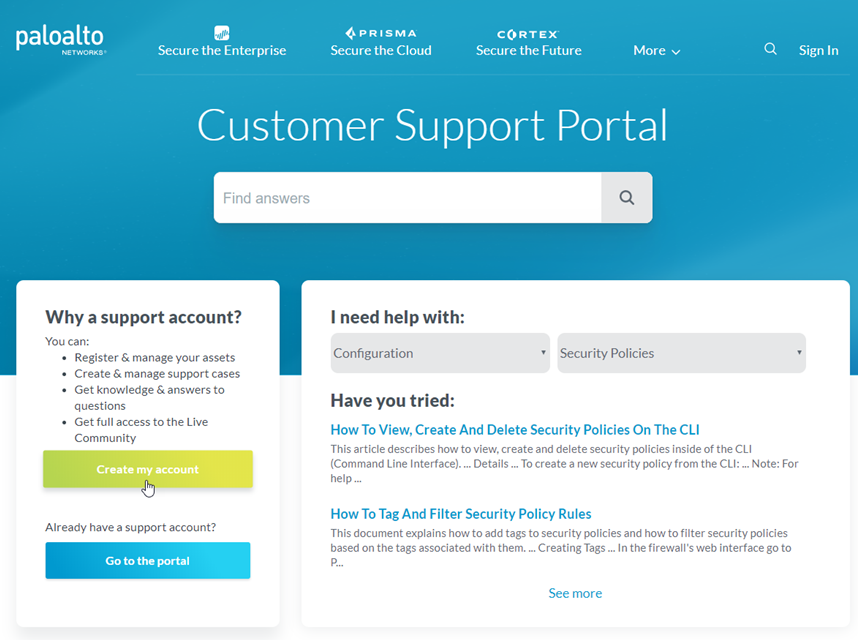
- Go to the Palo Alto Networks Customer Support Portal.Click Create my account.
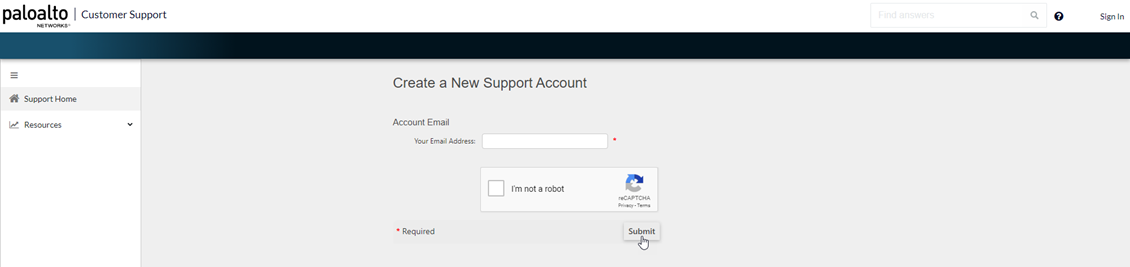
![]() Enter Your Email Address, check I’m not a robot, and click Submit.
Enter Your Email Address, check I’m not a robot, and click Submit.![]() Select Register device using Serial Number or Authorization Code and click Next.
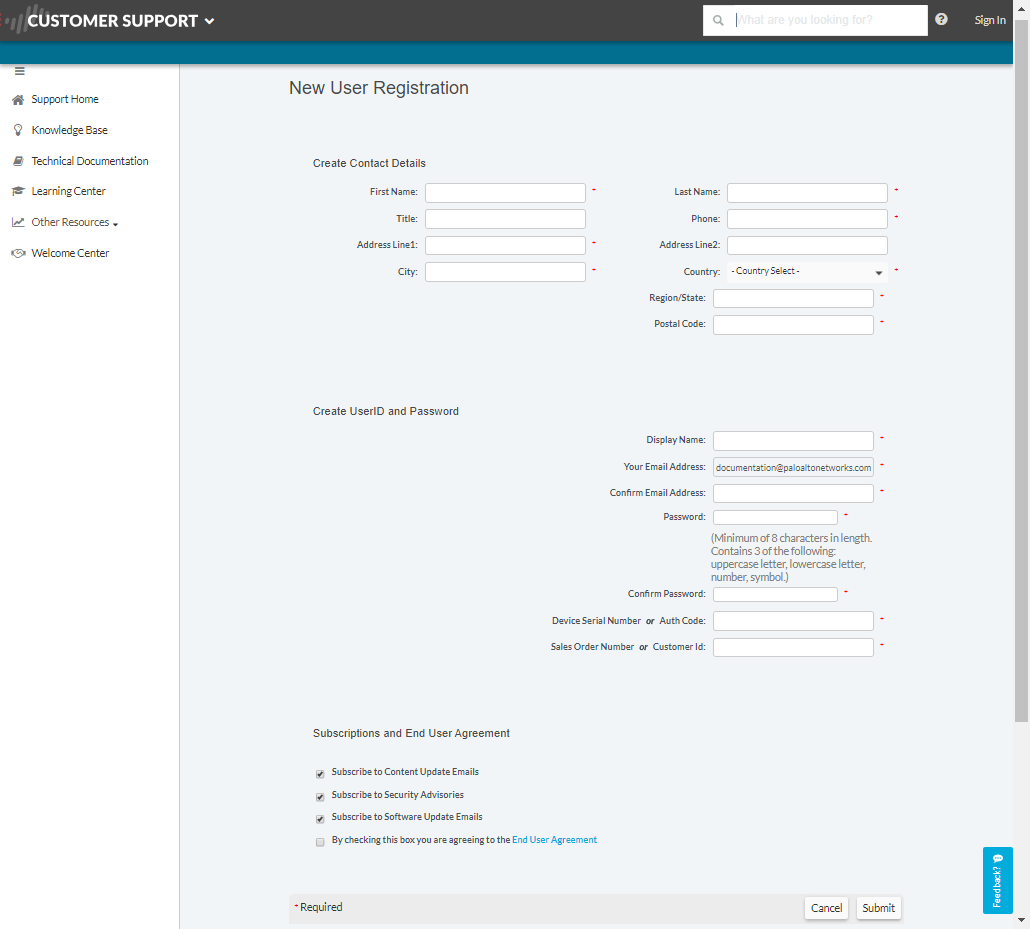
Select Register device using Serial Number or Authorization Code and click Next.![]() Complete the registration form.
Complete the registration form.- Enter your contact details. Required fields are indicated by red asterisks.Create a UserID and Password for the account. Required fields are indicated by red asterisks.Enter the Device Serial Number or Auth Code.Enter your Sales Order Number or Customer Id.To ensure that you are always alerted to the latest updates and security advisories, Subscribe to Content Update Emails, Subscribe to Security Advisories, and Subscribe to Software Update Emails.Select the check box to agree to the End User Agreement and Submit.
![]()
Register a Firewall
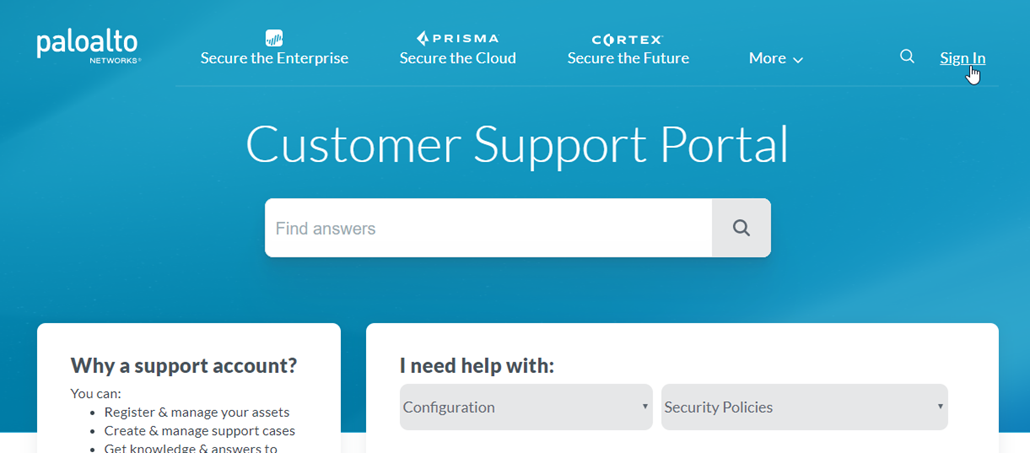
If you already have an active Palo Alto Networks Customer Support account, perform the following task to register your firewall.- Log in to the firewall web interface.Using a secure connection (HTTPS) from your web browser, log in using the new IP address and password you assigned during initial configuration (https://<IP address>).Locate your serial number and copy it to the clipboard.On the Dashboard, locate your Serial Number in the General Information section of the screen.Go to the Palo Alto Networks Customer Support Portal and, if not already logged in, Sign In now.
![]() Register the firewall.
Register the firewall.- On the Support Home page, click Register a Device.
![]() Select Register device using Serial Number or Authorization Code, and then click Next.
Select Register device using Serial Number or Authorization Code, and then click Next.![]() Enter the firewall Serial Number (you can copy and paste it from the firewall Dashboard).(Optional) Enter the Device Name and Device Tag.(Optional) If the device will not have a connection to the internet, select the Device will be used offline check box and then, from the drop-down, select the OS Release you plan to use.Provide information about the physical location where you plan to deploy the firewall including the Address, City, Postal Code, and Country.The physical location of the firewall is set on the Customer Support Portal. There is no command on the firewall to set the physical location.Read the End User License Agreement (EULA) and the Support Agreement, then Agree and Submit.
Enter the firewall Serial Number (you can copy and paste it from the firewall Dashboard).(Optional) Enter the Device Name and Device Tag.(Optional) If the device will not have a connection to the internet, select the Device will be used offline check box and then, from the drop-down, select the OS Release you plan to use.Provide information about the physical location where you plan to deploy the firewall including the Address, City, Postal Code, and Country.The physical location of the firewall is set on the Customer Support Portal. There is no command on the firewall to set the physical location.Read the End User License Agreement (EULA) and the Support Agreement, then Agree and Submit.![]() You can search for and manage the firewall you just registered from the Network Security page.(Firewalls with line cards) To ensure that you receive support for your firewall’s line cards, make sure to Register the Firewall Line Cards.
You can search for and manage the firewall you just registered from the Network Security page.(Firewalls with line cards) To ensure that you receive support for your firewall’s line cards, make sure to Register the Firewall Line Cards.(Optional) Perform Day 1 Configuration
After you register your firewall, you have the option of running Day 1 Configuration. The Day 1 Configuration tool provides configuration templates informed by Palo Alto Networks best practices, which you can use as a starting point to build the rest of your configuration.The benefits of Day 1 Configuration templates include:- Faster implementation time
- Reduced configuration errors
- Improved security posture
Perform Day 1 Configuration by following these steps:- From the page that displays after you have registered your firewall, select Run Day 1 Configuration.
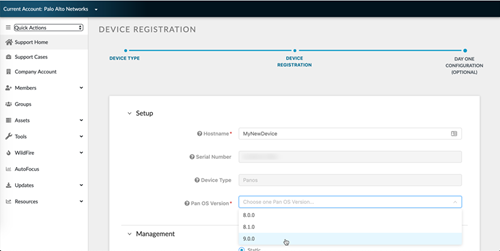
![]() If you’ve already registered your firewall but haven’t run Day 1 Configuration, you can also run it from the Customer Support Portal home page by selectingEnter the Hostname and Pan OS Version for your new device, and optionally, the Serial Number and Device Type.
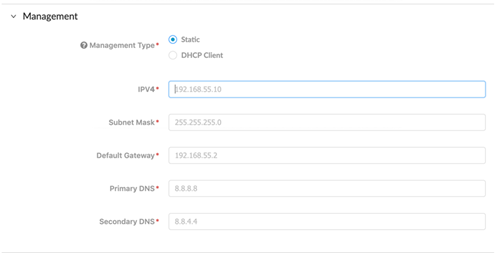
If you’ve already registered your firewall but haven’t run Day 1 Configuration, you can also run it from the Customer Support Portal home page by selectingEnter the Hostname and Pan OS Version for your new device, and optionally, the Serial Number and Device Type.![]() Under Management, select either Static or DHCP Client for your Management Type.Selecting Static will require you fill out the IPV4, Subnet Mask, and Default Gateway fields.
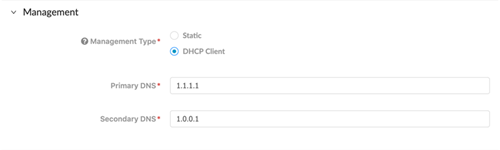
Under Management, select either Static or DHCP Client for your Management Type.Selecting Static will require you fill out the IPV4, Subnet Mask, and Default Gateway fields.![]() Selecting DHCP Client only requires that you enter the Primary DNS and Secondary DNS. A device configured in DHCP client mode will ensure the management interface receives an IP address from the local DHCP server, or it will fill out all the parameters if they are known.
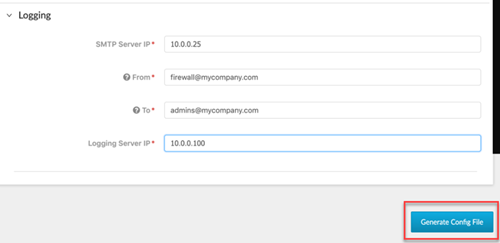
Selecting DHCP Client only requires that you enter the Primary DNS and Secondary DNS. A device configured in DHCP client mode will ensure the management interface receives an IP address from the local DHCP server, or it will fill out all the parameters if they are known.![]() Fill out all fields under Logging.Click Generate Config File.
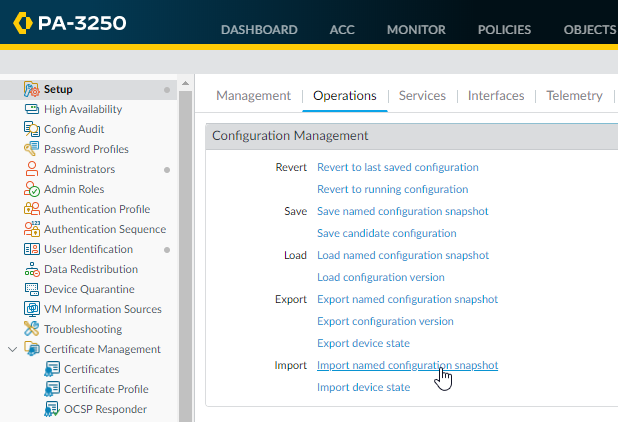
Fill out all fields under Logging.Click Generate Config File.![]() To import and load the Day 1 Configuration file you just downloaded to your firewall:
To import and load the Day 1 Configuration file you just downloaded to your firewall:- Log into your firewall web interface.Select .Click Import named configuration snapshot.Select the file.
![]()
Register the Firewall Line Cards
The following firewalls use line cards that must be registered to receive support with troubleshooting and returns:- PA-7000 Series firewalls
- PA-5450 firewall
If you do not have a Palo Alto Networks Customer Support account, create one by following the steps at Create a New Support Account and Register a Firewall. Return to these instructions after creating your Customer Support account and registering your firewall.- Go to the Palo Alto Networks Customer Support Portal and, if not already logged in, Sign In now.Select .Register Components.Enter the Palo Alto Networks Sales Order Number of the line cards into the Sales Order Number field to display the line cards eligible for registration.Register the line cards to your firewall by entering its chassis serial number in the Serial Number field. The Location Information below auto-populates based on the registration information of your firewall.Click Agree and Submit to accept the legal terms. The system updates to display the registered line cards under .