GlobalProtect
Connect for the First Time
Table of Contents
Connect for the First Time
- Launch the GlobalProtect app.(Optional) If you have not enabled GlobalProtect notifications on your endpoint, a notification permission dialog appears. Allow GlobalProtect to send you notifications.
![]() If you Don’t Allow GlobalProtect to send you notifications, a reminder appears the next time you launch the app. Tap the Settings -> GlobalProtect link to go to the notification permission screen, where you can enable notifications. If you still do not want to enable notifications, Skip this screen.
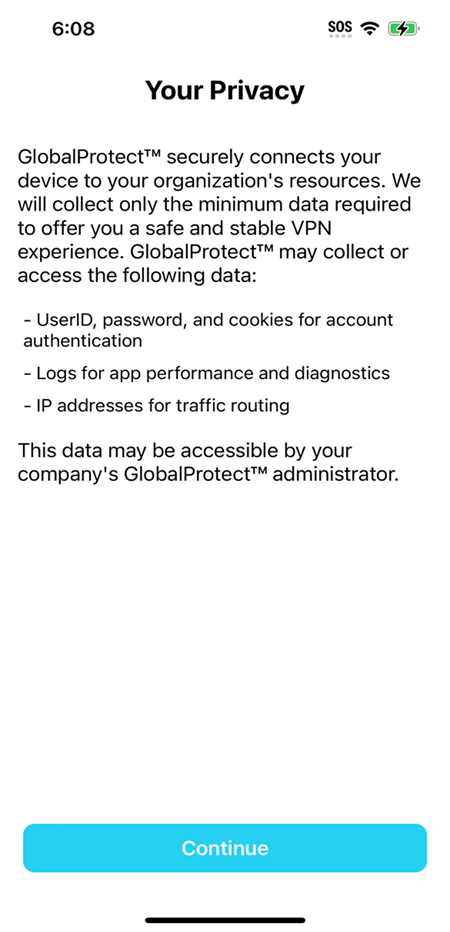
If you Don’t Allow GlobalProtect to send you notifications, a reminder appears the next time you launch the app. Tap the Settings -> GlobalProtect link to go to the notification permission screen, where you can enable notifications. If you still do not want to enable notifications, Skip this screen.![]() Read the disclosure about the information GlobalProtect may collect or access on your device and click Continue to acknowledge and dismiss the message.
Read the disclosure about the information GlobalProtect may collect or access on your device and click Continue to acknowledge and dismiss the message.![]() Enter the GlobalProtect portal address.
Enter the GlobalProtect portal address.![]() (Optional) Depending on the connection mode, tap Connect to initiate the connection.When the “GlobalProtect” Would Like to AddVPN Configurations message appears, use the following steps to add VPN configurations to your endpoint:
(Optional) Depending on the connection mode, tap Connect to initiate the connection.When the “GlobalProtect” Would Like to AddVPN Configurations message appears, use the following steps to add VPN configurations to your endpoint:- Allow GlobalProtect to add VPN configurations to
your endpoint. This setting enables GlobalProtect to filter and monitor
network activity on the endpoint when you are using the VPN.
![]()
- Enter your iPhone or iPad passcode to confirm that you want to add VPN configurations to your endpoint.
![]()
(Optional) If your endpoint is unable to verify the identity of the GlobalProtect portal using the portal server certificate, the Cannot Verify Server Identity message appears. If you trust the certificate, tap Continue to proceed with the connection.(Optional) If prompted, enter your Username and Password and then SIGN IN.If your administrator has allowed you to use biometric (fingerprint or, for iOS X devices only, face ID) information to sign in, you need to first sign-in with a username and password twice (once to save it and again to authenticate); you can then use biometric information to sign in.![]() (Optional) If you are using multi-factor authentication, enter the GlobalProtect verification Code that is sent to your endpoint after you sign in, and then tap Continue.(Optional) If your administrator configures the GlobalProtect app to display a welcome message, the welcome message appears upon successful connection. Close the welcome message to proceed to the home screen.
(Optional) If you are using multi-factor authentication, enter the GlobalProtect verification Code that is sent to your endpoint after you sign in, and then tap Continue.(Optional) If your administrator configures the GlobalProtect app to display a welcome message, the welcome message appears upon successful connection. Close the welcome message to proceed to the home screen.![]() (Optional) If there are notifications on your app, the Notifications dialog appears upon successful connection. Close the Notifications dialog to proceed to the home screen.
(Optional) If there are notifications on your app, the Notifications dialog appears upon successful connection. Close the Notifications dialog to proceed to the home screen.![]() When the home screen appears, verify that your connection has established successfully. If the connection is successful, the home screen displays the CONNECTED state.
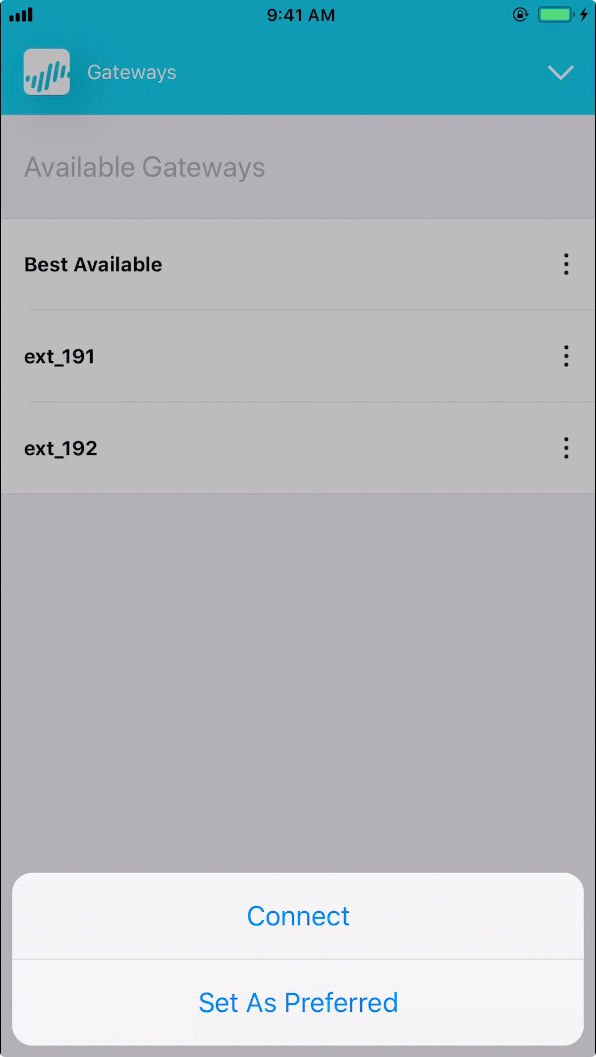
When the home screen appears, verify that your connection has established successfully. If the connection is successful, the home screen displays the CONNECTED state.![]() (Optional) By default, the endpoint automatically connects to the Best Available gateway based on the configuration that the administrator defines and the response times of the available gateways. To connect to a different gateway, tap the gateway drop-down at the bottom of the home screen and then use one of the following options:
(Optional) By default, the endpoint automatically connects to the Best Available gateway based on the configuration that the administrator defines and the response times of the available gateways. To connect to a different gateway, tap the gateway drop-down at the bottom of the home screen and then use one of the following options:- Select a gateway manually (external gateways only). If your administrator configures more than 10 manual external gateways in your portal agent configuration, you can also locate a specific gateway using the gateway search option.
![]()
- Assign and automatically connect to a preferred gateway by tapping the More Options () icon for the gateway that you want to set as the preferred gateway and then Set As Preferred. Alternatively, you can long-press (tap and hold) the gateway and then Set As Preferred.
![]()
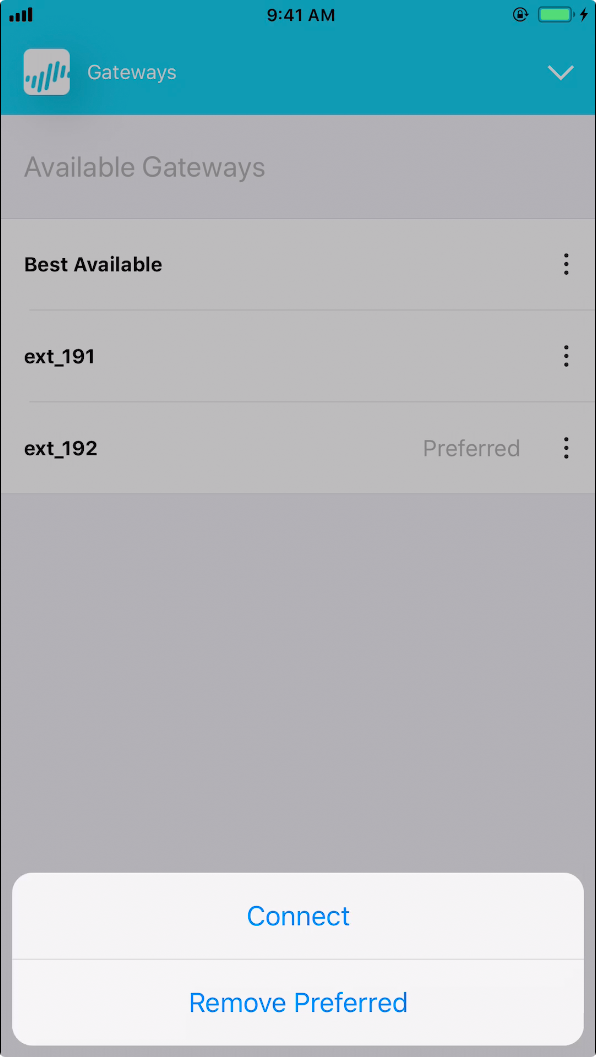
![]() To remove the preferred gateway assignment, tap the More Options () icon for the preferred gateway and then Remove Preferred. Alternatively, you can long-press (tap and hold) the gateway and then Remove Preferred.
To remove the preferred gateway assignment, tap the More Options () icon for the preferred gateway and then Remove Preferred. Alternatively, you can long-press (tap and hold) the gateway and then Remove Preferred.![]()
![]()