Download PDF
GlobalProtect
Customize the SAML/CAS ACS Landing Page
Table of Contents
Expand All
|
Collapse All
GlobalProtect Docs
-
-
-
-
- 6.3
- 6.2
- 6.1
- 6.0
-
- 6.3
- 6.2
- 6.1
- 6.0
Customize the SAML/CAS ACS Landing Page
This feature describes how the admins can customize the SAML/CAS anding
page
| Where Can I Use This? | What Do I Need? |
|---|---|
|
|
You can now customize the SAML/CAS ACS landing page displayed on the default browser
when you are using the SAML/CAS authentication method to authenticate to the
GlobalProtect app. You can configure to rebrand or debrand the SAML/CAS ACS landing
page on the default browser by using command-line interface (CLI) commands. By
default, the feature is not enabled for the app.
This feature is not available on Panorama.
Before you customize the SAML/CAS ACS landing page, you must:
- Ensure that the GlobalProtect Portal is configured.Ensure that the GlobalProtect Gateway is configured.Ensure that the default browser for SAML authentication is enabled in the portal configuration through either or both of the following methods:
- Set the Use Default Browser for SAML Authentication option to Yes in the app settings of the GlobalProtect portal configuration.
- Enable the Use Default-Browser option in the client authentication setting of the portal configuration.
To configure the GlobalProtect portal to rebrand or debrand the SAML/CAS ACS landing page on the default browser, use the following CLI commands:On the firewall hosting the portal, enter the following CLI command.<username@hostname> set global-protect auth-response-pageThe screen displays the CLI commands for the SAML/CAS ACS page customization feature:![]() Use the following CLI commands to customize the SAML/CAS ACS landing page:
Use the following CLI commands to customize the SAML/CAS ACS landing page:set global-protect auth-response-page type <default | none | custom>- To continue using the default ACS page, leave the type empty or use the CLI command:
set global-protect auth-response-page type <default>When you configure the global-protect auth-response-page type as <default> and the authentication is successful, the default ACS page is displayed with Authentication Complete message. If the Authentication fails, the screen displays the Authentication Failed message.![]()
- To remove the default logo, background image, footer logo, and footer text, use the CLI command:
set global-protect auth-response-page type <none>![]()
- To customize the page, use the CLI command:
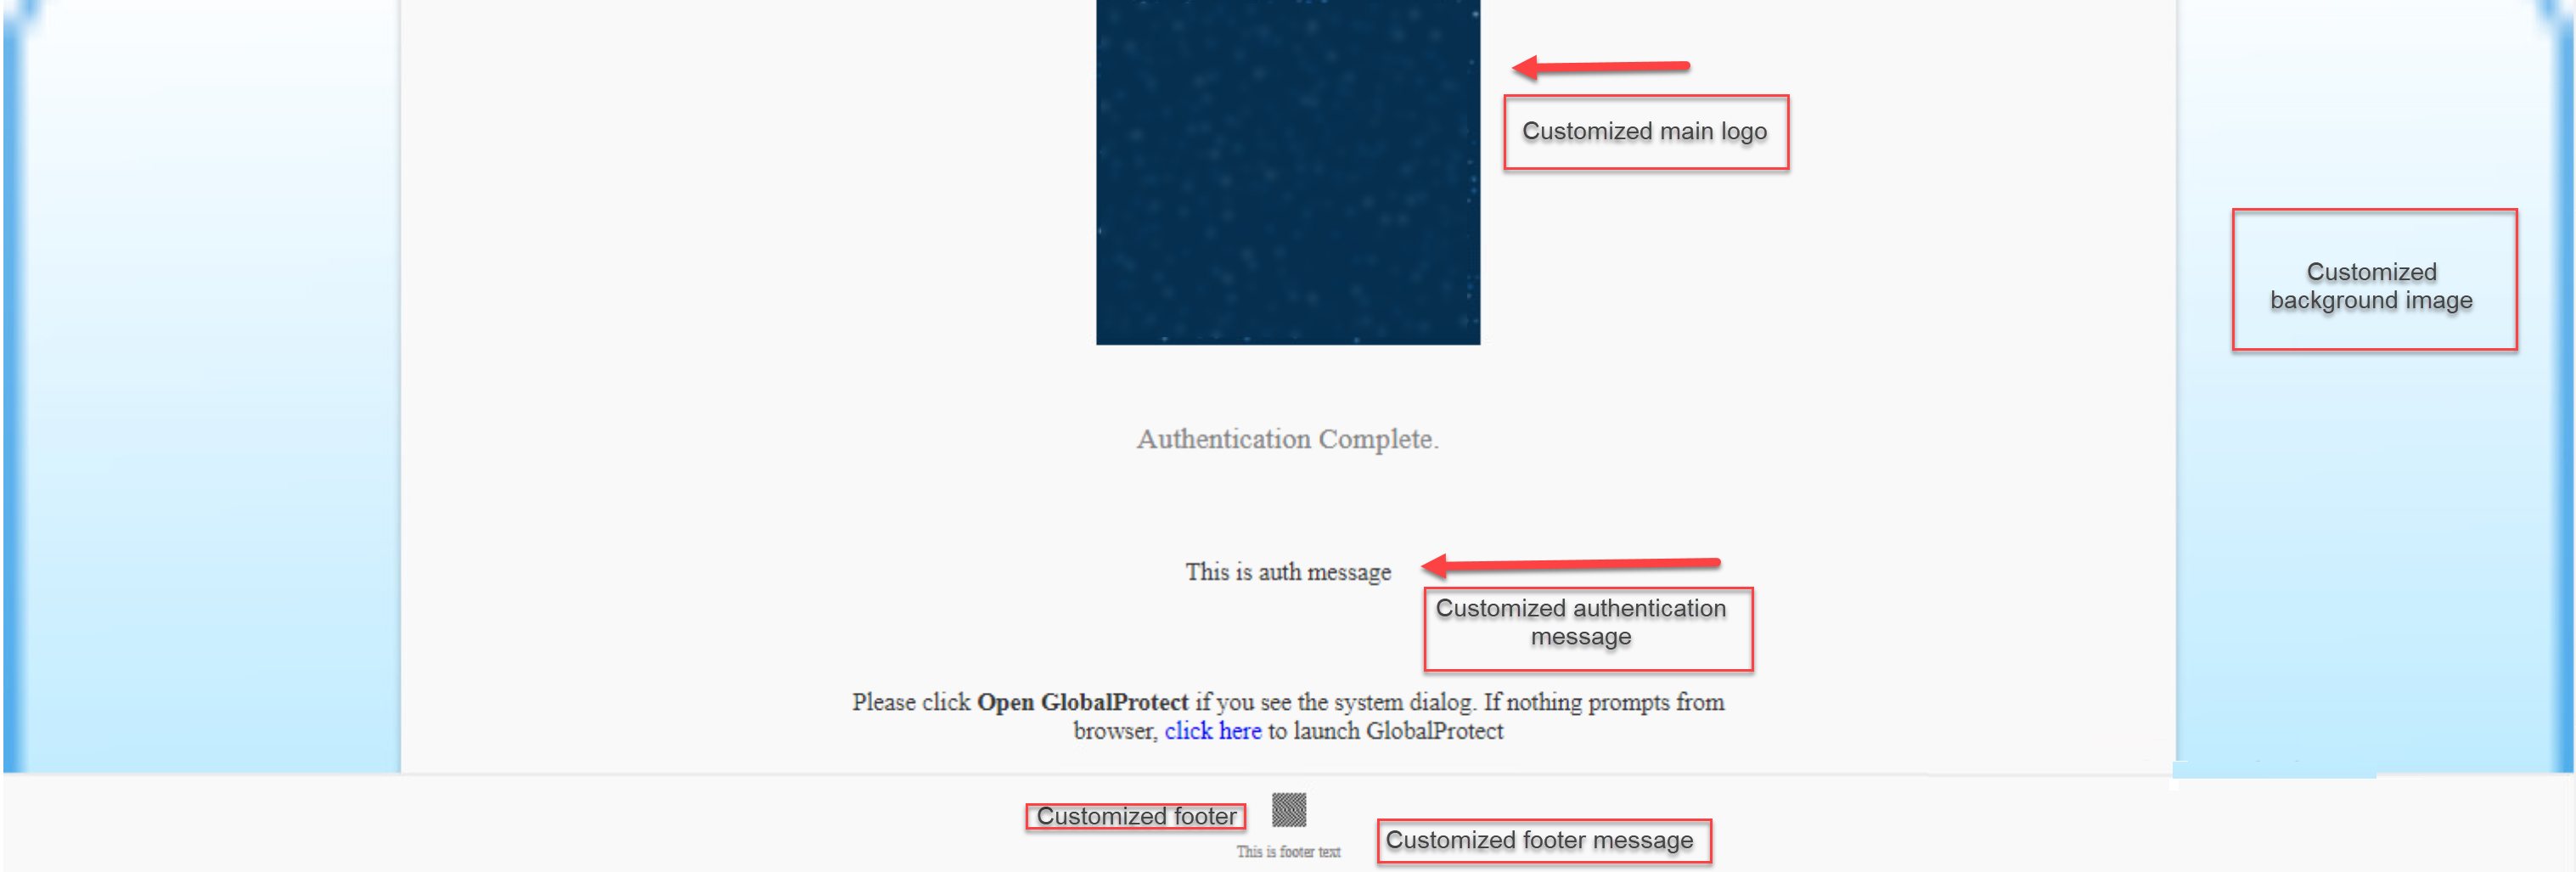
set global-protect auth-response-page type <custom>![]()
Use the following CLI commands to customize the fields of the SAML/CAS ACS landing page:set global-protect auth-response-page background-image <value>set global-protect auth-response-page main-logo <value>set global-protect auth-response-page auth-message <value>set global-protect auth-response-page footer-logo <value>set global-protect auth-response-page footer-text <value>![]()
- You can leave the values empty for all the fields except for the type <value>
- For image <value>, you must enter a valid HTTP or HTTPS URL
- For text <value>, do not enter any control characters such as \n, \r, \t, \0 or characters whose ascii value is < 0x1F
Use the following CLI command to view the current authentication response page settings:set global-protect auth-response-page <show>![]() Character Limits for the Customized FieldsThe following table lists the maximum character limits for the fields that you can customize and the screen displays error messages when you enter a value that exceeds the character limit.
Character Limits for the Customized FieldsThe following table lists the maximum character limits for the fields that you can customize and the screen displays error messages when you enter a value that exceeds the character limit.Field Character Limit Error Messages (When the Character Limit Exceeds) Background Image URL2000Should be less than or equal to 2000 charactersMain Logo URL2000Should be less than or equal to 2000 charactersFooter Logo URL2000Should be less than or equal to 2000 charactersAuthentication Message500Should be less than or equal to 500 charactersFooter Text256Should be less than or equal to 256 charactersImage Resolution and Types for the Customized FieldsThe feature supports all image types such as .png, .jpeg/.jpg, and .svg based on the browser compatibility. You must use proper image resolution (width x height) depending on the dimensions of the devices.The following table lists the image resolution that you can apply while customizing the page:Image Image Resolution Background ImageBackground image block width is 100% of the device/browser window width, and the height is calculated by the browser using the image aspect ratio.Main LogoMain logo image block width is around 50% of the device/browser window width with maximum width of 340 px, and the height is calculated by the browser using the image aspect ratio.Footer LogoFooter logo image block width is fixed to 30 px, and the height is calculated by the browser using the image aspect ratio.For the footer logo image the aspect ratio for the width: height must not be more than three times of the width (1:3). If the height ratio increases such as 1:4, the footer text may not be properly displayed on the screen.


