Deploying the VM-Series Firewall on Tencent Cloud
Table of Contents
Deploying the VM-Series Firewall on Tencent Cloud
This is the procedure to deploy the VM-Series firewall on Tencent Cloud web console.
Following are the steps to deploy the VM-Series firewall on the Tencent cloud:
- Begin with creating a VPC and Subnets on Tencent Cloud. Perform the following steps:By default, the Tencent cloud webpage is in Chinese language. Translate the webpage to English, and then proceed with the deployment procedure.
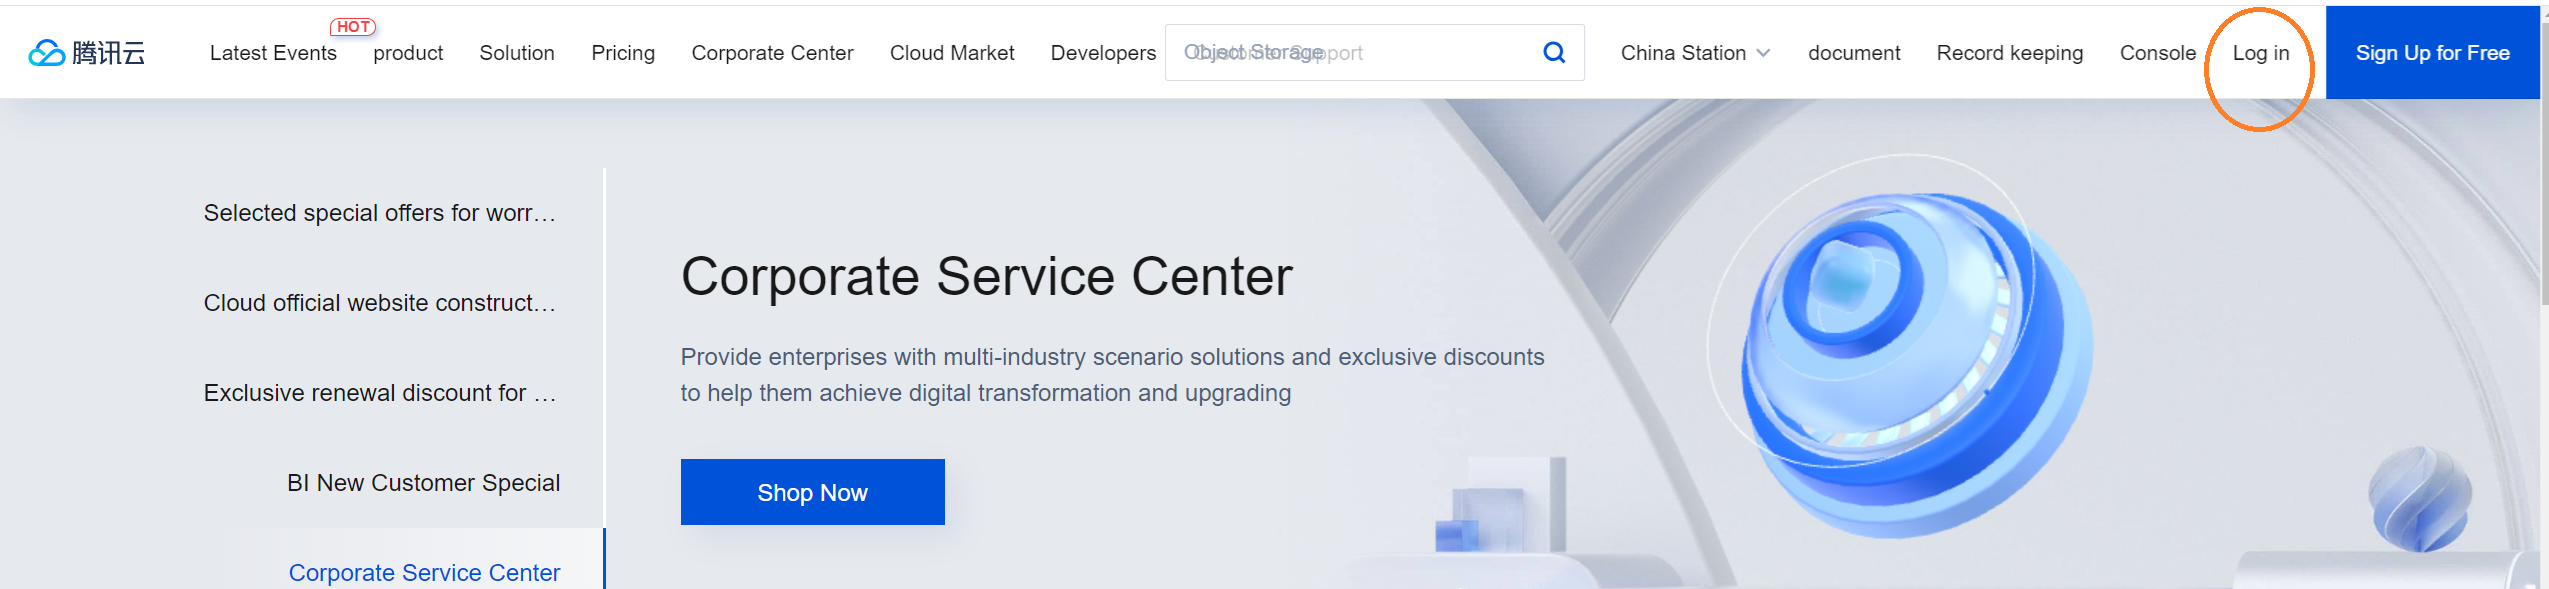
- Go to the Tencent console and click Log In.
![]()
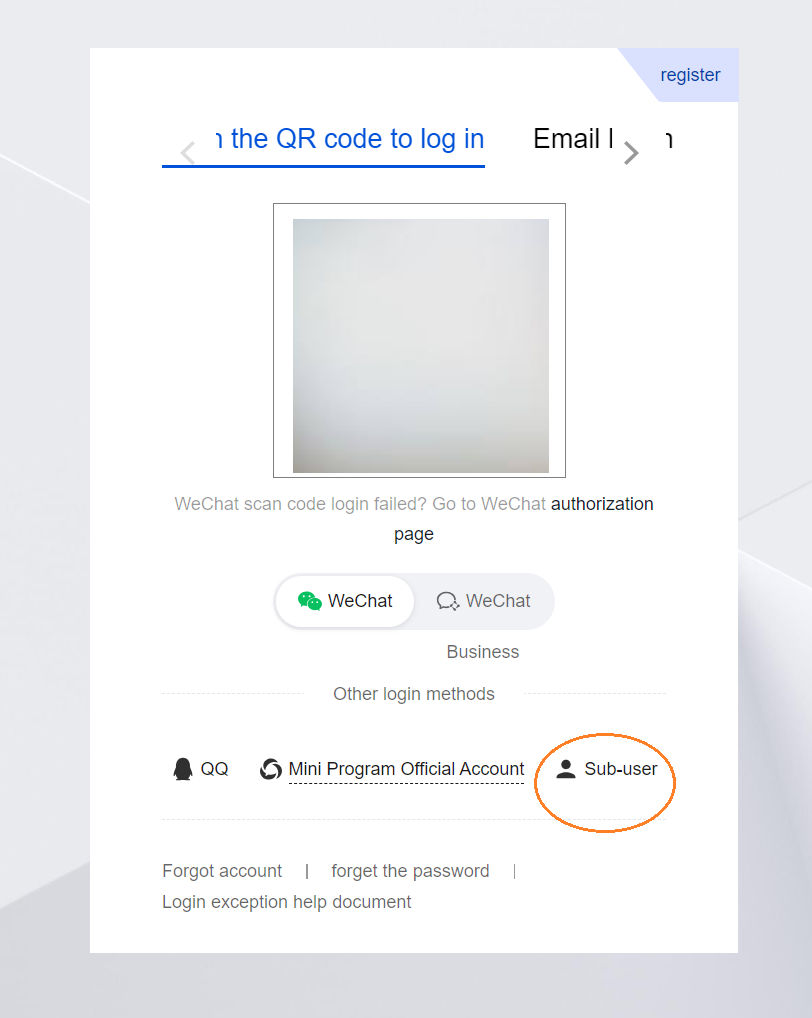
- Click Sub-user.
![]()
- Enter your Sub-User login credentials.
- Click Login.
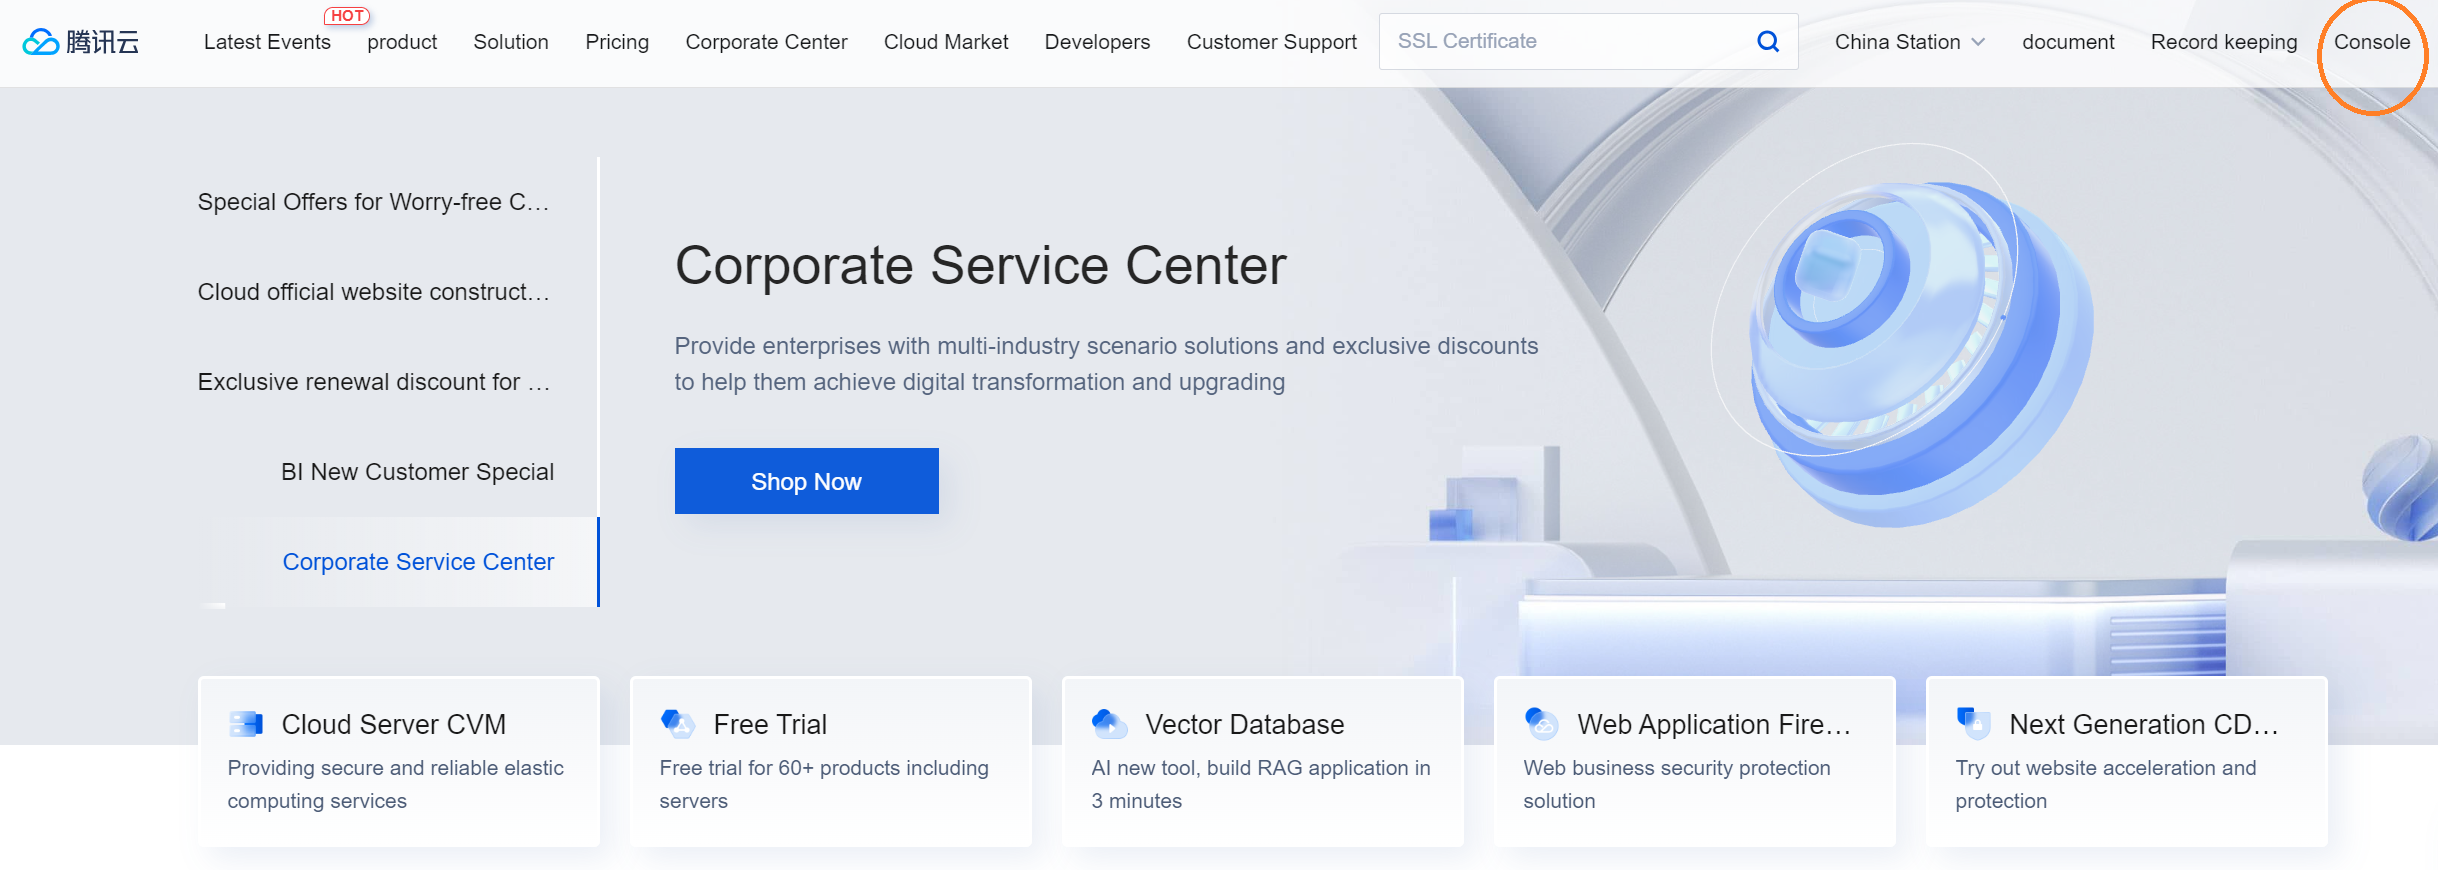
- Click Console.
![]()
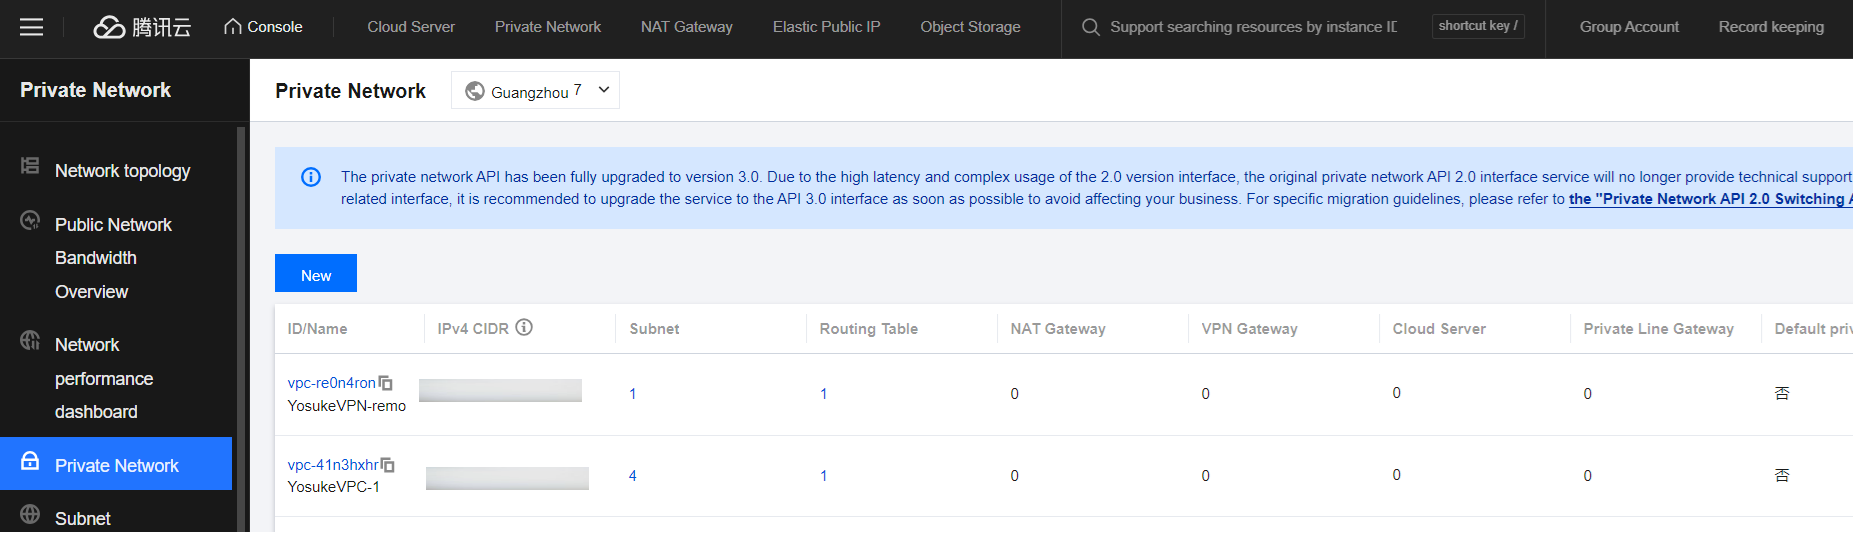
- Go to Private Networks > New.
![]()
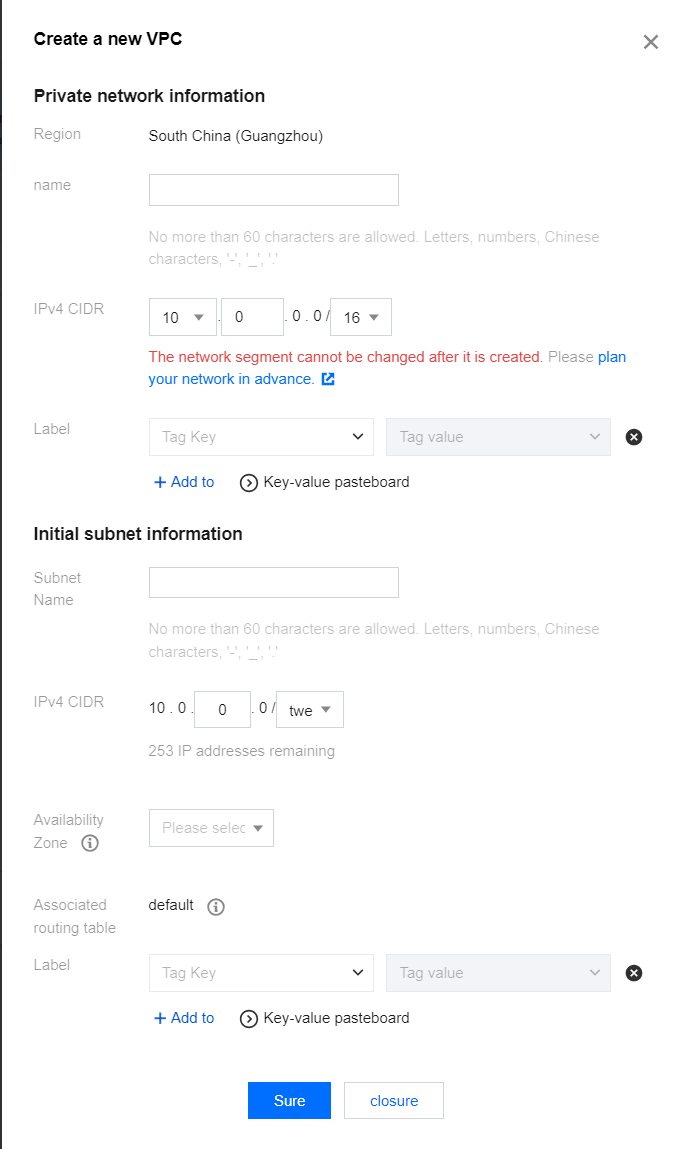
- In the Private Network > Information section, enter the VPC name and CIDR details.
![]()
- In the Initial Subnet Information section, enter the subnet name and IP address details.
- Click Save.
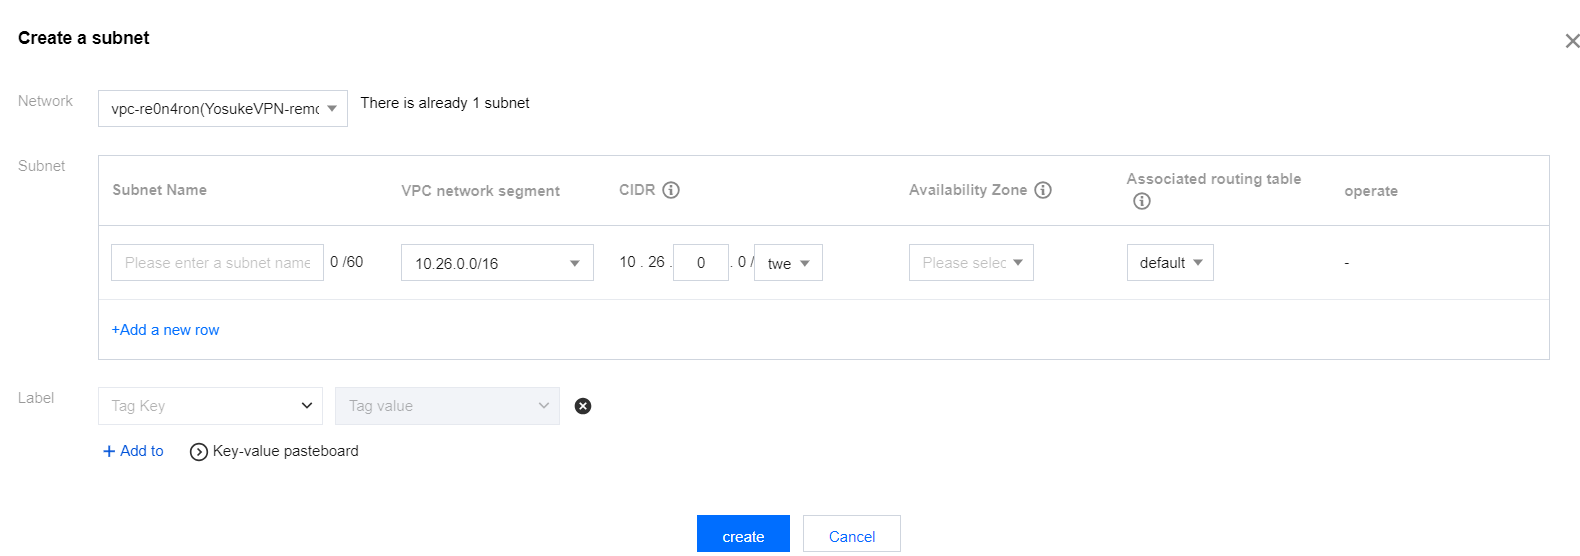
To create Subnets, perform the following steps:- In the Private Network menu, click subnets.
![]()
- Click New.
- Select your VPC.
- Enter the subnet Name and Availability zone.
- Click Save.
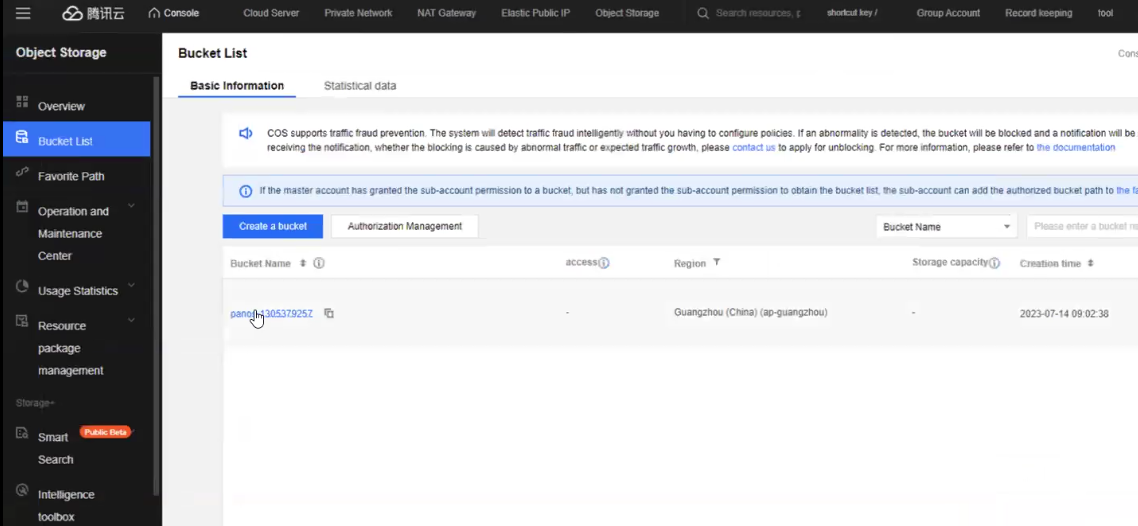
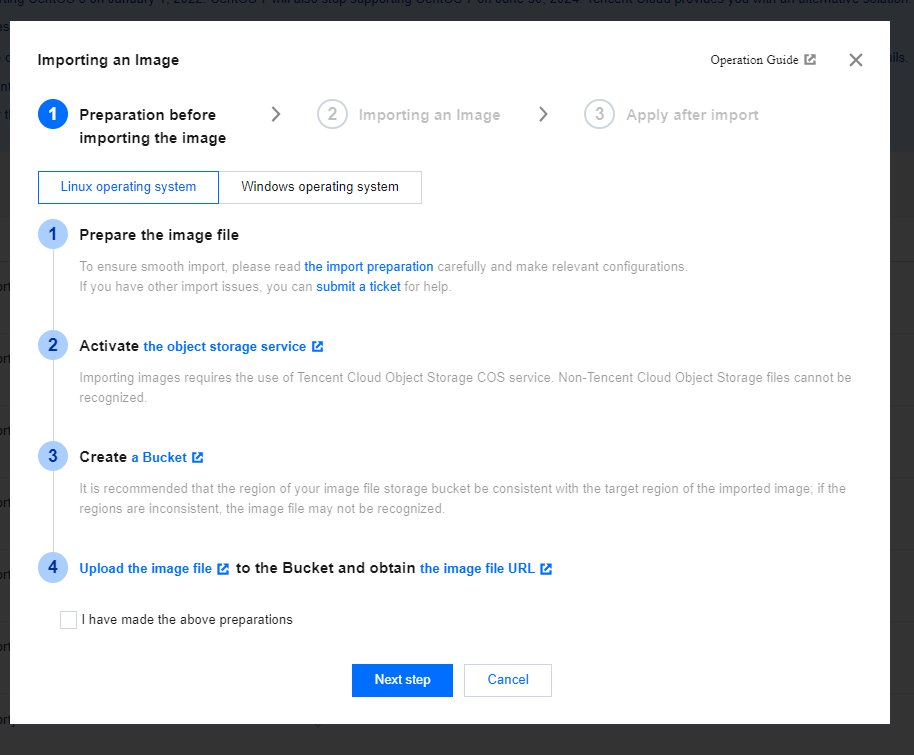
You must create at least 3 subnets namely management, untrust, and trust subnets for your VPC.Upload the PA-VM qcow2 image file on the Tencent Cloud.You must have Panorama version 10.2.1 or above.- In your Tencent console, click Object Storage.
- Go to Bucket List > Upload Files > Select Files.
![]()
- Select the image file from your local machine, and then click Upload.
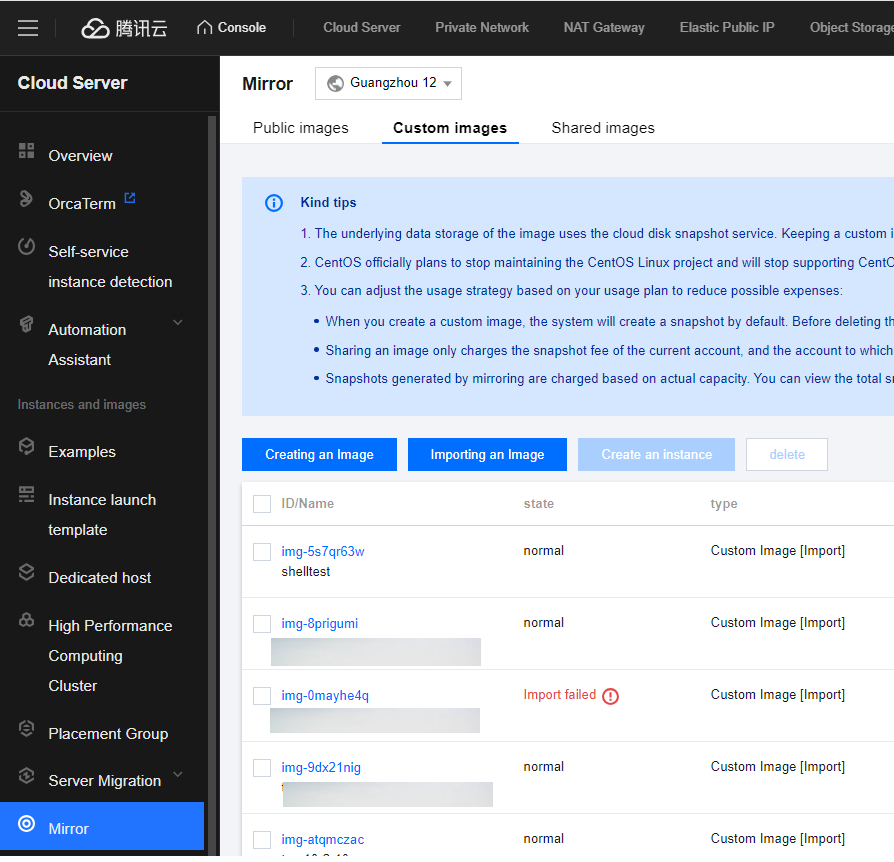
Import the image file on the cloud server.- Go to the Cloud server > Mirror > Import an image.
![]()
- Select the I have made the above preparations checkbox.
![]()
- Click Next Step.
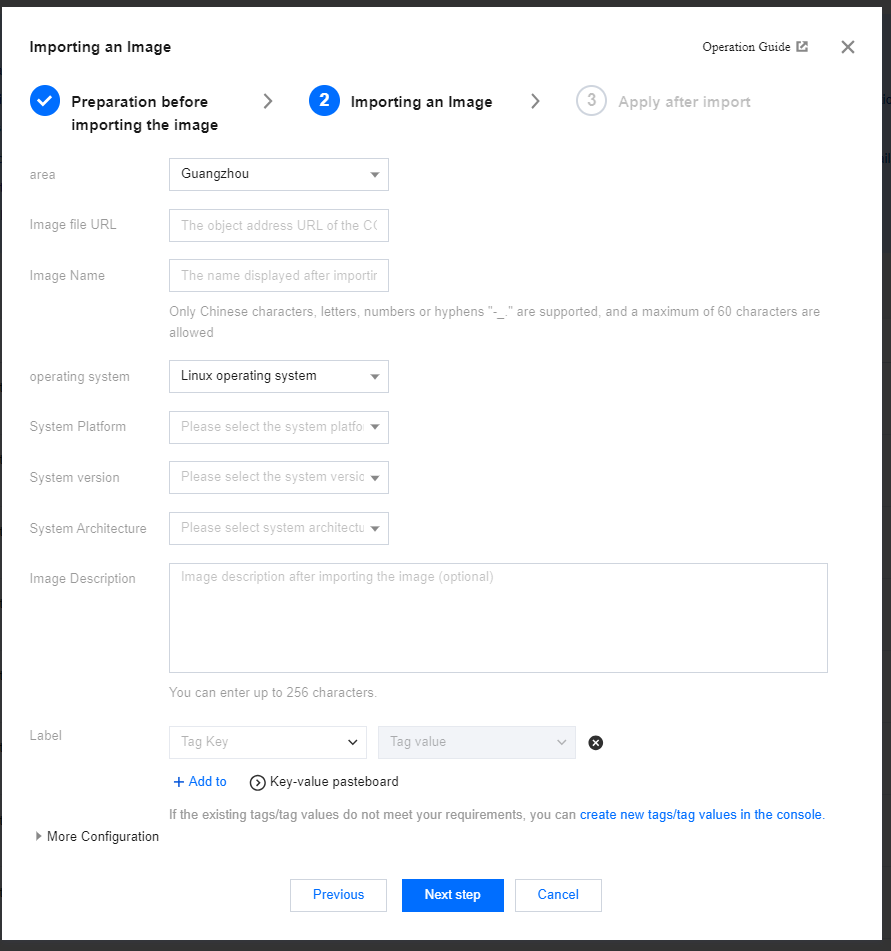
- Enter the Region.
![]()
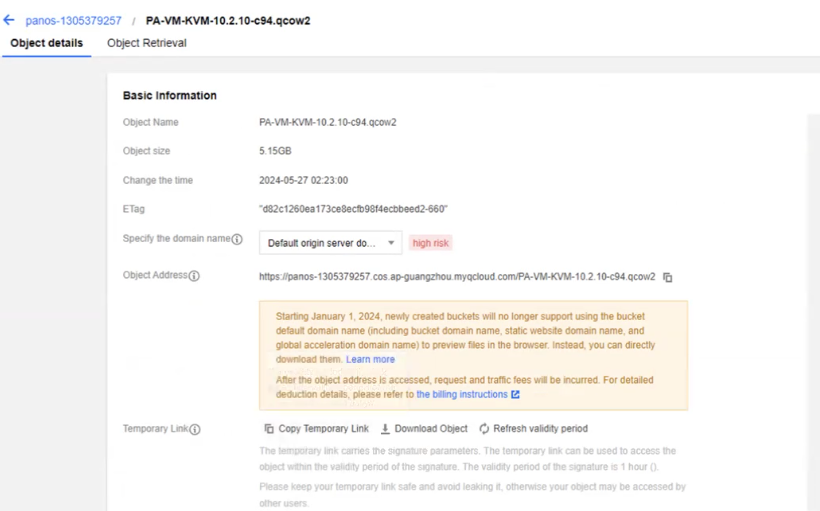
- Enter the Name and Image file URL.To copy the temporary link to the image file:
- Go to your image file, click Details.
![]()
- Copy the temporary link shown on the screen.
- Go to your image file, click Details.
- Select Other Linux as the Operating System option.
- Select 64-bit for System Structure.
- Select the Enable Forced Import checkbox.
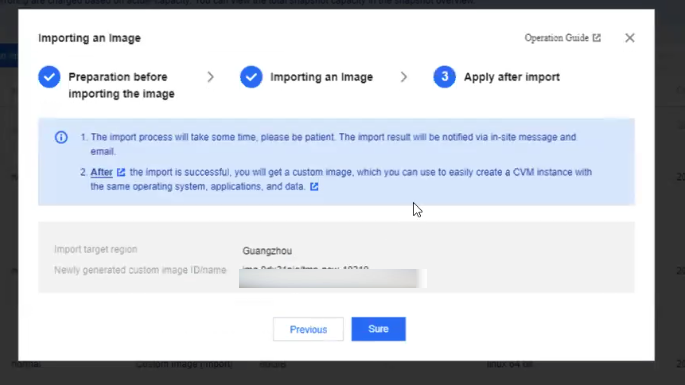
- Click Next Step.
- Click Sure.
![]()
Create a VM-Series firewall instance.- Go to your VM-Series image file and click Create Instance.
- Click Sure.
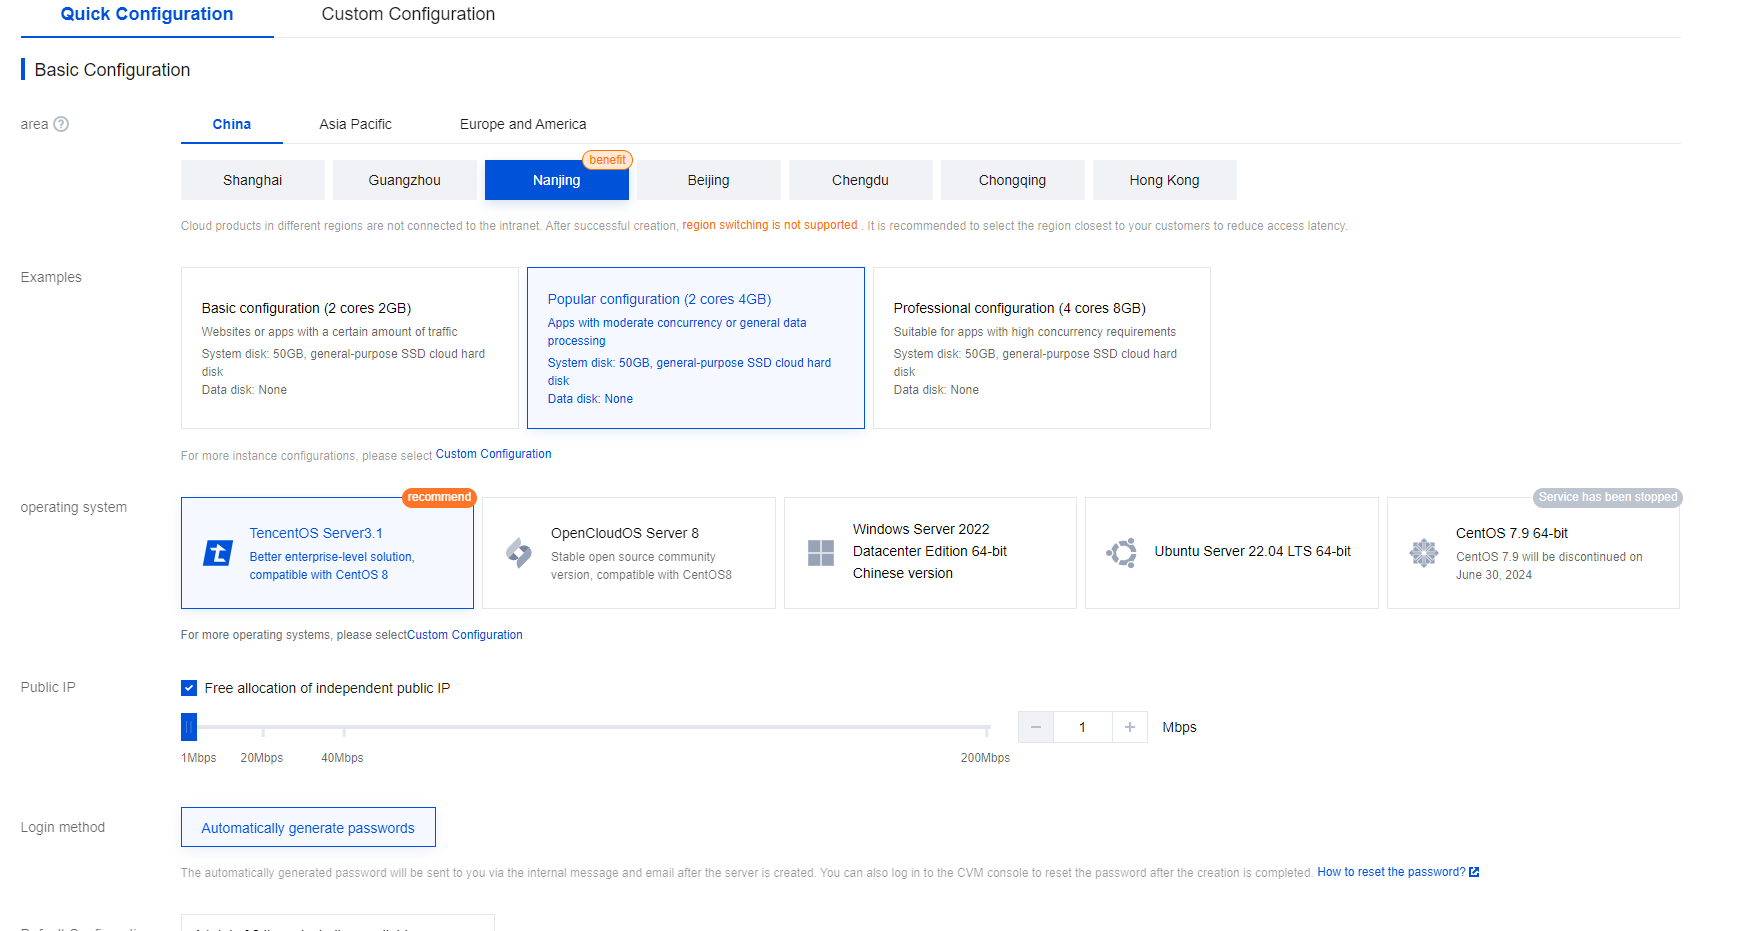
- In the Basic Configuration section, select your Billing Model and Region.
![]()
- Select your instance, and click Next Step.
- In the Network and Bandwidth section, select your VPC and subnet.
- (Optional) Select the Manually assigning IP address checkbox to manually allocate the IP address out of the subnet.
- Select Assign the Independent IP checkbox to obtain a public interface for your firewall.
- Select your Security Group.
- Enter the Instance Name.
- Click Associate the Key and select your key option.You can either create a new key or import an existing public key.
- Click Save.
- Click Next.
- Select the Terms and conditions checkbox.
- Click Activate.
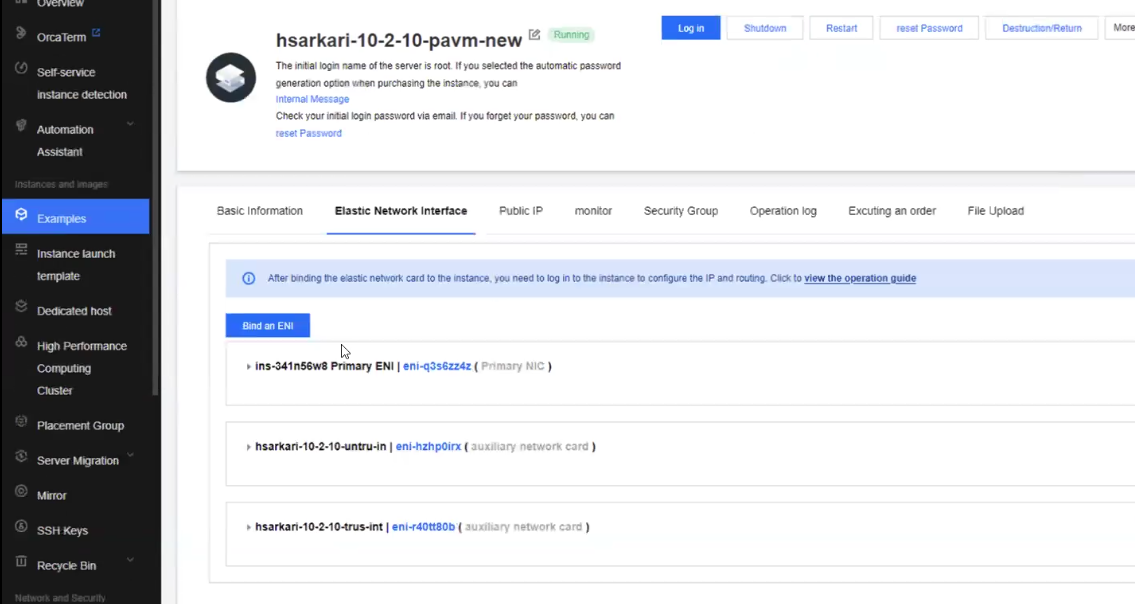
The VM-Series firewall now gets deployed. Go to Cloud Server > Examples to see the list of VM-Series firewall instances deployed.Create Elastic Network Interfaces for your VM-Series Firewall.- In the Tencent console, go to Cloud Server > Examples.
- Select your VM-Instance.
- Click the Elastic Network Interface tab.
- Click Bind an ENI.
![]() Note: By default, a VM-Series instance deployed will have one management interface.
Note: By default, a VM-Series instance deployed will have one management interface. - Click Create a New Elastic Network Card.
![]()
- Enter the name and subnet for your ENI.
- Click Save.
- Ensure that you create an elastic card each for an untrust and trust interface.
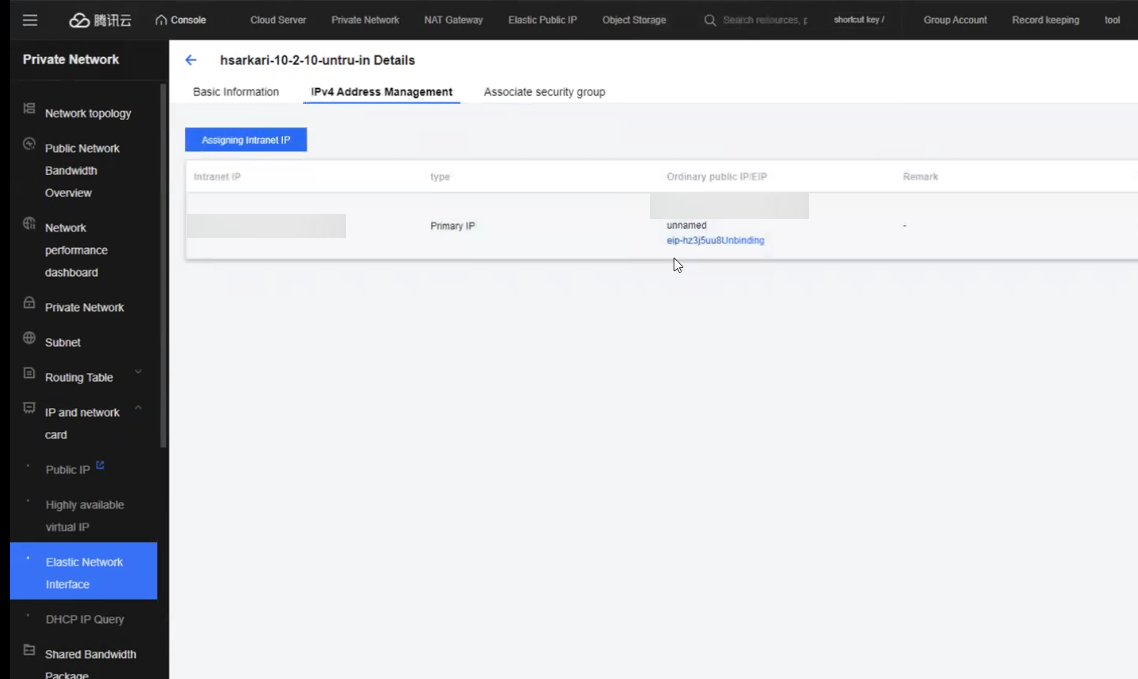
- Ensure that you bind an EIP for your untrust interface. Go to your untrust interface, go to IPV4 address management tab, click Bind an ENIP, and then Create a new one.
- Ensure that you bind an EIP on your untrust interface.
- Go to your untrust interface, and then click IPV4 Address Management tab.
![]()
- Click Binding.
- Click Create a New one and then create a new EIP and bind it to the untrust interface.
Configure the VM-Series firewall.- Log in to your VM-Series firewall web interface.
- Go to Networks > Zones.
- Click Add and create a trust zone.Repeat the above step to create an untrust zone.
- Go to Networks > Interfaces and configure the Layer 3 interfaces for ethernet 1/1 and ethernet 1/2.
- Commit your changes.Verify that the firewall is passing traffic. Select Monitor > Session Browser and verify that you are seeing new sessions.