Deploy the VM-Series Firewall From the Oracle Cloud Marketplace
Table of Contents
Deploy the VM-Series Firewall From the Oracle Cloud Marketplace
Complete the following procedure to deploy
the VM-Series firewall in OCI from the Oracle Cloud Marketplace.
All VM-Series firewall interfaces must be assigned an
IPv4 address when deployed in a public cloud environment.
- Log in to the Oracle Cloud Marketplace.Find the VM-Series firewall application in the Oracle Cloud Marketplace.
- Search for Palo Alto Networks and a list of offerings for the VM-Series firewall will display.Select an offering.Click Get App.Select your Region and click Sign In.Select the Version and Compartment.Accept the Oracle and Partner terms.Click Launch Instance.
![]() Enter a descriptive Name for your VM-Series firewall instance.Select an Availability Domain.Select Virtual Machine under Shape Type.
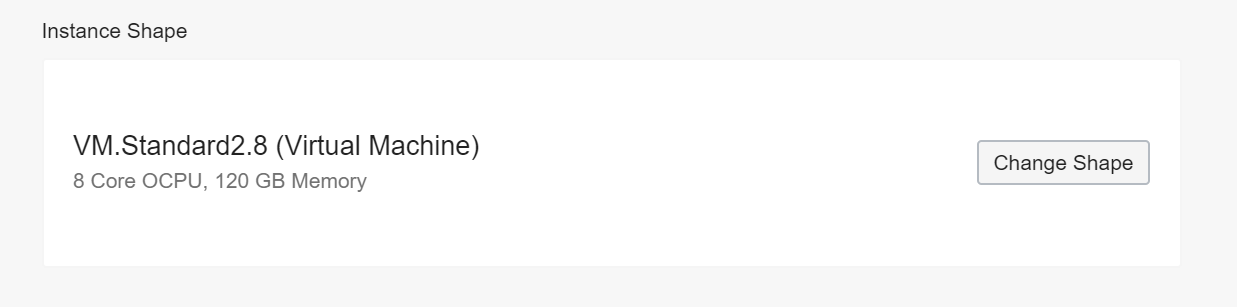
Enter a descriptive Name for your VM-Series firewall instance.Select an Availability Domain.Select Virtual Machine under Shape Type.![]() Select the shape with the number of CPUs, amount of RAM, and number of interfaces required for the VM-Series firewall model. See the Compute Shapes page for the amount resources provided by the different compute shapes. See VM-Series System Requirements for more information about the resources required for each VM-Series firewall model.
Select the shape with the number of CPUs, amount of RAM, and number of interfaces required for the VM-Series firewall model. See the Compute Shapes page for the amount resources provided by the different compute shapes. See VM-Series System Requirements for more information about the resources required for each VM-Series firewall model.![]() Under Networking, select your Virtual cloud network compartment, Virtual cloud network, Subnet compartment, and Subnet for your management interface. You can only add one interface when creating the VM-Series firewall instance. You will add additional interfaces later.
Under Networking, select your Virtual cloud network compartment, Virtual cloud network, Subnet compartment, and Subnet for your management interface. You can only add one interface when creating the VM-Series firewall instance. You will add additional interfaces later.![]() (Optional) Set the boot volume to a size larger than the default. By default, the boot volume is set to 60GB. Complete this procedure if you require a larger boot volume to support features such as attaching logs.
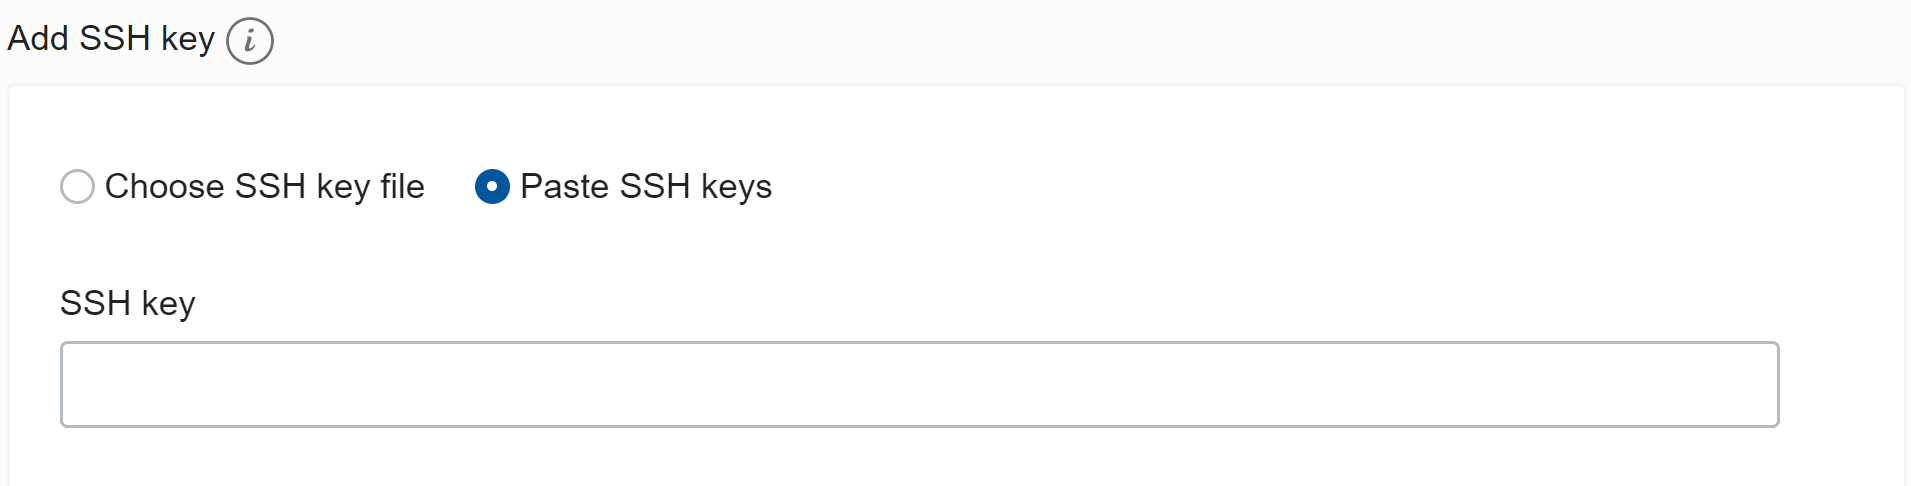
(Optional) Set the boot volume to a size larger than the default. By default, the boot volume is set to 60GB. Complete this procedure if you require a larger boot volume to support features such as attaching logs.- Select Custom boot volume size (in GB).Enter 60 or greater. 60 GB is the minimum hard drive size required by the VM-Series firewall.Add your SSH key.
- Under Add SSH Key, select Paste SSH Key.Paste your SSH key into the field provided.
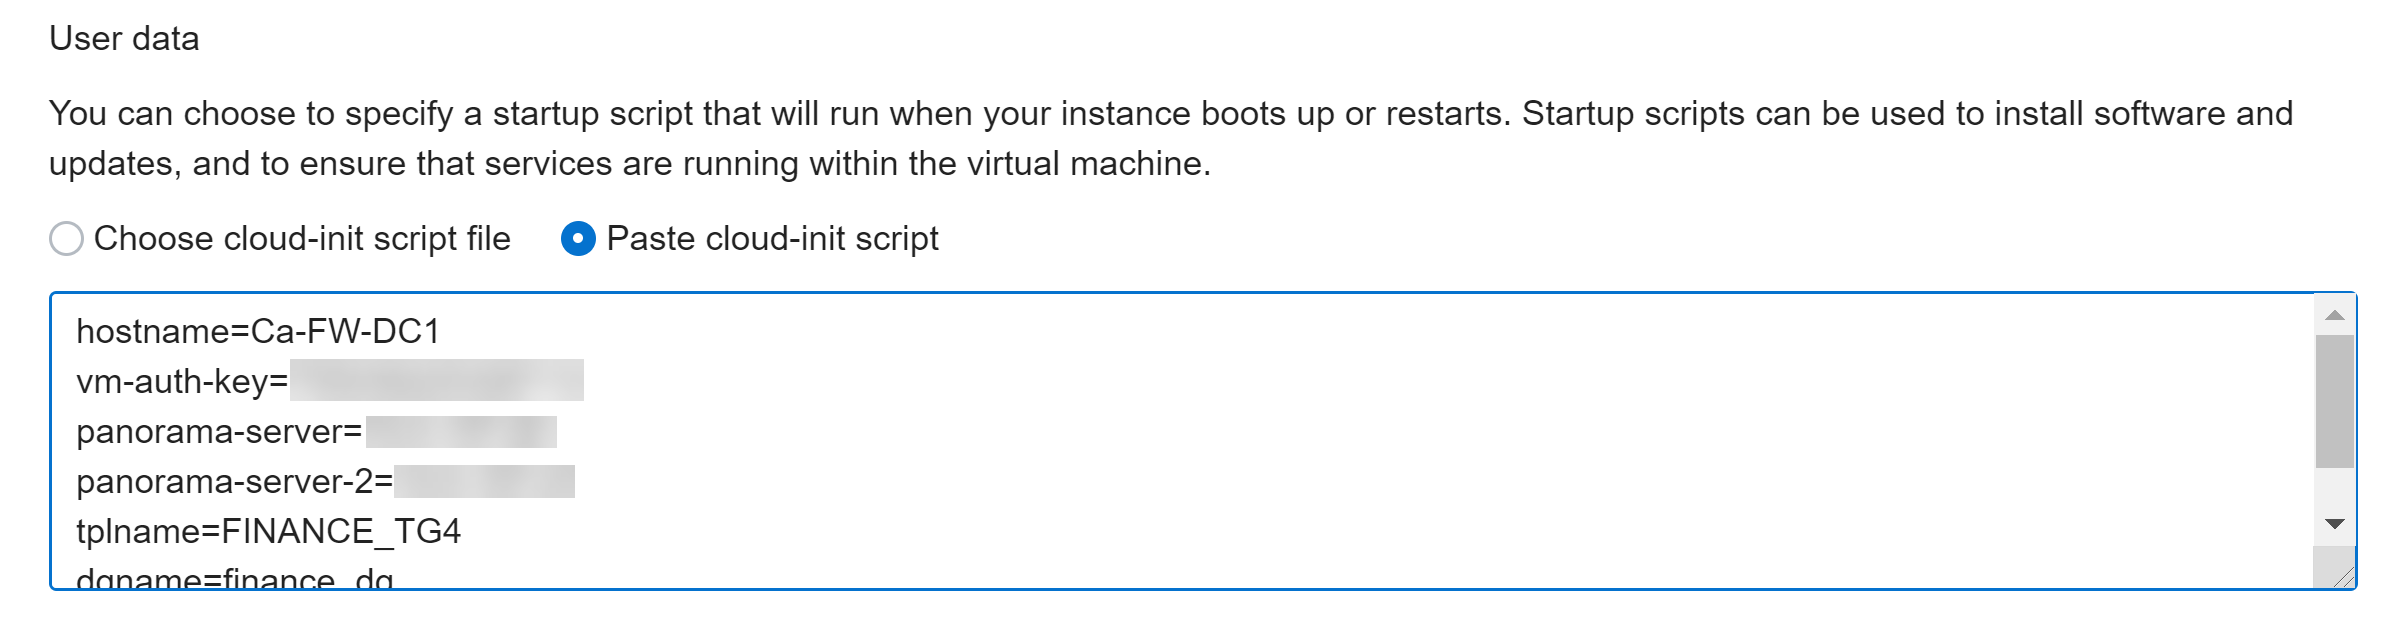
![]() Add the bootstrapping parameters.
Add the bootstrapping parameters.- Click Show Advanced Options.Under User data, select Paste cloud-init script.Paste the boostrap parameters into the field provided.hostname=<fw-hostname>vm-auth-key=<auth-key>panorama-server=<panorama-ip>panorama-server-2=<panorama2-ip>tplname=<template-stack-name>dgname=<device-group-name>authcodes=<firewall-authcode>op-command-modes=jumbo-frame
![]() Click Create.When the VM-Series firewall is launched, OCI creates and attaches a primary VNIC to the instance. This VNIC resides in the subnet you specified in the instance network setting and connects to the VM-Series firewall’s management interface.Configure a new administrative password for the firewall.
Click Create.When the VM-Series firewall is launched, OCI creates and attaches a primary VNIC to the instance. This VNIC resides in the subnet you specified in the instance network setting and connects to the VM-Series firewall’s management interface.Configure a new administrative password for the firewall.- Use the management IP address to SSH into the command line interface (CLI) of the VM-Series firewall.Enter the following command to log in to the firewall:ssh-i <private_key.pem> admin@<public-ip_address>Configure a new password, using the following command and follow the onscreen prompts:configureset mgt-config users admin passwordAttach a vNIC to your VM-Series firewall instance for each data interface. You must attach at least two data interfaces to your firewall instance—untrust and trust.
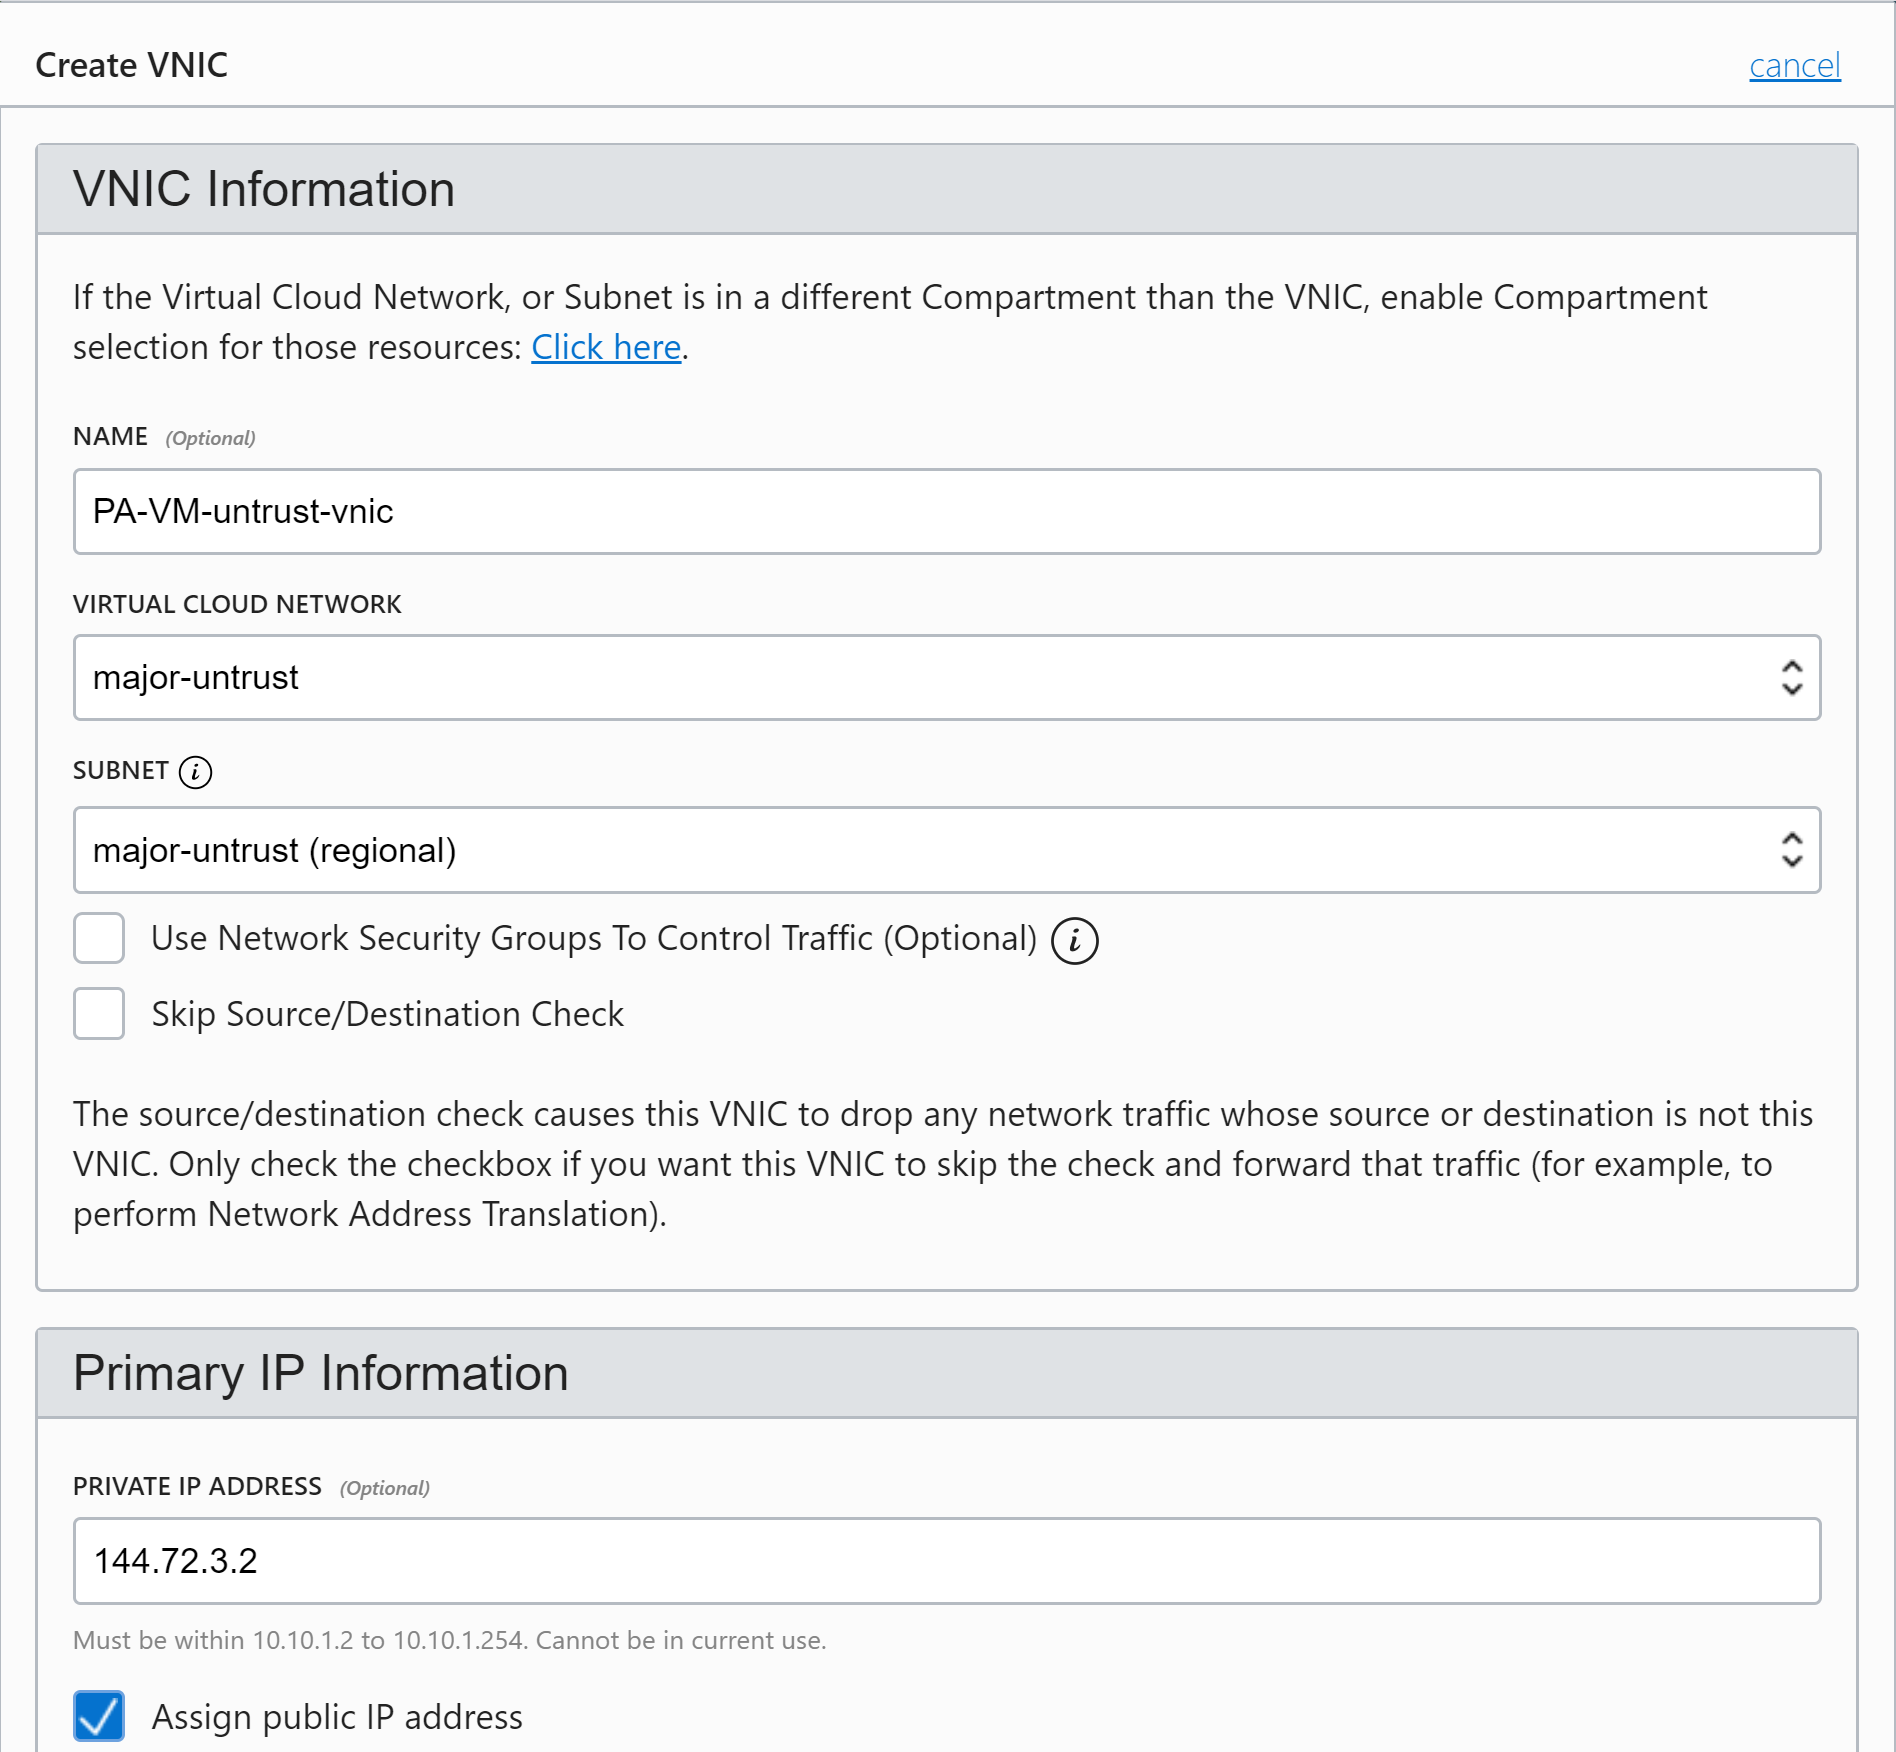
- Select your newly launched VM-Series firewall instance and select .Enter a descriptive Name for your vNIC.Select your VCN from the Virtual Cloud Network drop-down.Select your subnet from the Subnet drop-down.Specify a Private IP Address. This is only required if your want to choose a particular IP for the vNIC. If you do not specify an IP, OCI will assign an IP address from the CIDR block you assigned to the subnet.Select Assign Public IP Address for public facing vNICs such as your untrust subnet.Click Create VNIC.Repeat this procedure for each vNIC your deployment requires.
![]() Configure the dataplane network interfaces as Layer 3 interfaces on the firewall.
Configure the dataplane network interfaces as Layer 3 interfaces on the firewall.- Log in to the firewall.Select .Click the link for ethernet 1/1 and configure as follows:
- Interface Type: Layer3
- On the Config tab, assign the interface to the default router.
- On the Config tab, expand the Security Zone drop-down and select New Zone. Define a new zone, for example untrust-zone, and then click OK.
- On the IPv4 tab, select either Static.
- Click Add in the IP section and enter the IP address and network mask for the interface. Make sure that the IP address matches the IP address that you assigned to the corresponding subnet in VCN. For example, if you add this interface to your untrust zone, make sure you assign the untrust vNIC IP address configured in your VCN.
Repeat this procedure for each vNIC configured in your VCN except your management vNIC.Always only delete interfaces at the bottom of the interface list. Deleting firewall interfaces in the wrong order results in a interface mismatch between the firewall and OCI. For example, say you have five data interfaces, then delete interface two on the firewall and add a new interface at the bottom. After rebooting the firewall, the newly added interface will take the place of the deleted interface two instead of taking a place at the bottom of the list.