Configure Third-Party Device-ID
Table of Contents
Configure Third-Party Device-ID
Third-Party Device-ID allows you to leverage information from third-party IoT detection sources
to simplify the task of identifying and closing security gaps for devices in your
network. Third-Party Device-ID enables Prisma Access to obtain and use
information from third-party IoT visibility solutions through the Cloud Identity
Engine for device visibility and control.
When you configure Third-Party Device-ID, the third-party IoT solutions can use an API to provide
the Device-ID verdicts to a secure cloud-based
infrastructure, the Third-Party Device-ID service, that provides the information to
the Prisma Access Security Processing Nodes (SPNs).
The same verdicts display as IP address-to-device mappings in the Cloud Identity
Engine, allowing you to confirm that the Device-ID verdicts are available to your
Palo Alto Networks applications. After the Prisma Access SPNs receive the IP
address-to-device mappings and the third-party IoT solution information is available
in the Cloud Identity Engine, any matching device-based policy rules defined in
Prisma Access are enforced.
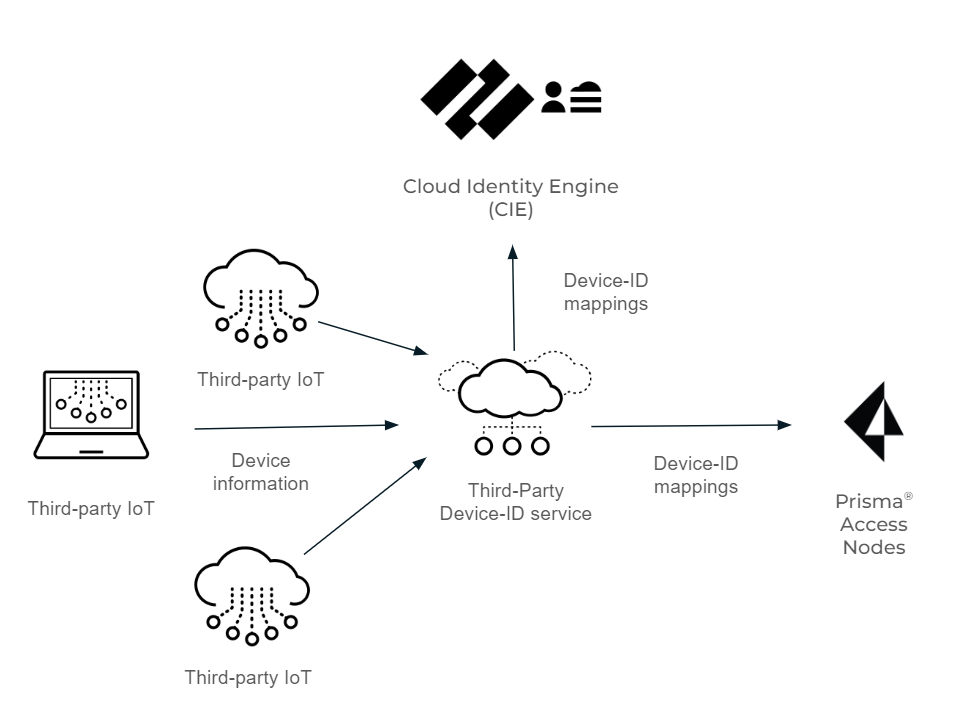
The following diagram depicts
how the Third-Party Device-ID service receives the device information
from the third-party IoT solutions, which it then transmits as IP
address-to-device mappings to the Cloud Identity Engine and the
Prisma Access SPNs.
Before
you begin the procedure, obtain a certificate signing request and
its key for the vendor of each third-party IoT solution you want
to use with Third-Party Device-ID from your network administrator.
- Activate Third-Party Device-ID in the Cloud Identity Engine.If you have not already done so, configure the Cloud Identity Engine.
- Log in to the hub and select the Cloud Identity Engine tenant you want to use, then select .
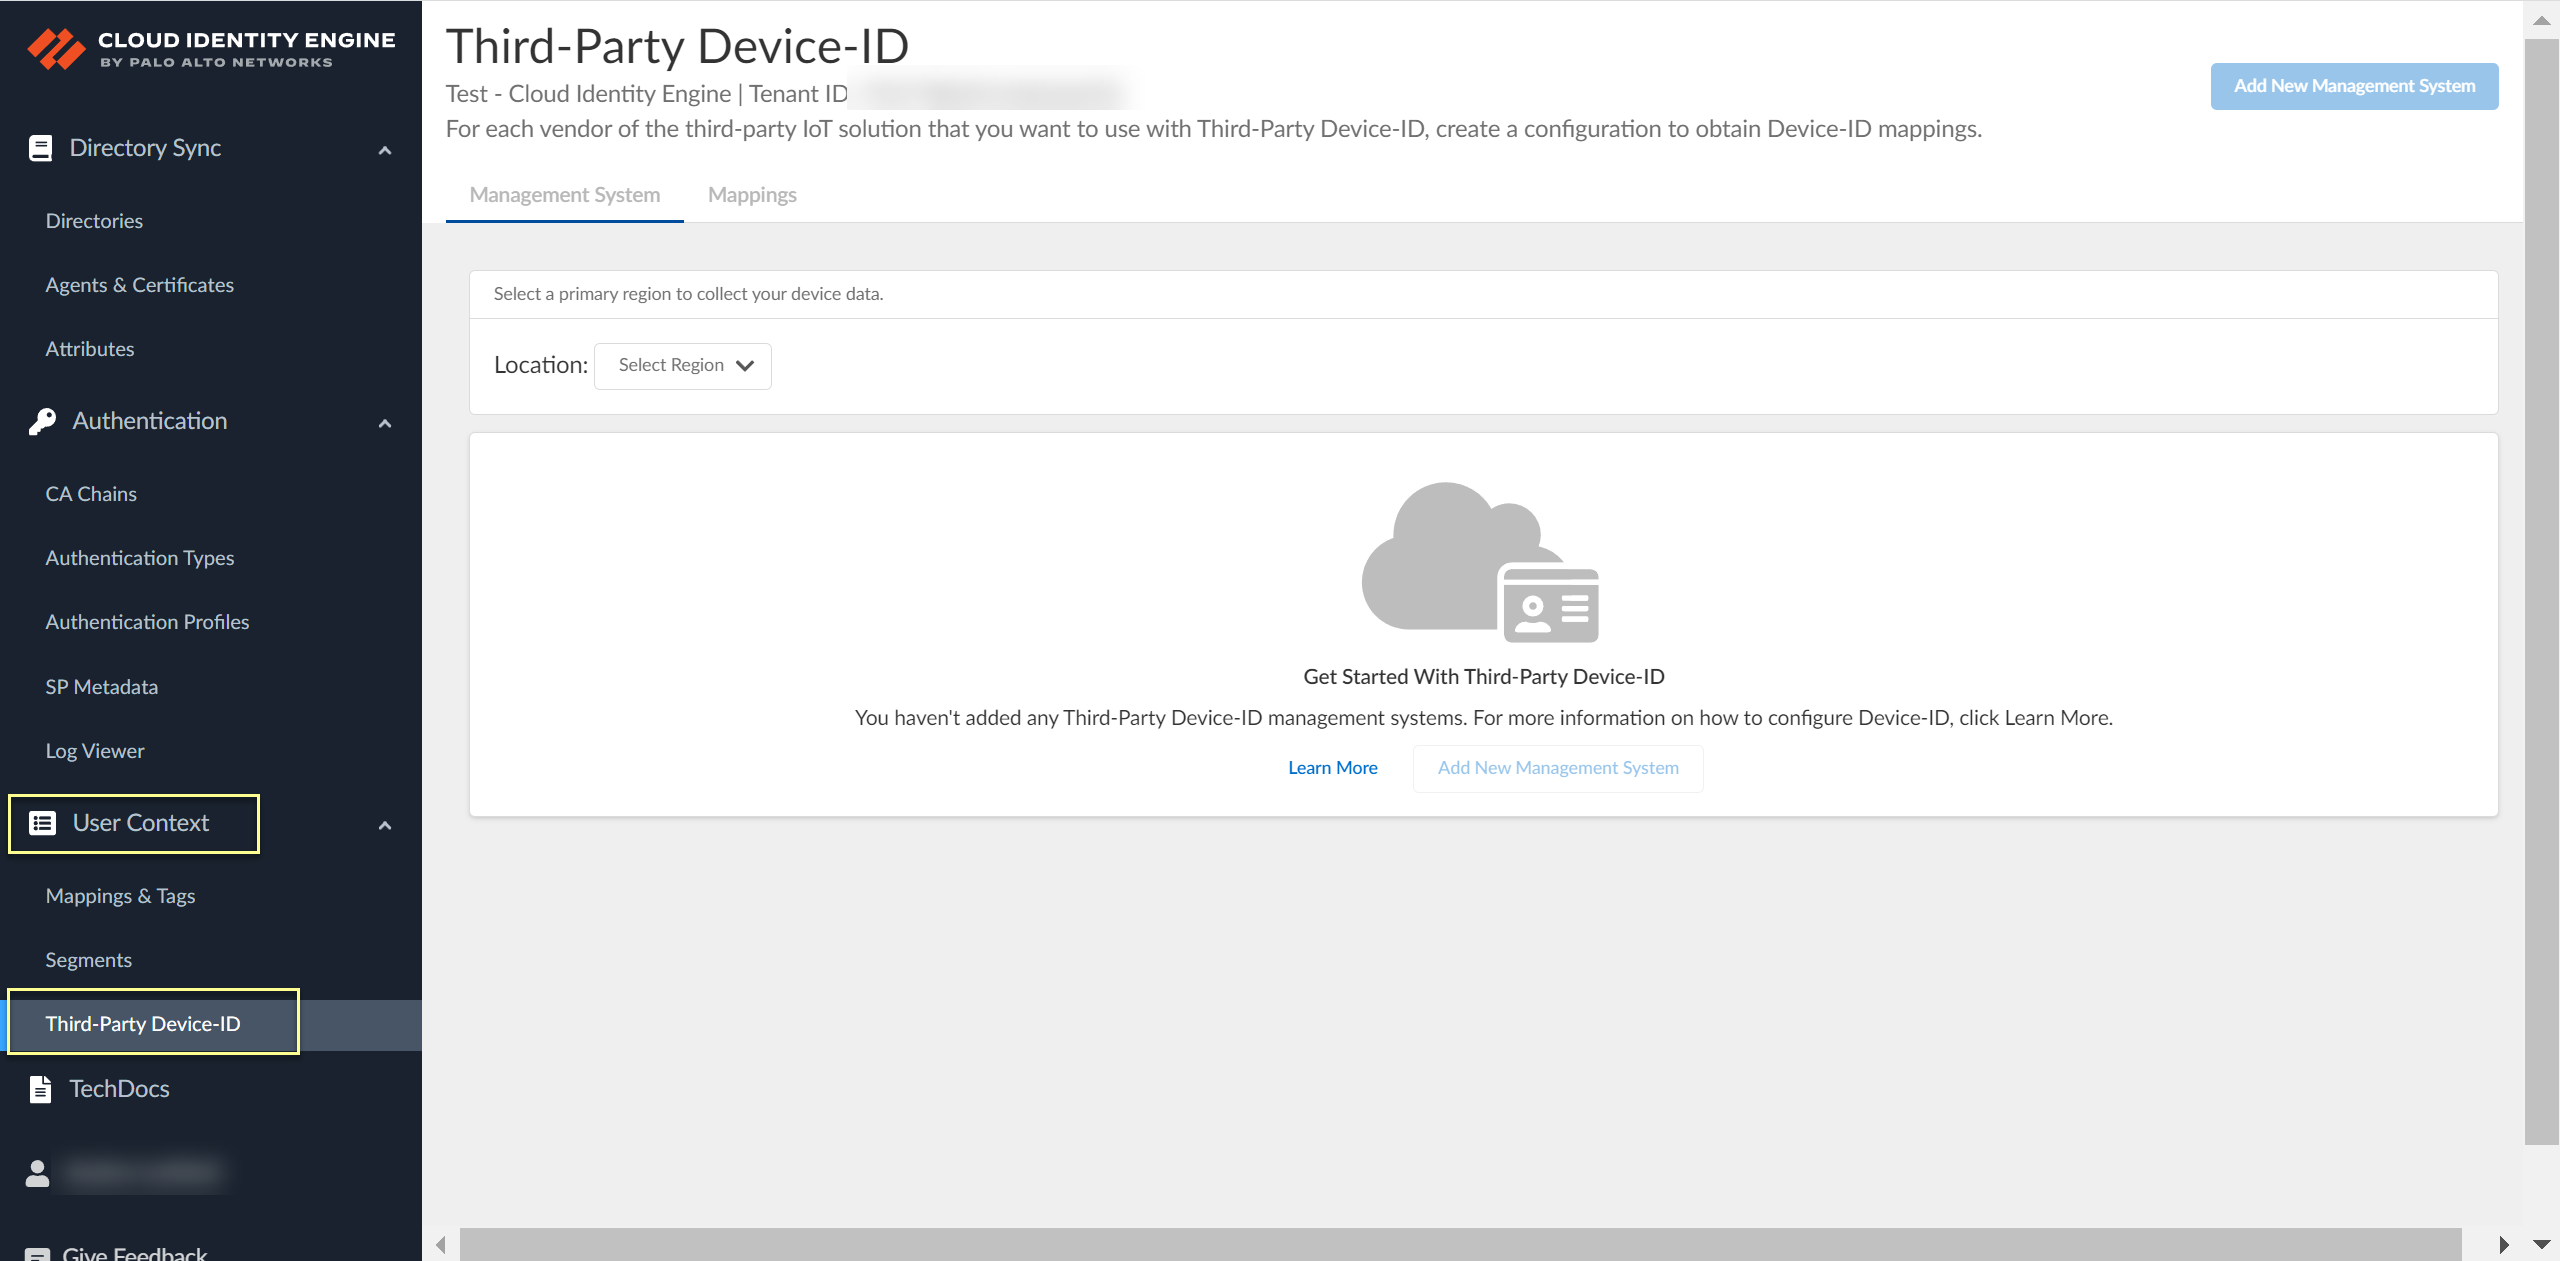
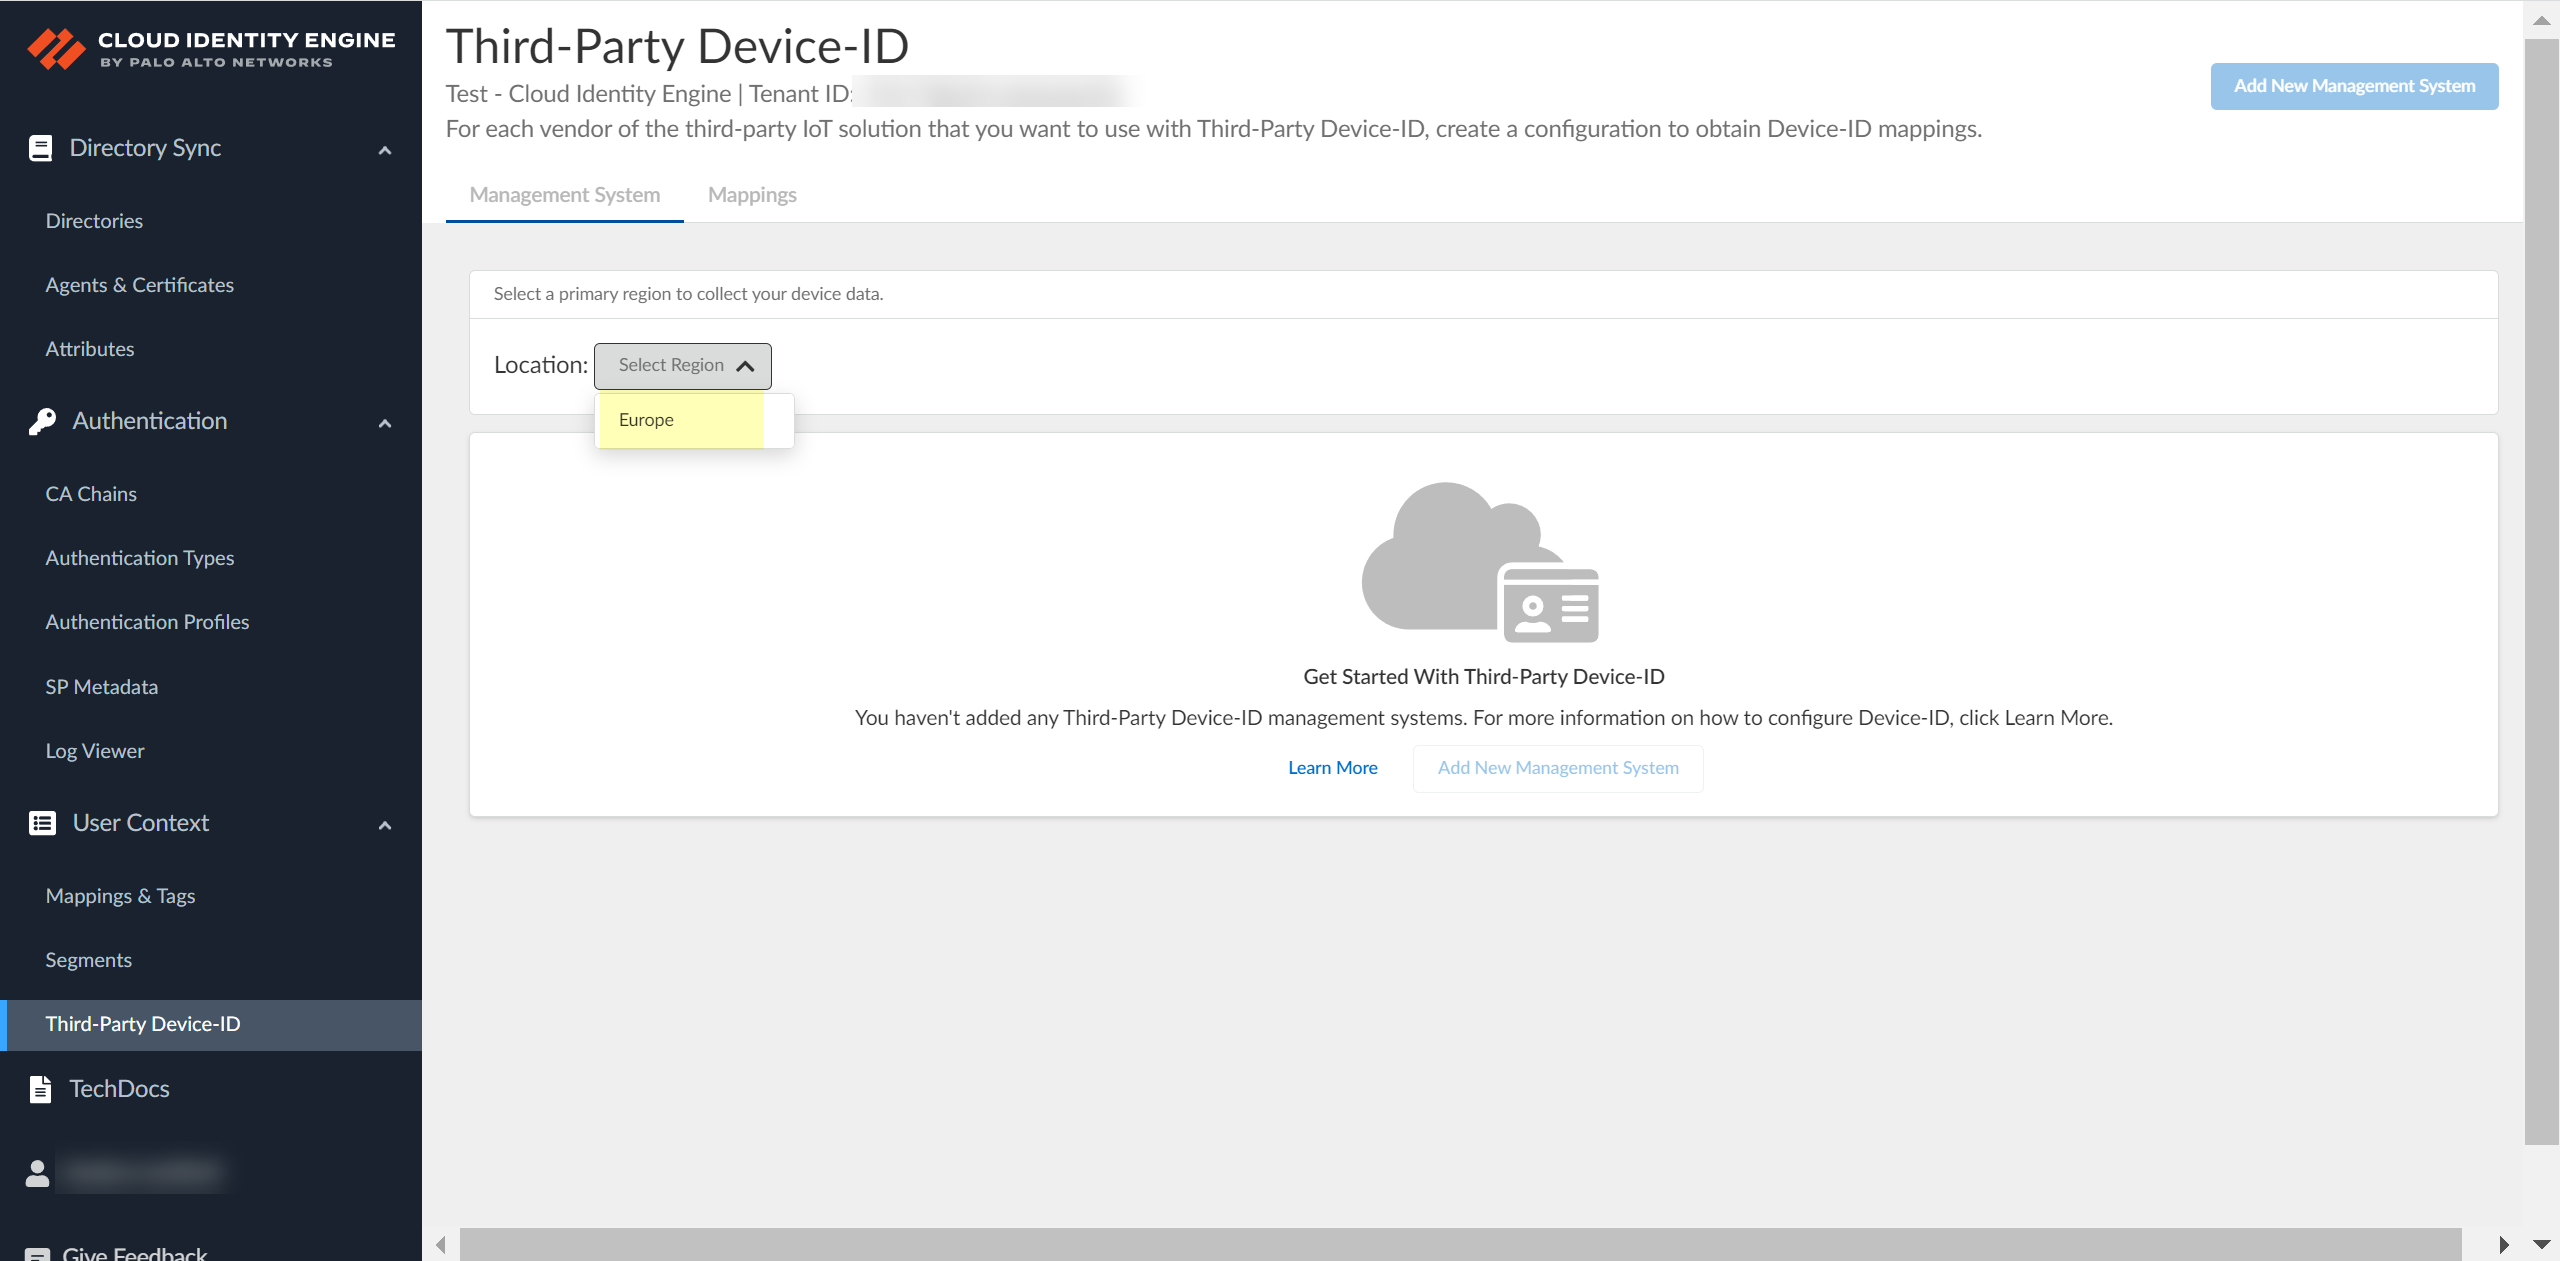
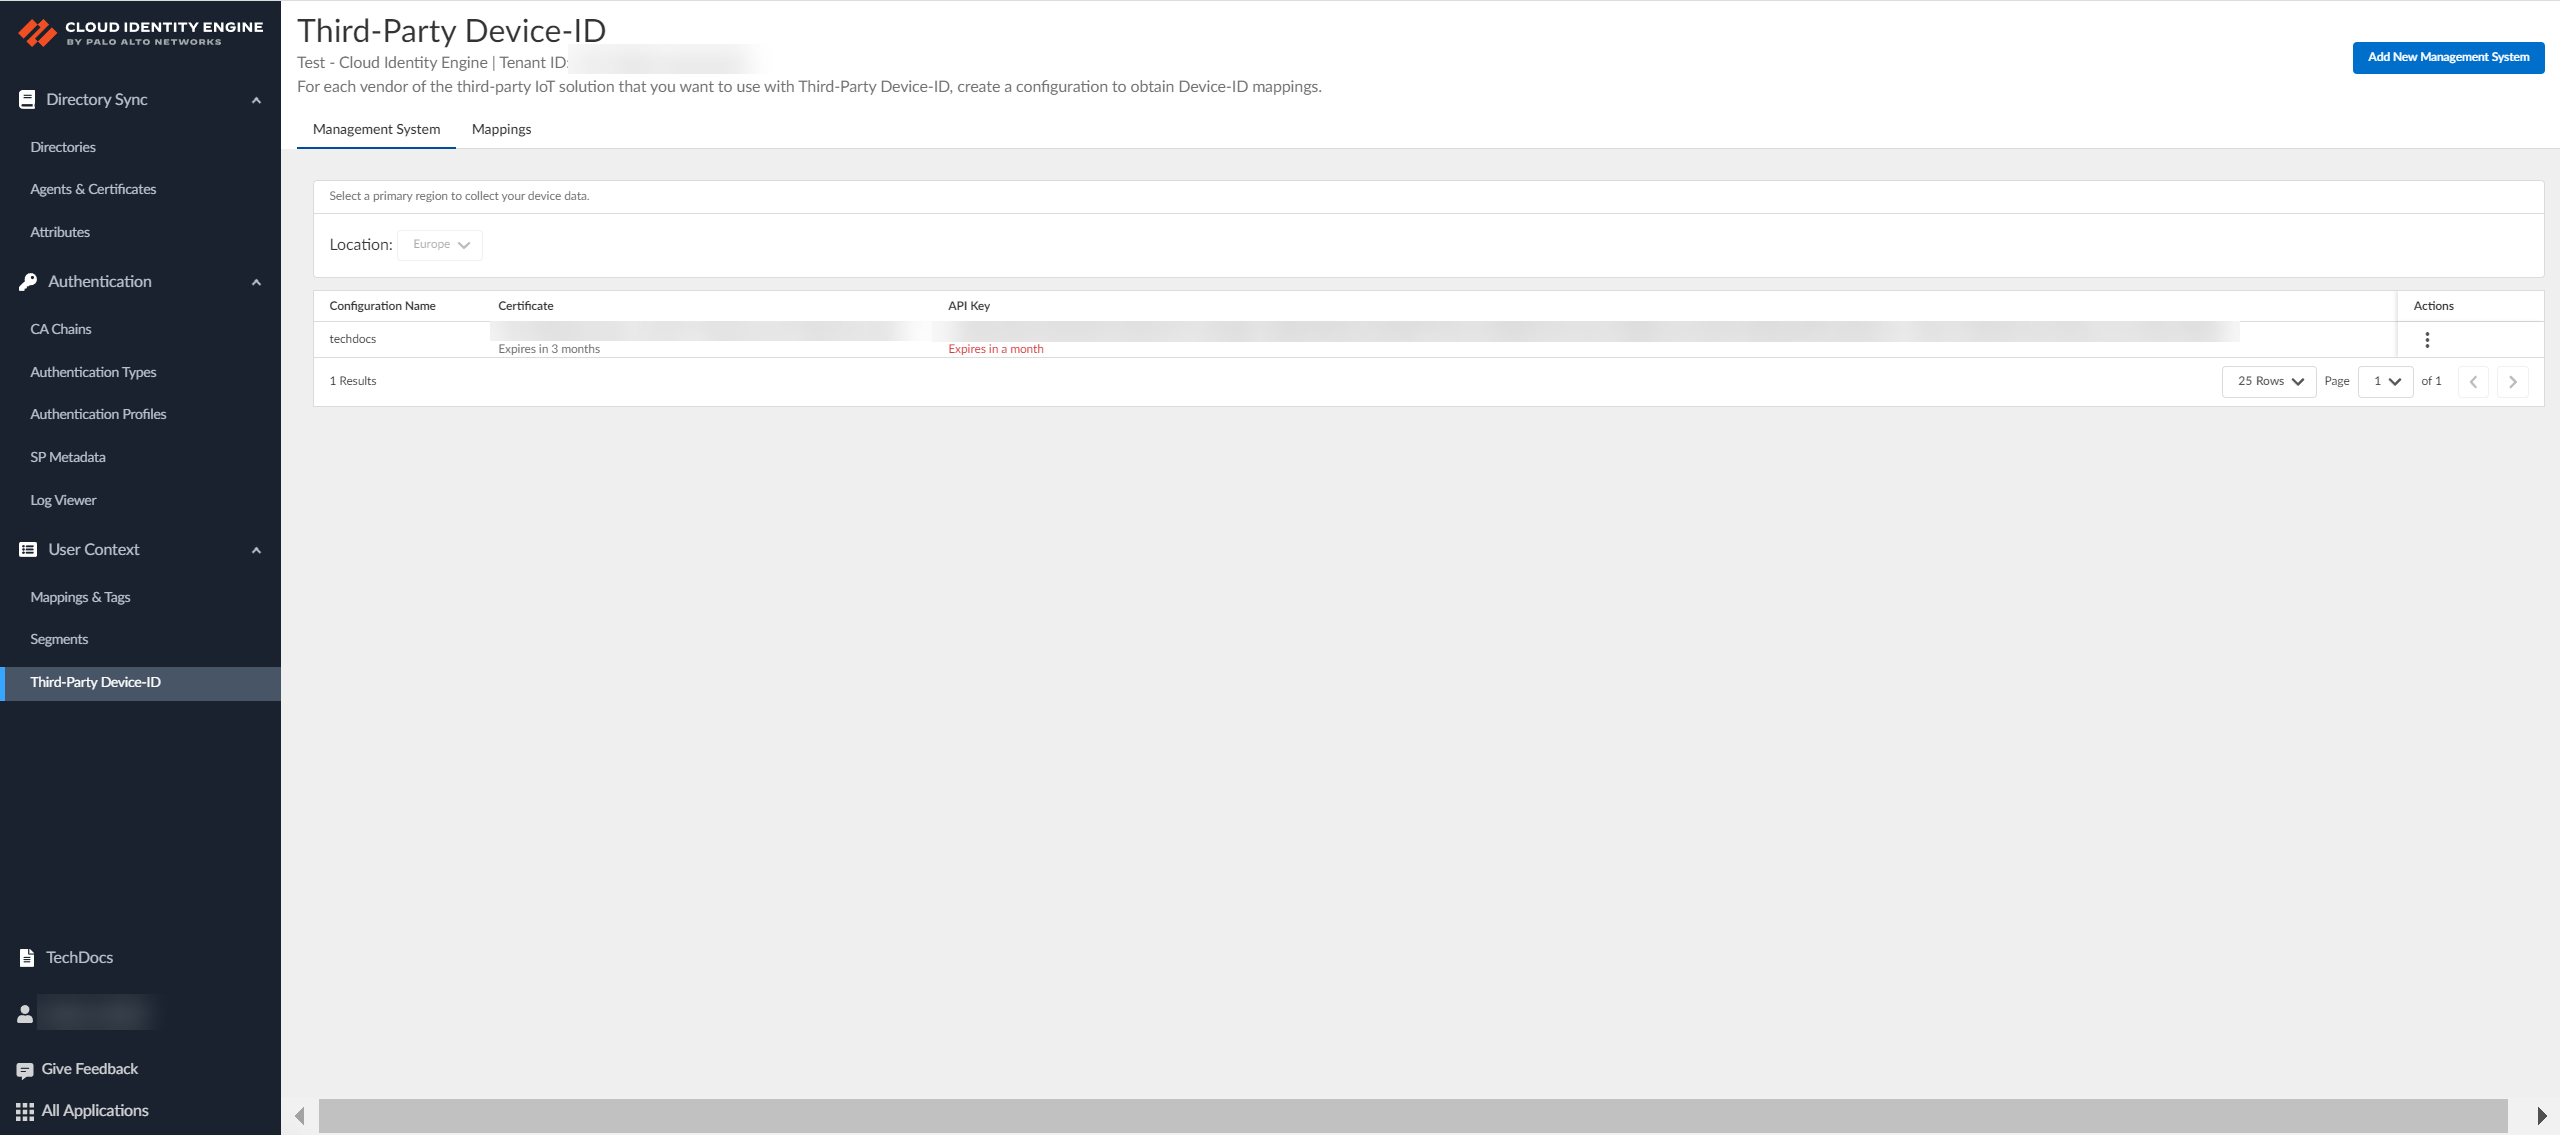
![]() Select the Location of your tenant.Because you can only select the region once and you can't change it after making a selection, verify your region before selecting it during Third-Party Device-ID activation.
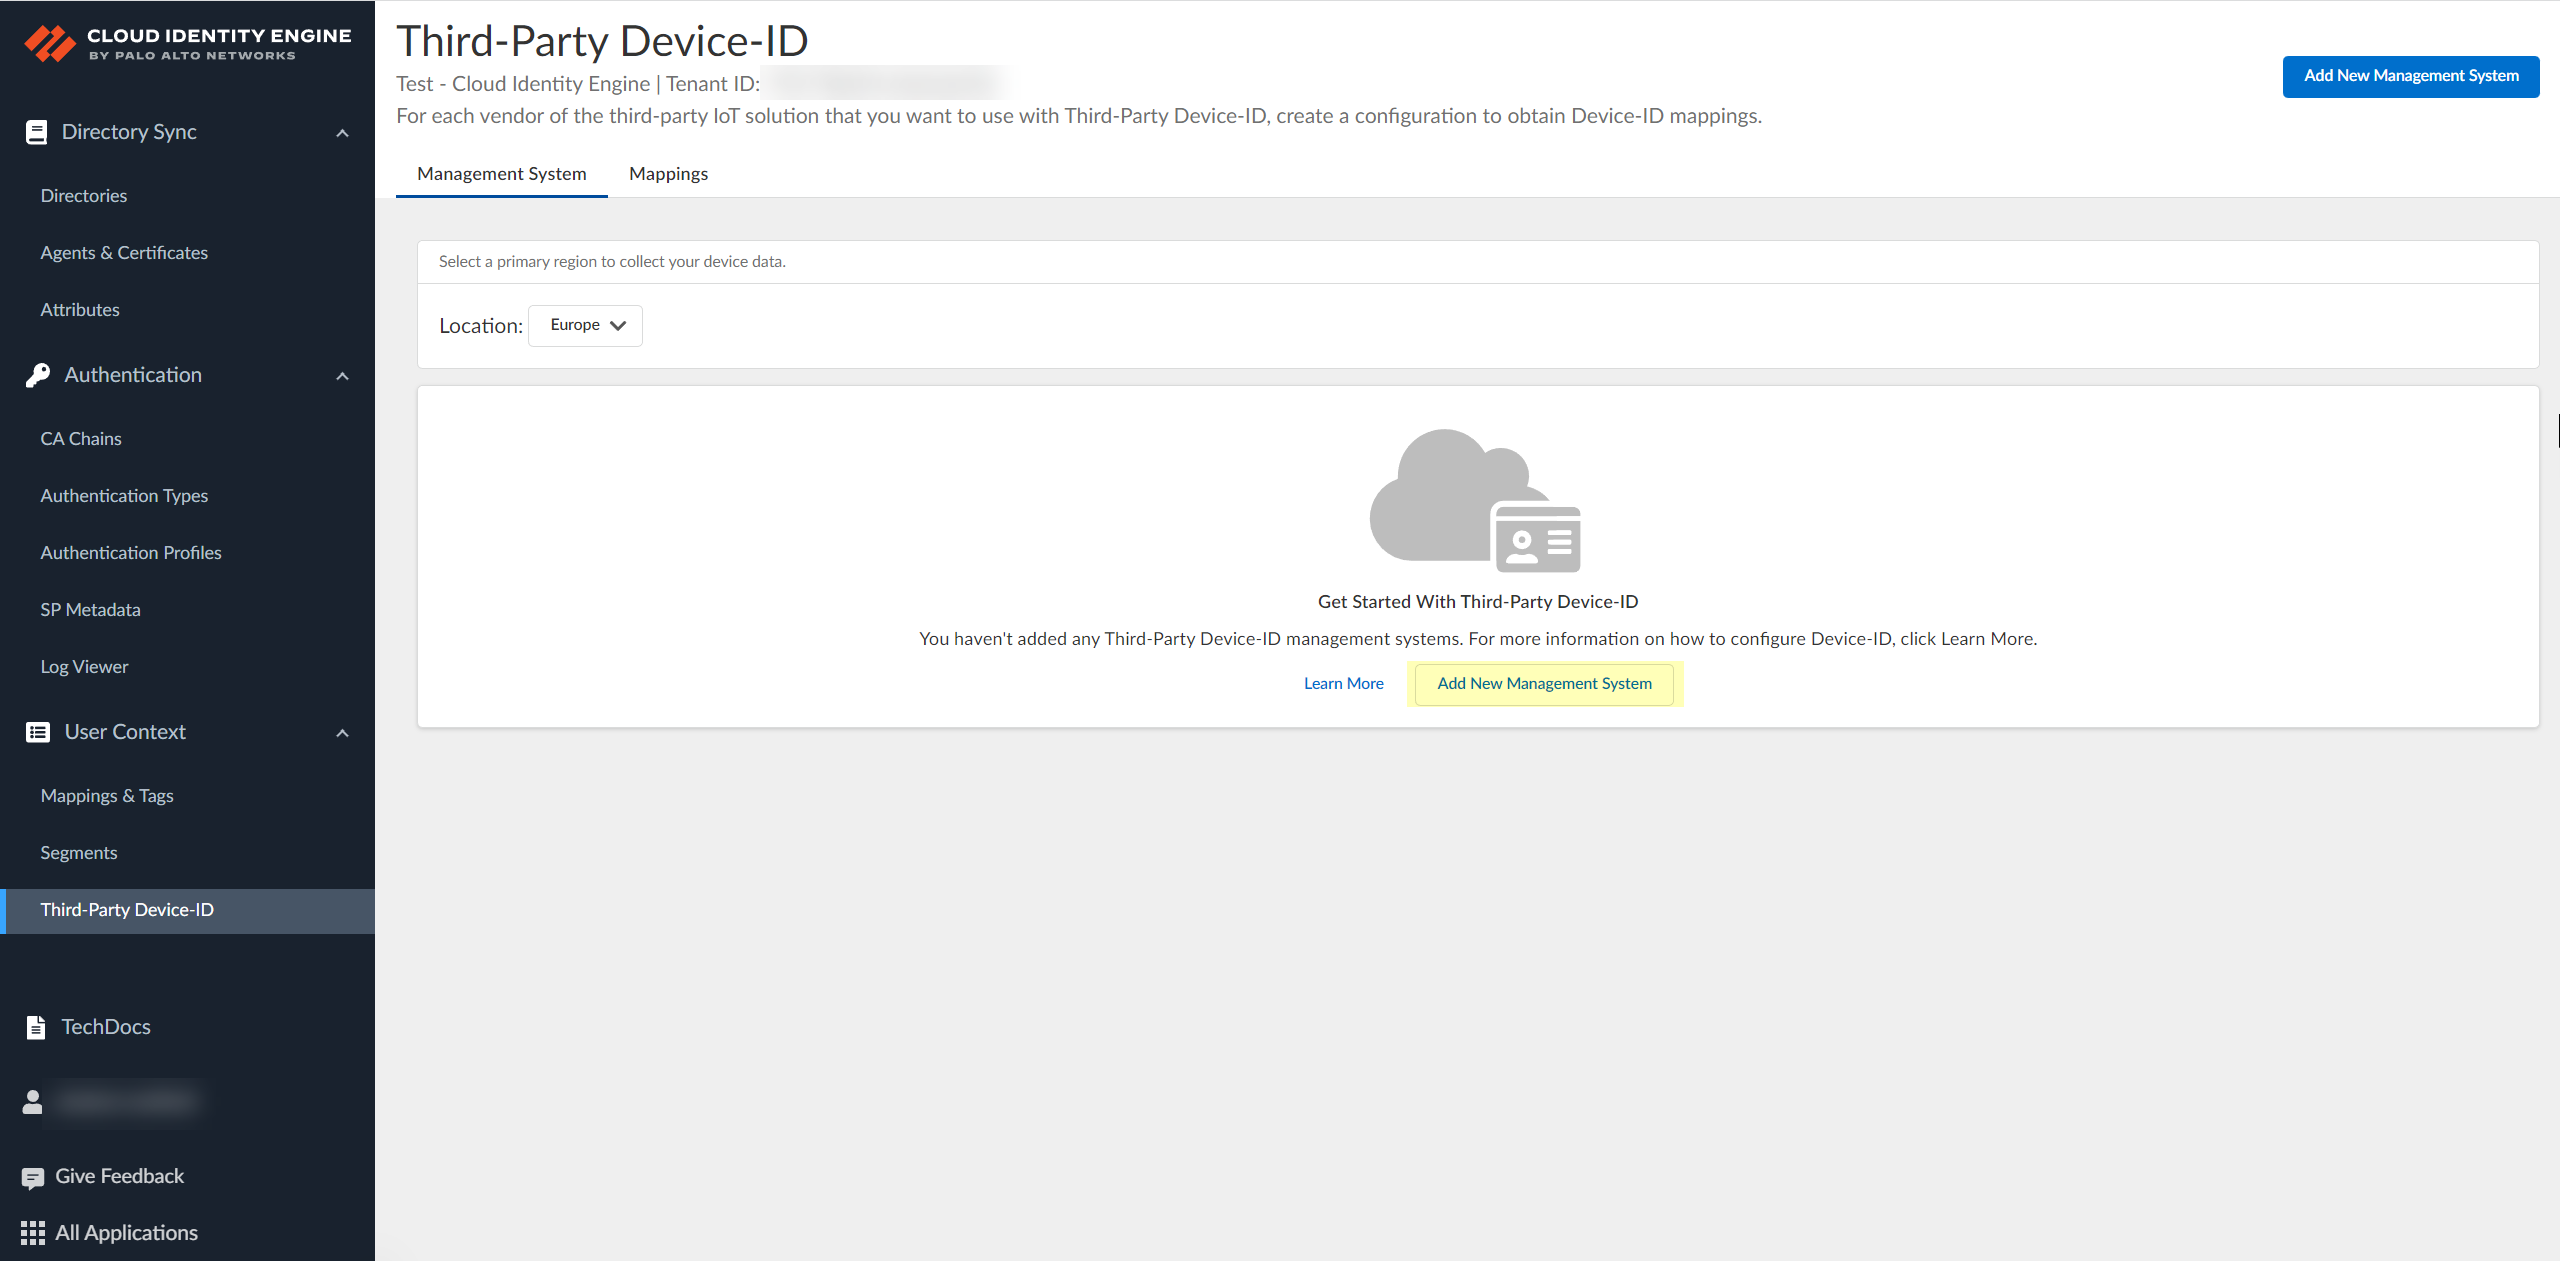
Select the Location of your tenant.Because you can only select the region once and you can't change it after making a selection, verify your region before selecting it during Third-Party Device-ID activation.![]() Click Add New Management System.
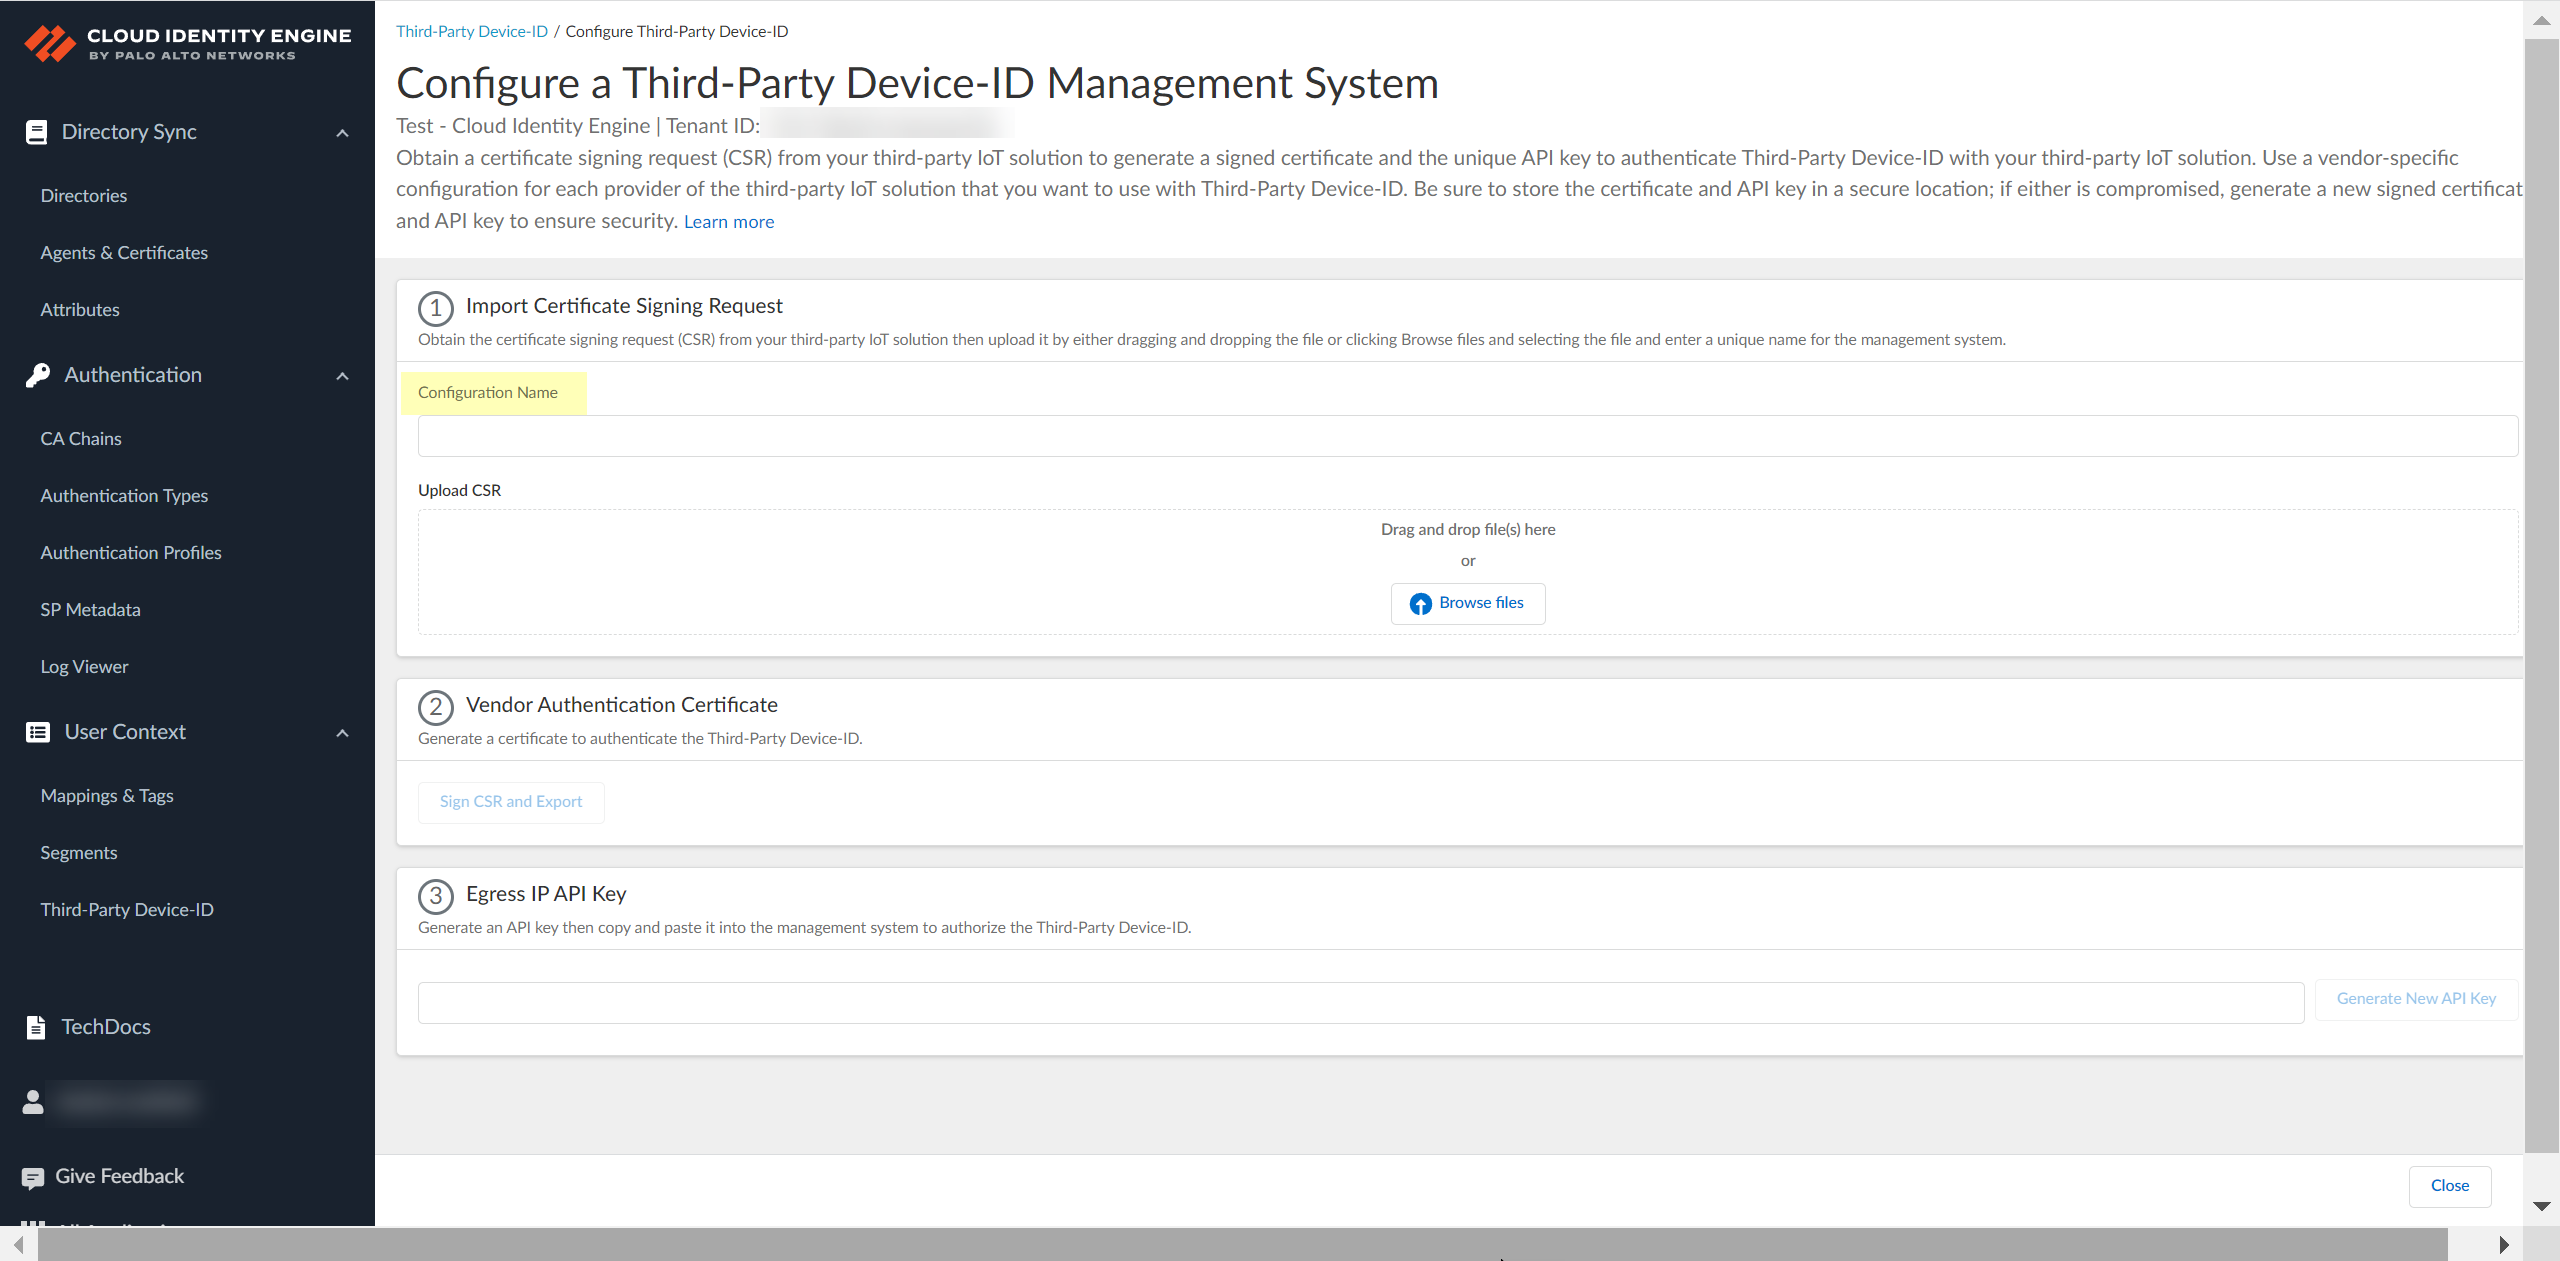
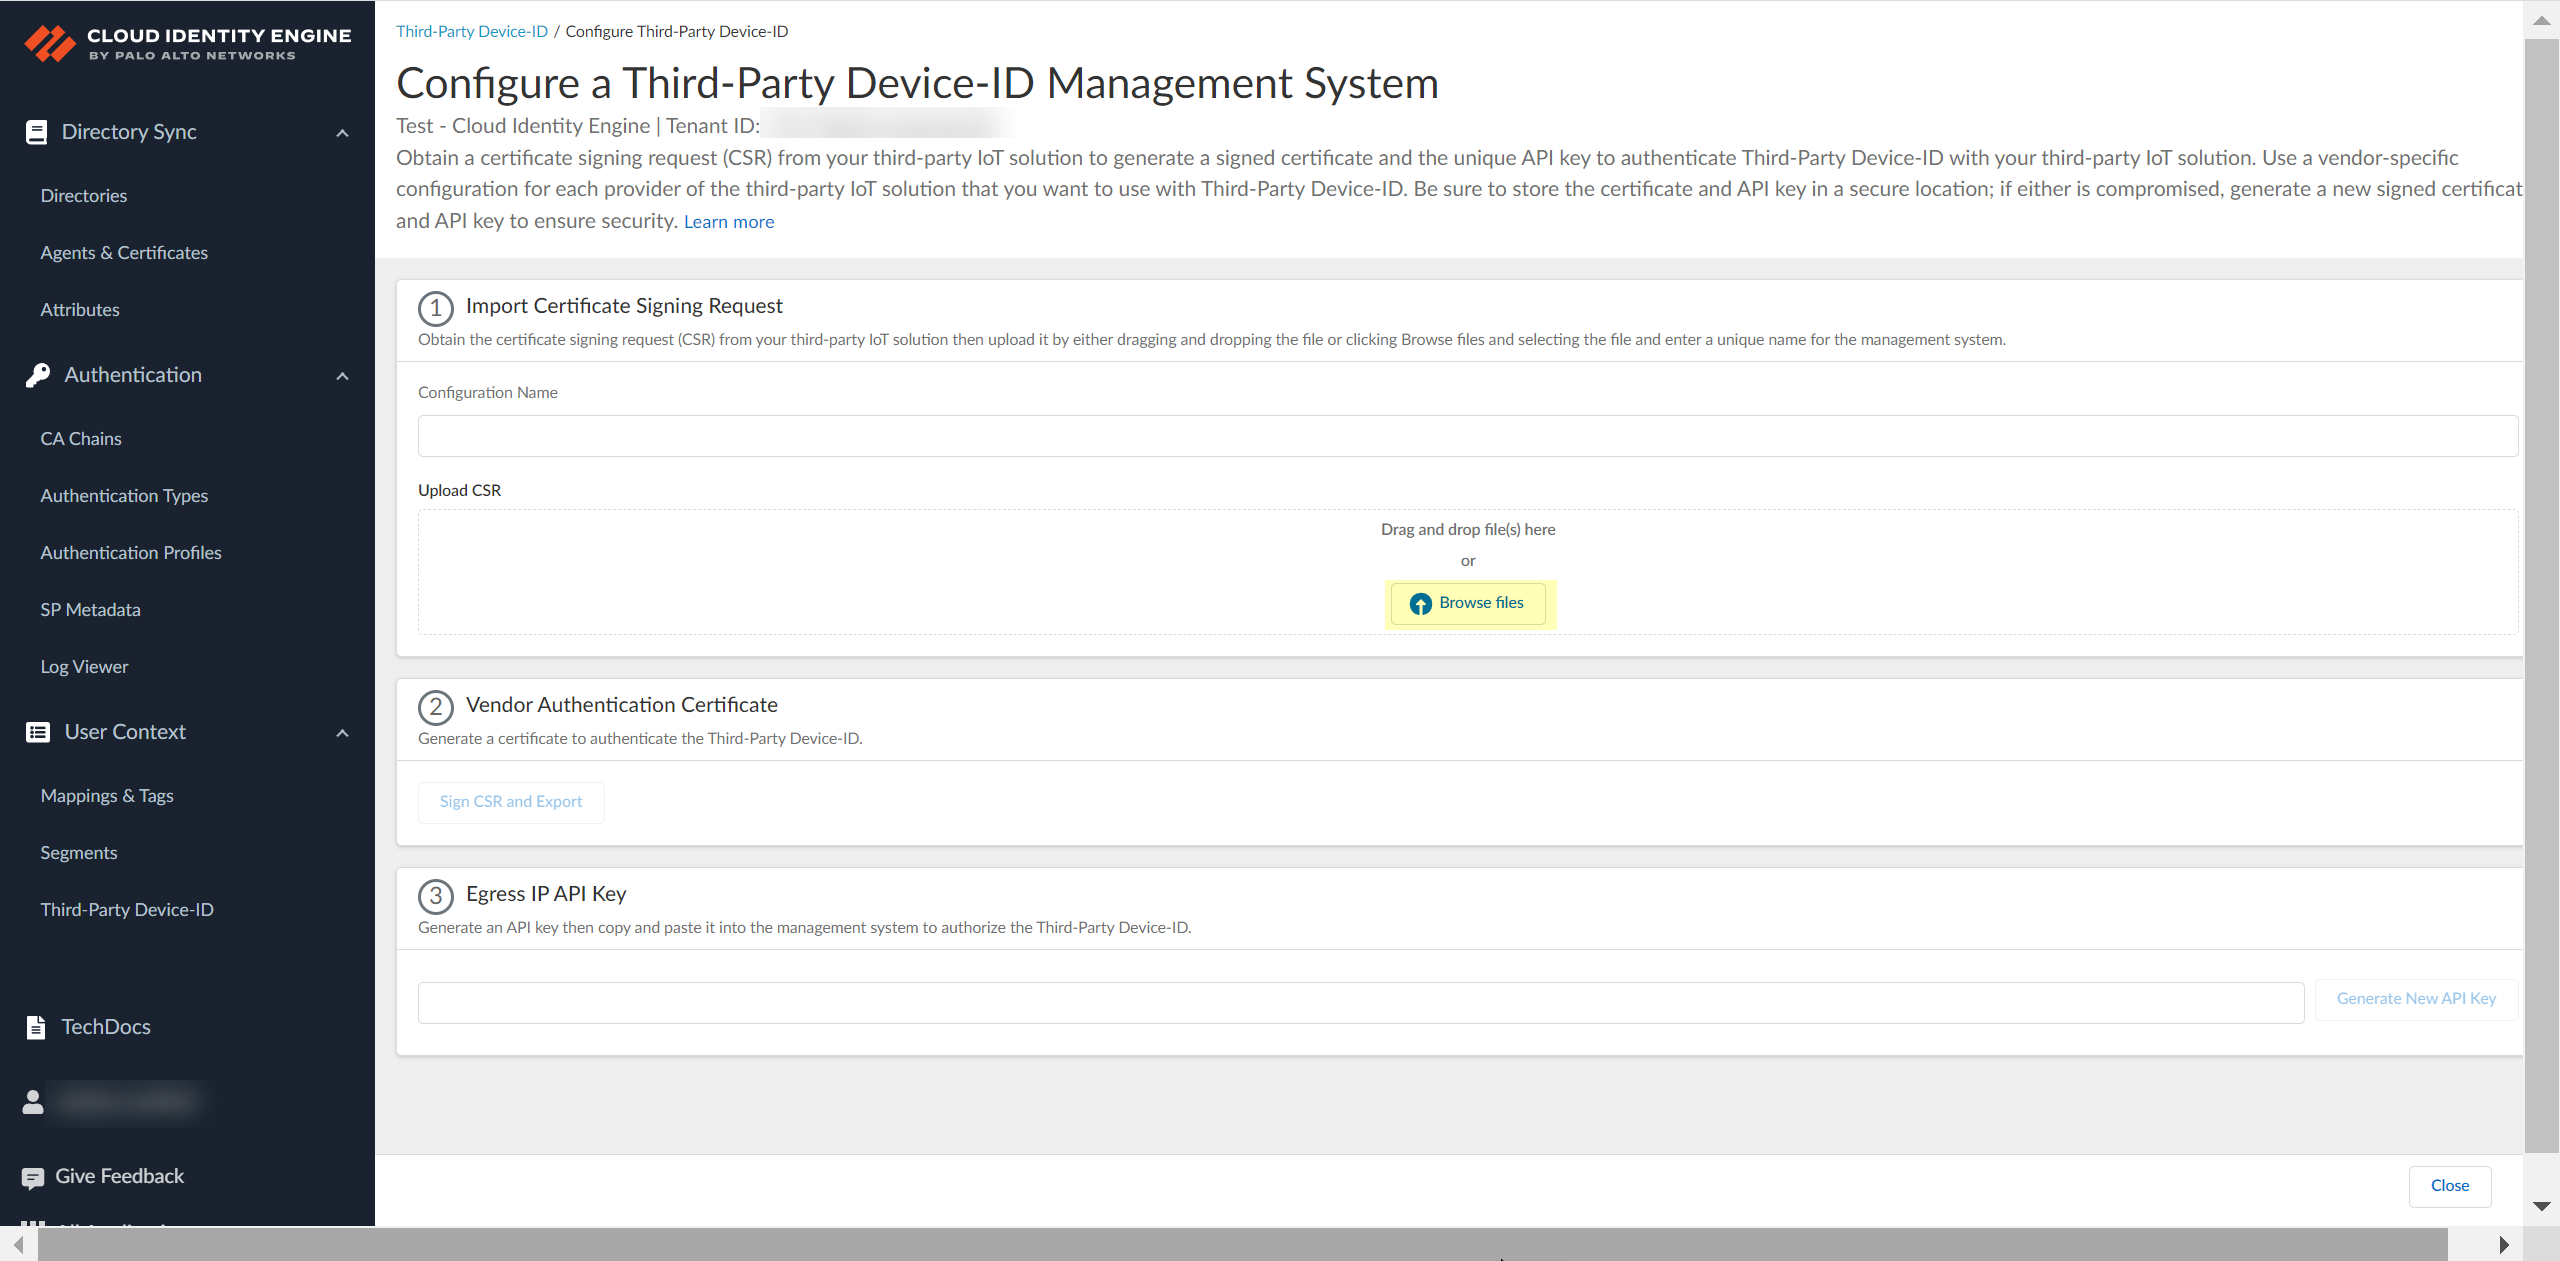
Click Add New Management System.![]() Upload the certificate signing request (CSR) from the third-party IoT solution.
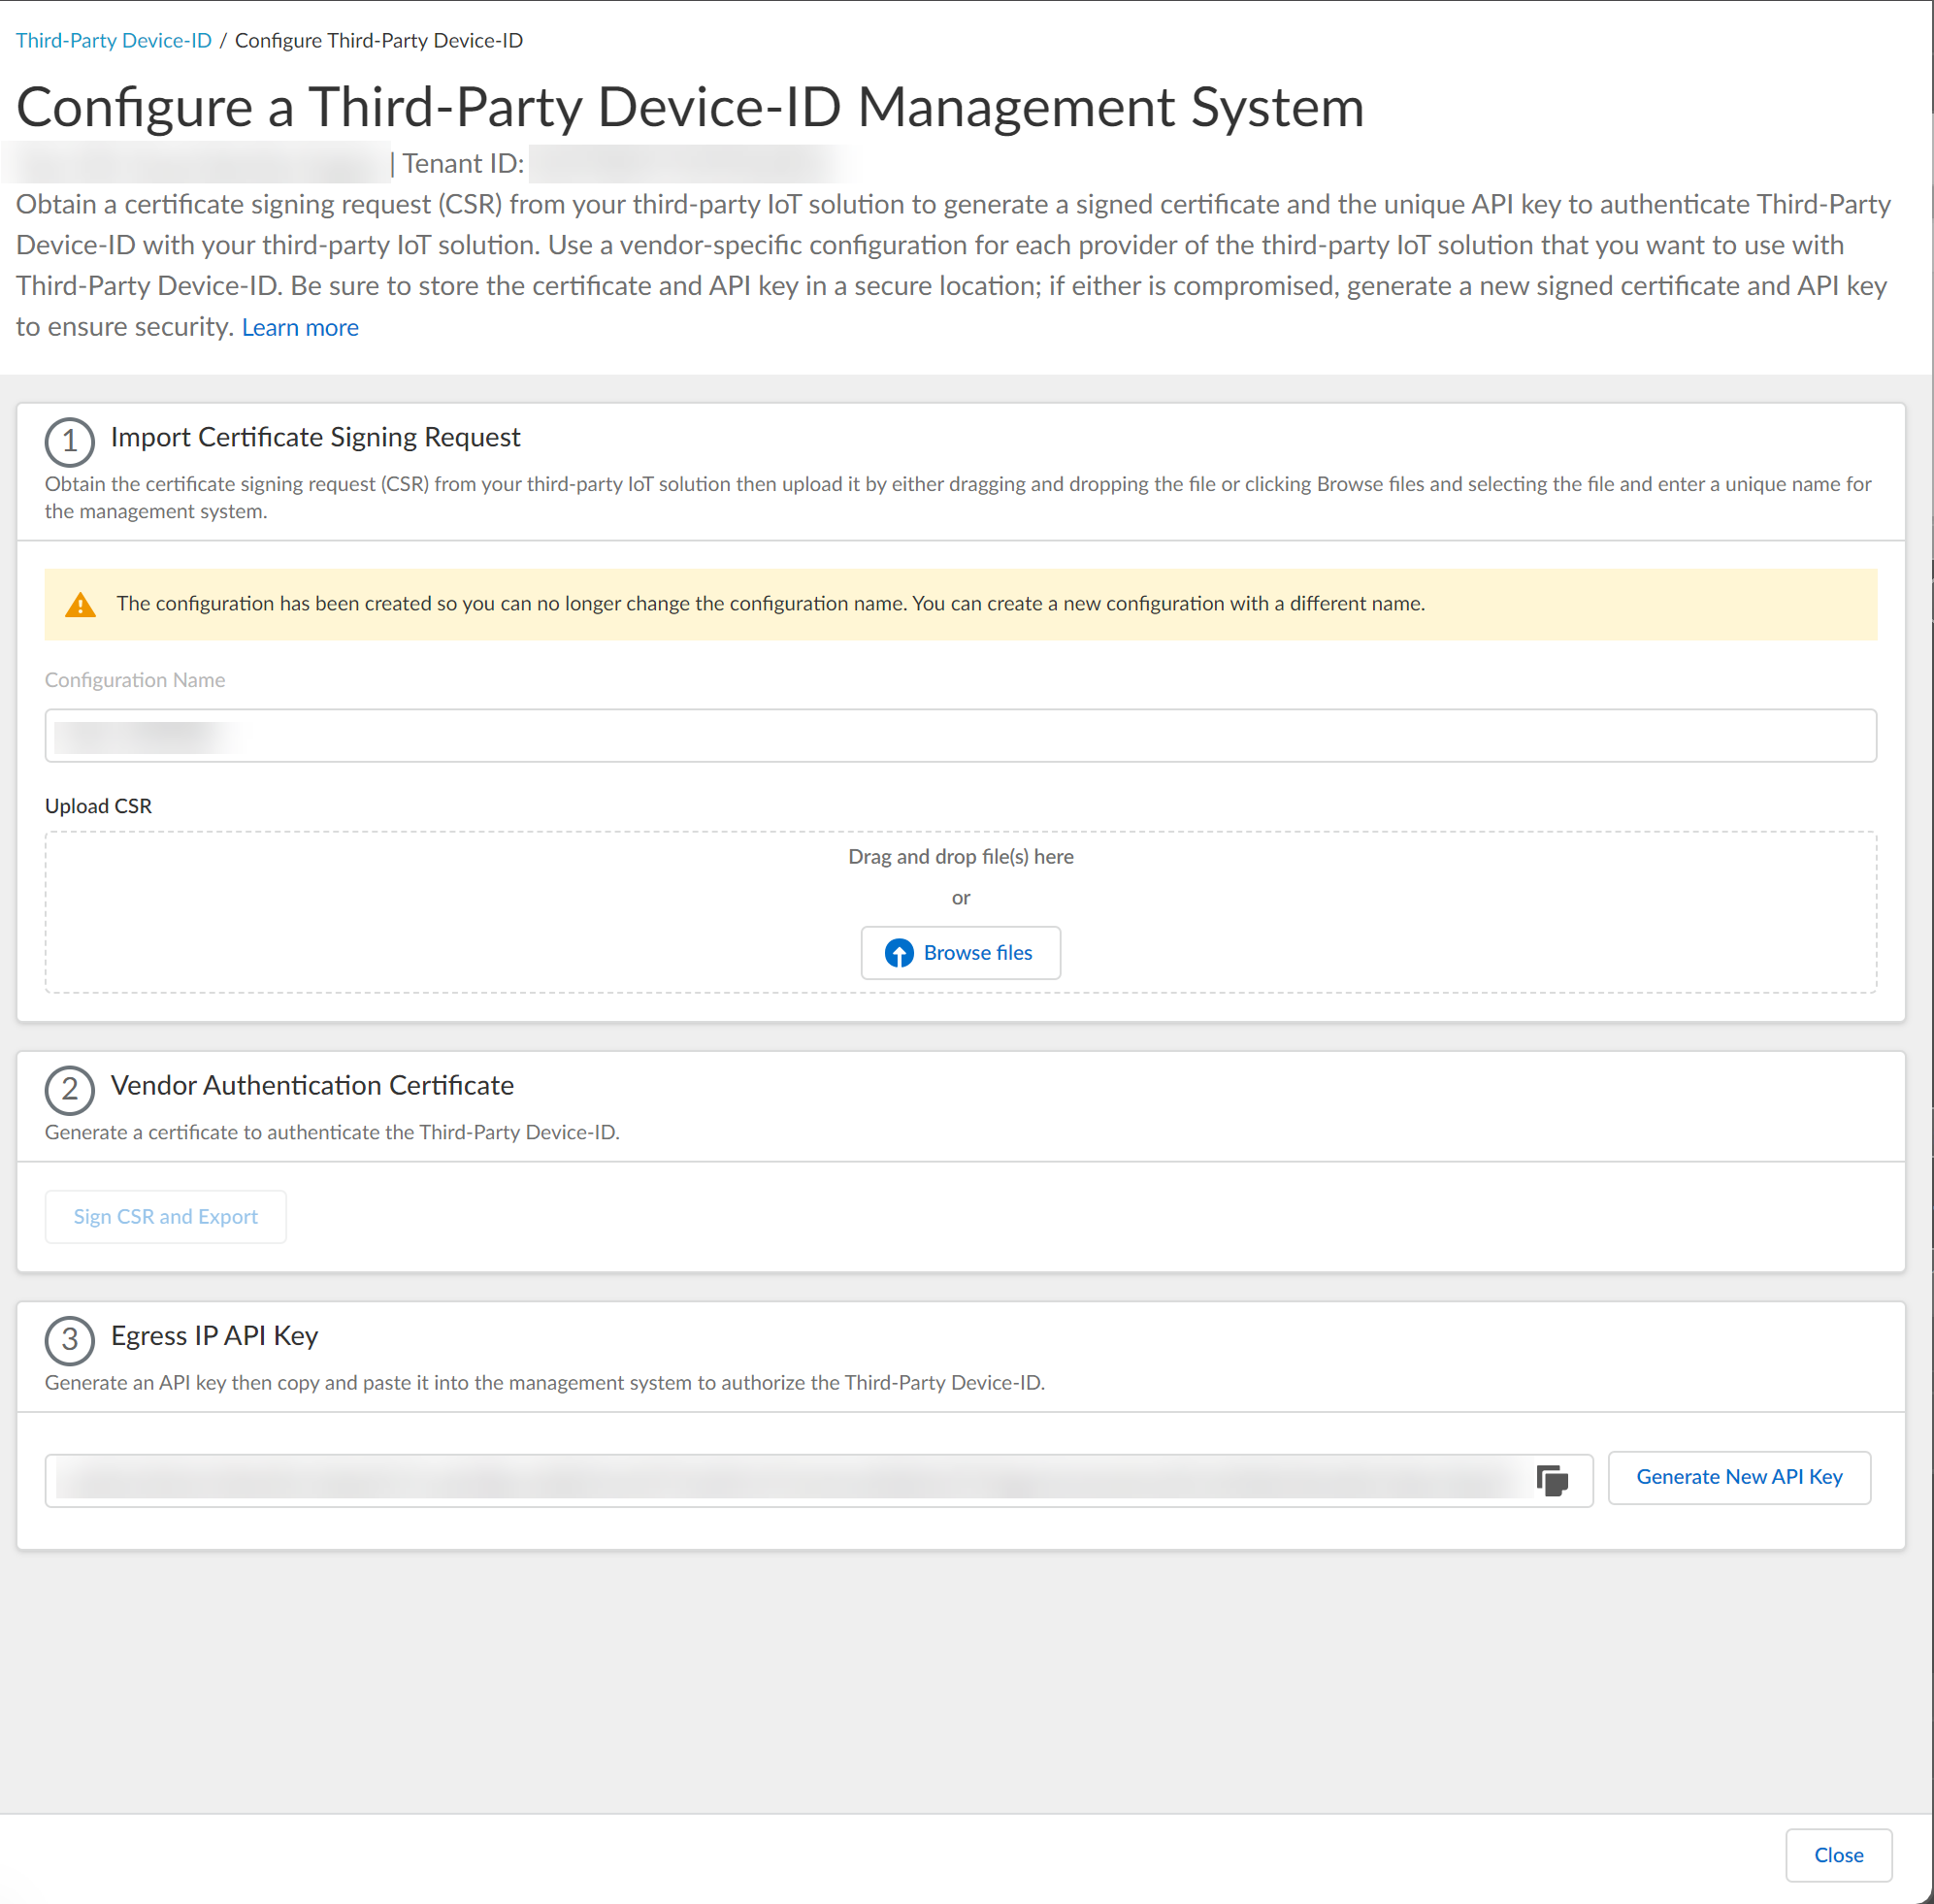
Upload the certificate signing request (CSR) from the third-party IoT solution.- Enter a unique Configuration Name (for example, the vendor of the third-party IoT solution).
![]() Click Browse Files or drag and drop to upload the certificate signing request (CSR) file from the third-party IoT solution.Contact the administrator of the third-party IoT solution to obtain the CSR file.You can only upload a CSR once for each configuration. If you need to update or change the configuration, you must create a new CSR.
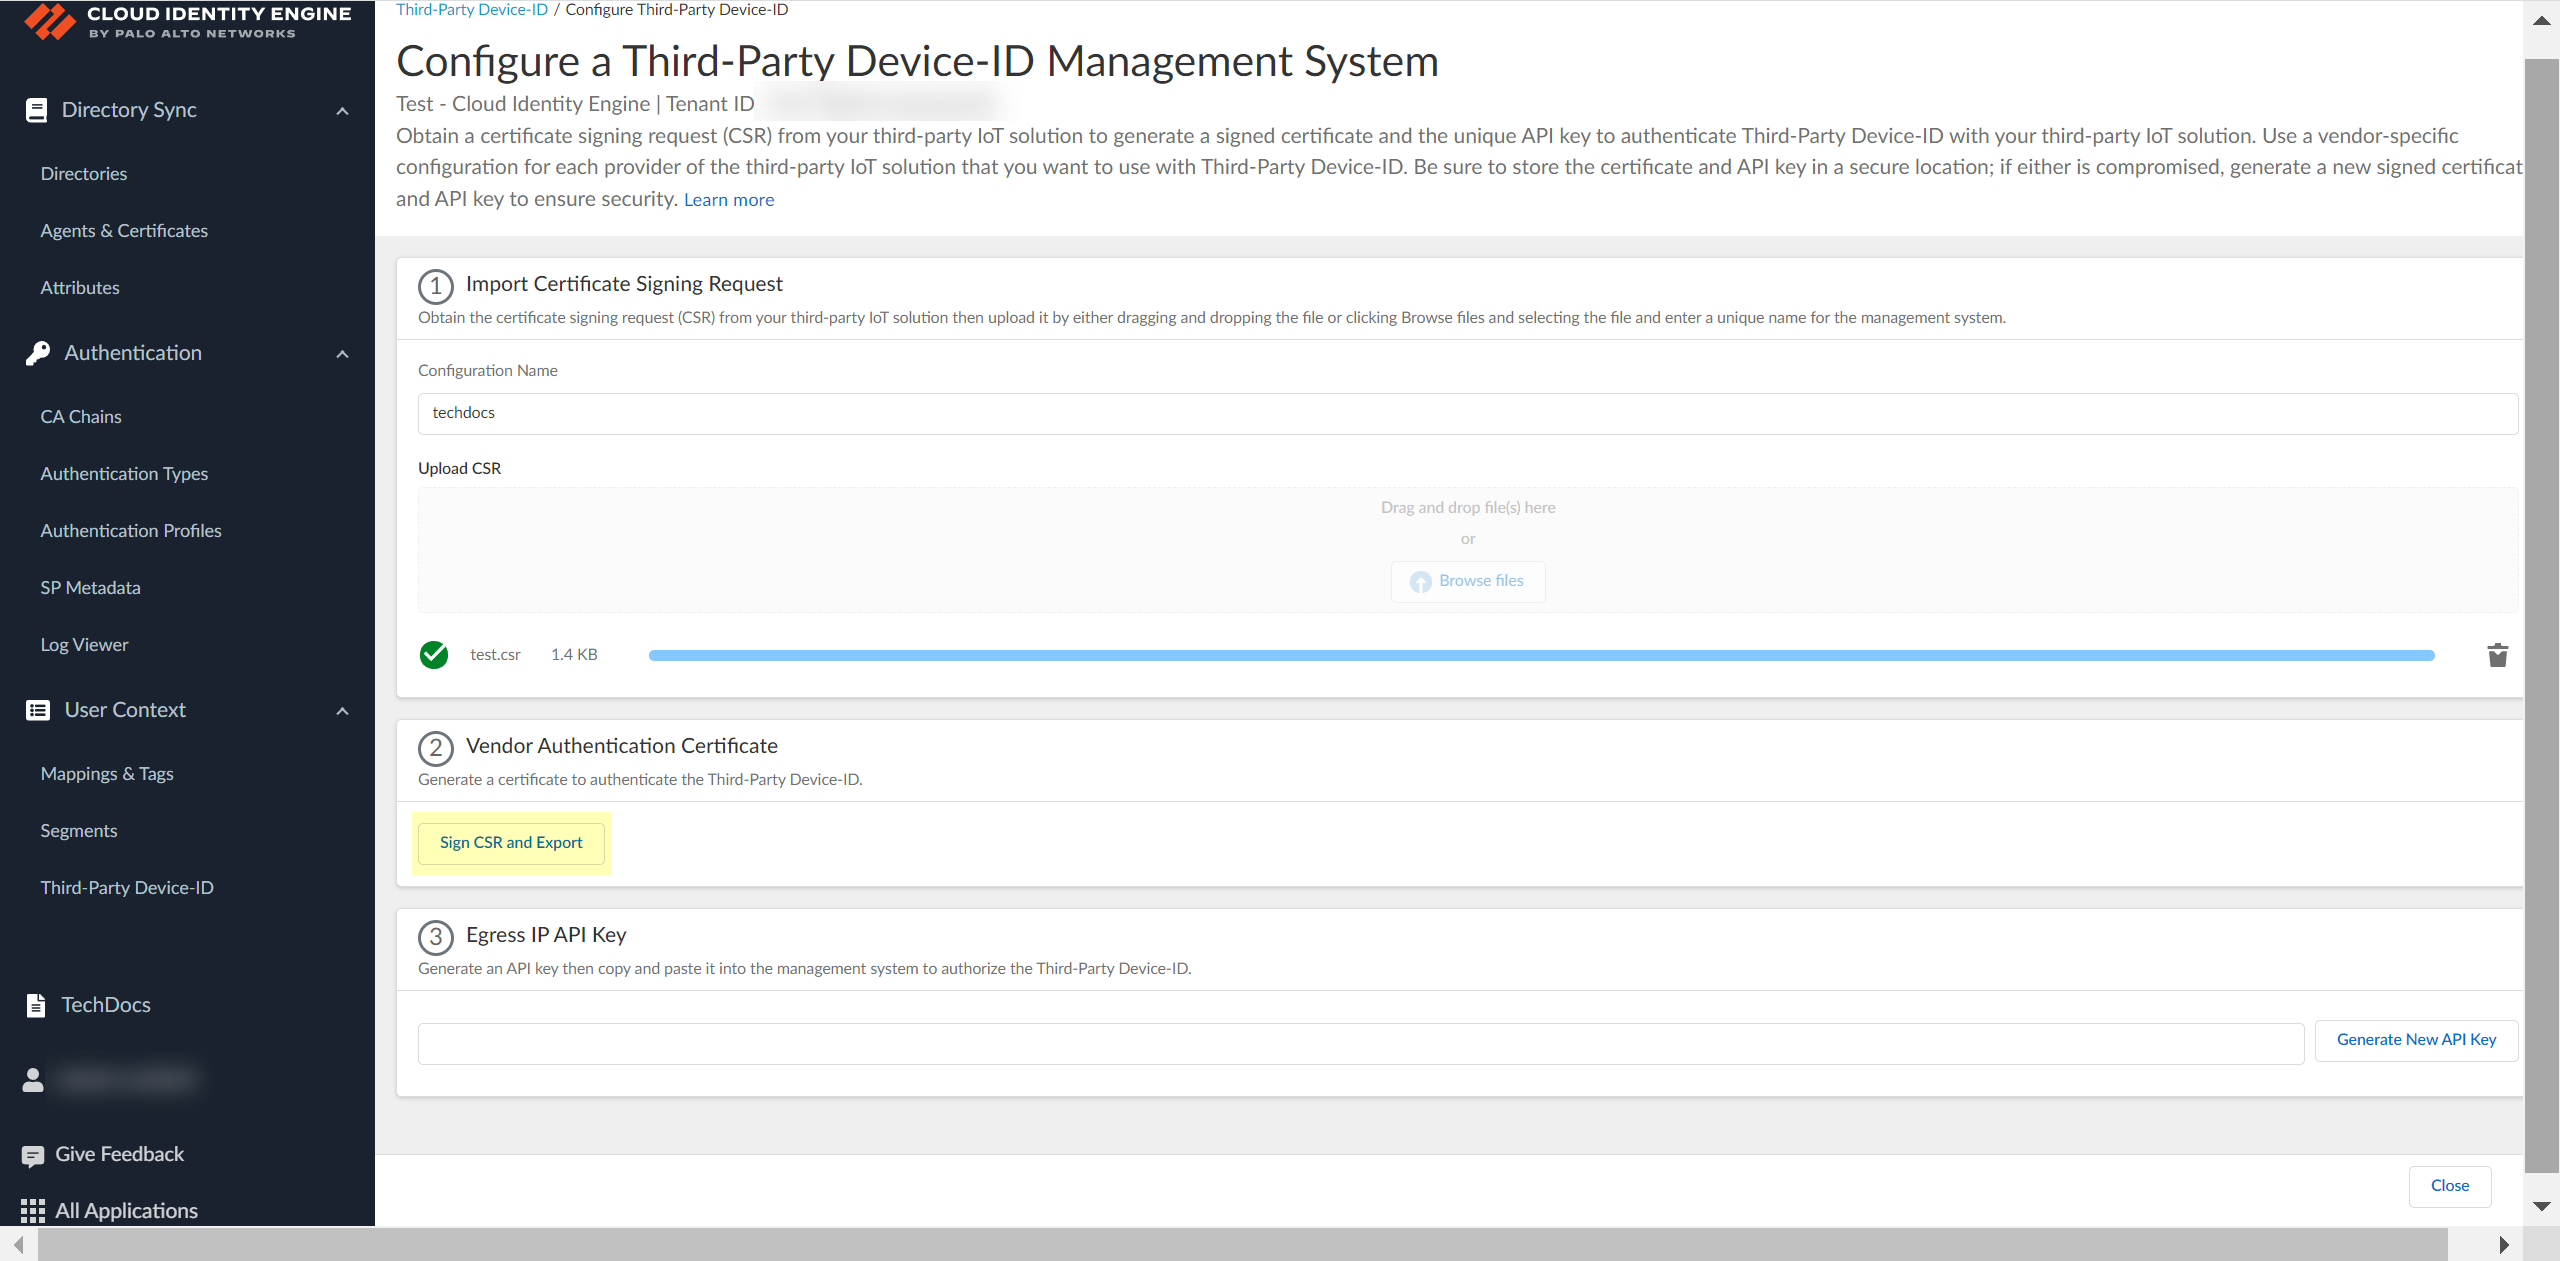
Click Browse Files or drag and drop to upload the certificate signing request (CSR) file from the third-party IoT solution.Contact the administrator of the third-party IoT solution to obtain the CSR file.You can only upload a CSR once for each configuration. If you need to update or change the configuration, you must create a new CSR.![]() Obtain the signed certificate and the API key to import to the management system for your third-party IoT solution.
Obtain the signed certificate and the API key to import to the management system for your third-party IoT solution.- Click Sign CSR and Export to download the certificate that you must import to the third-party IoT solution management system.To help prevent any security risk for the certificate or the API key, be sure to store both the signed certificate and the API key in a secure location.
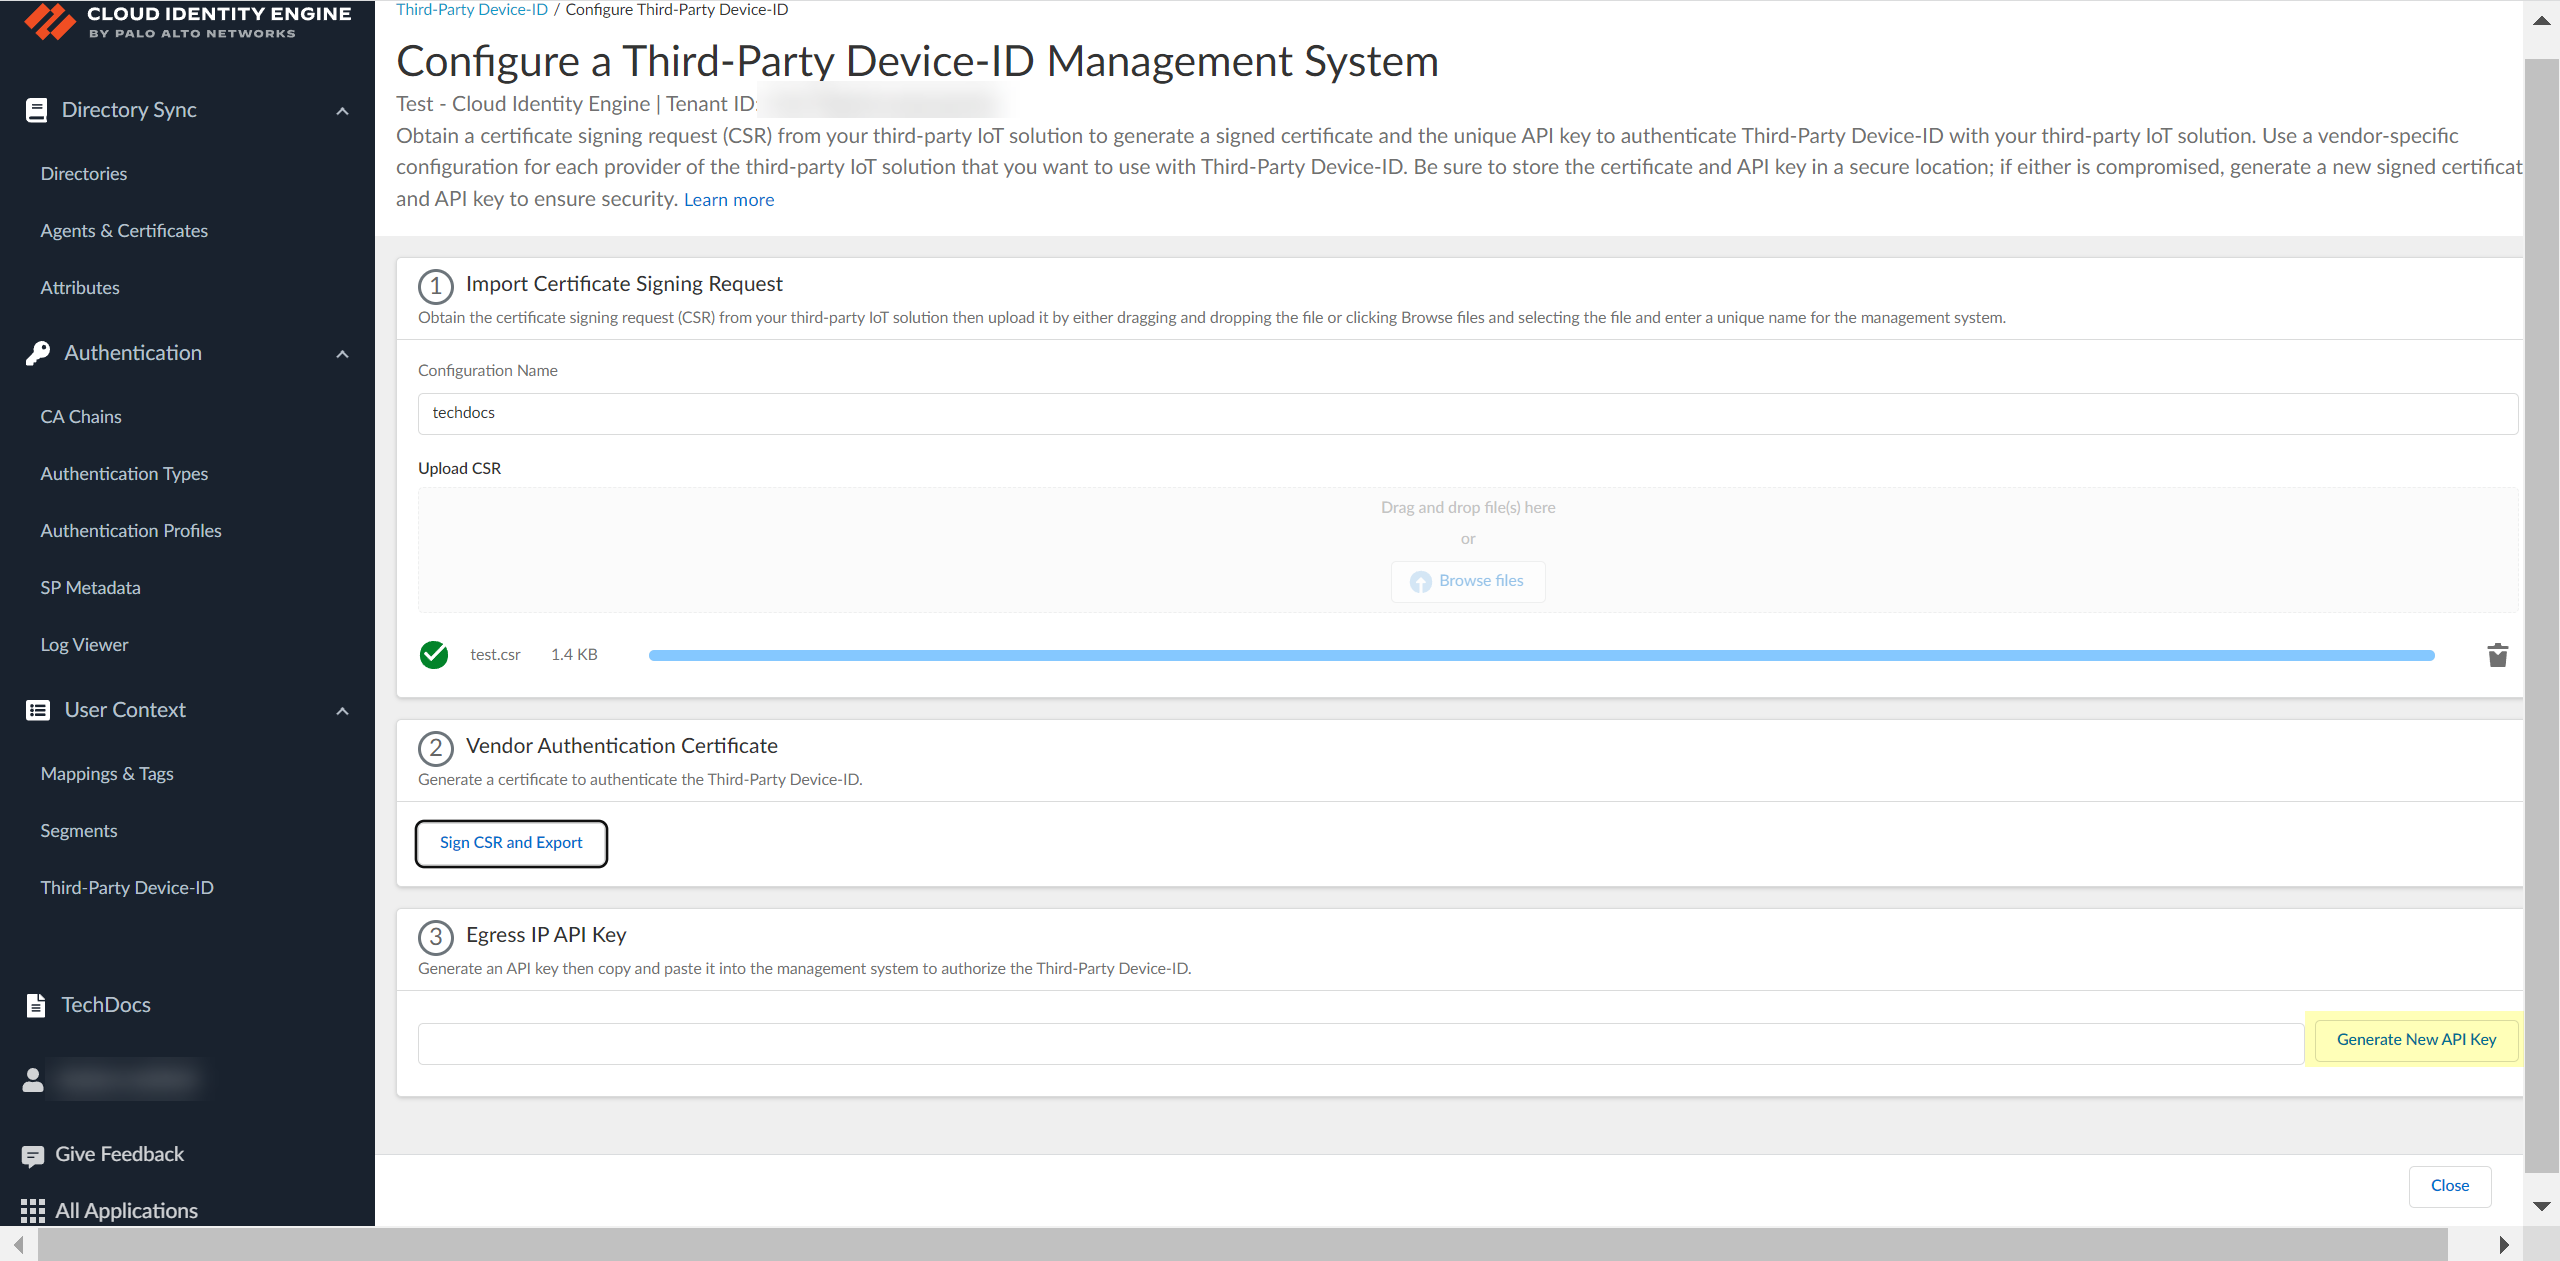
![]() Click Generate New API Key to generate an API token to authenticate the third-party IoT solution.The API key is a token that contains information about the third-party IoT solution and other required information, such as the identifier for the tenant and the token’s expiration.If the API key becomes compromised, you must generate a new API key and import the new key to the third-party IoT solution management system.
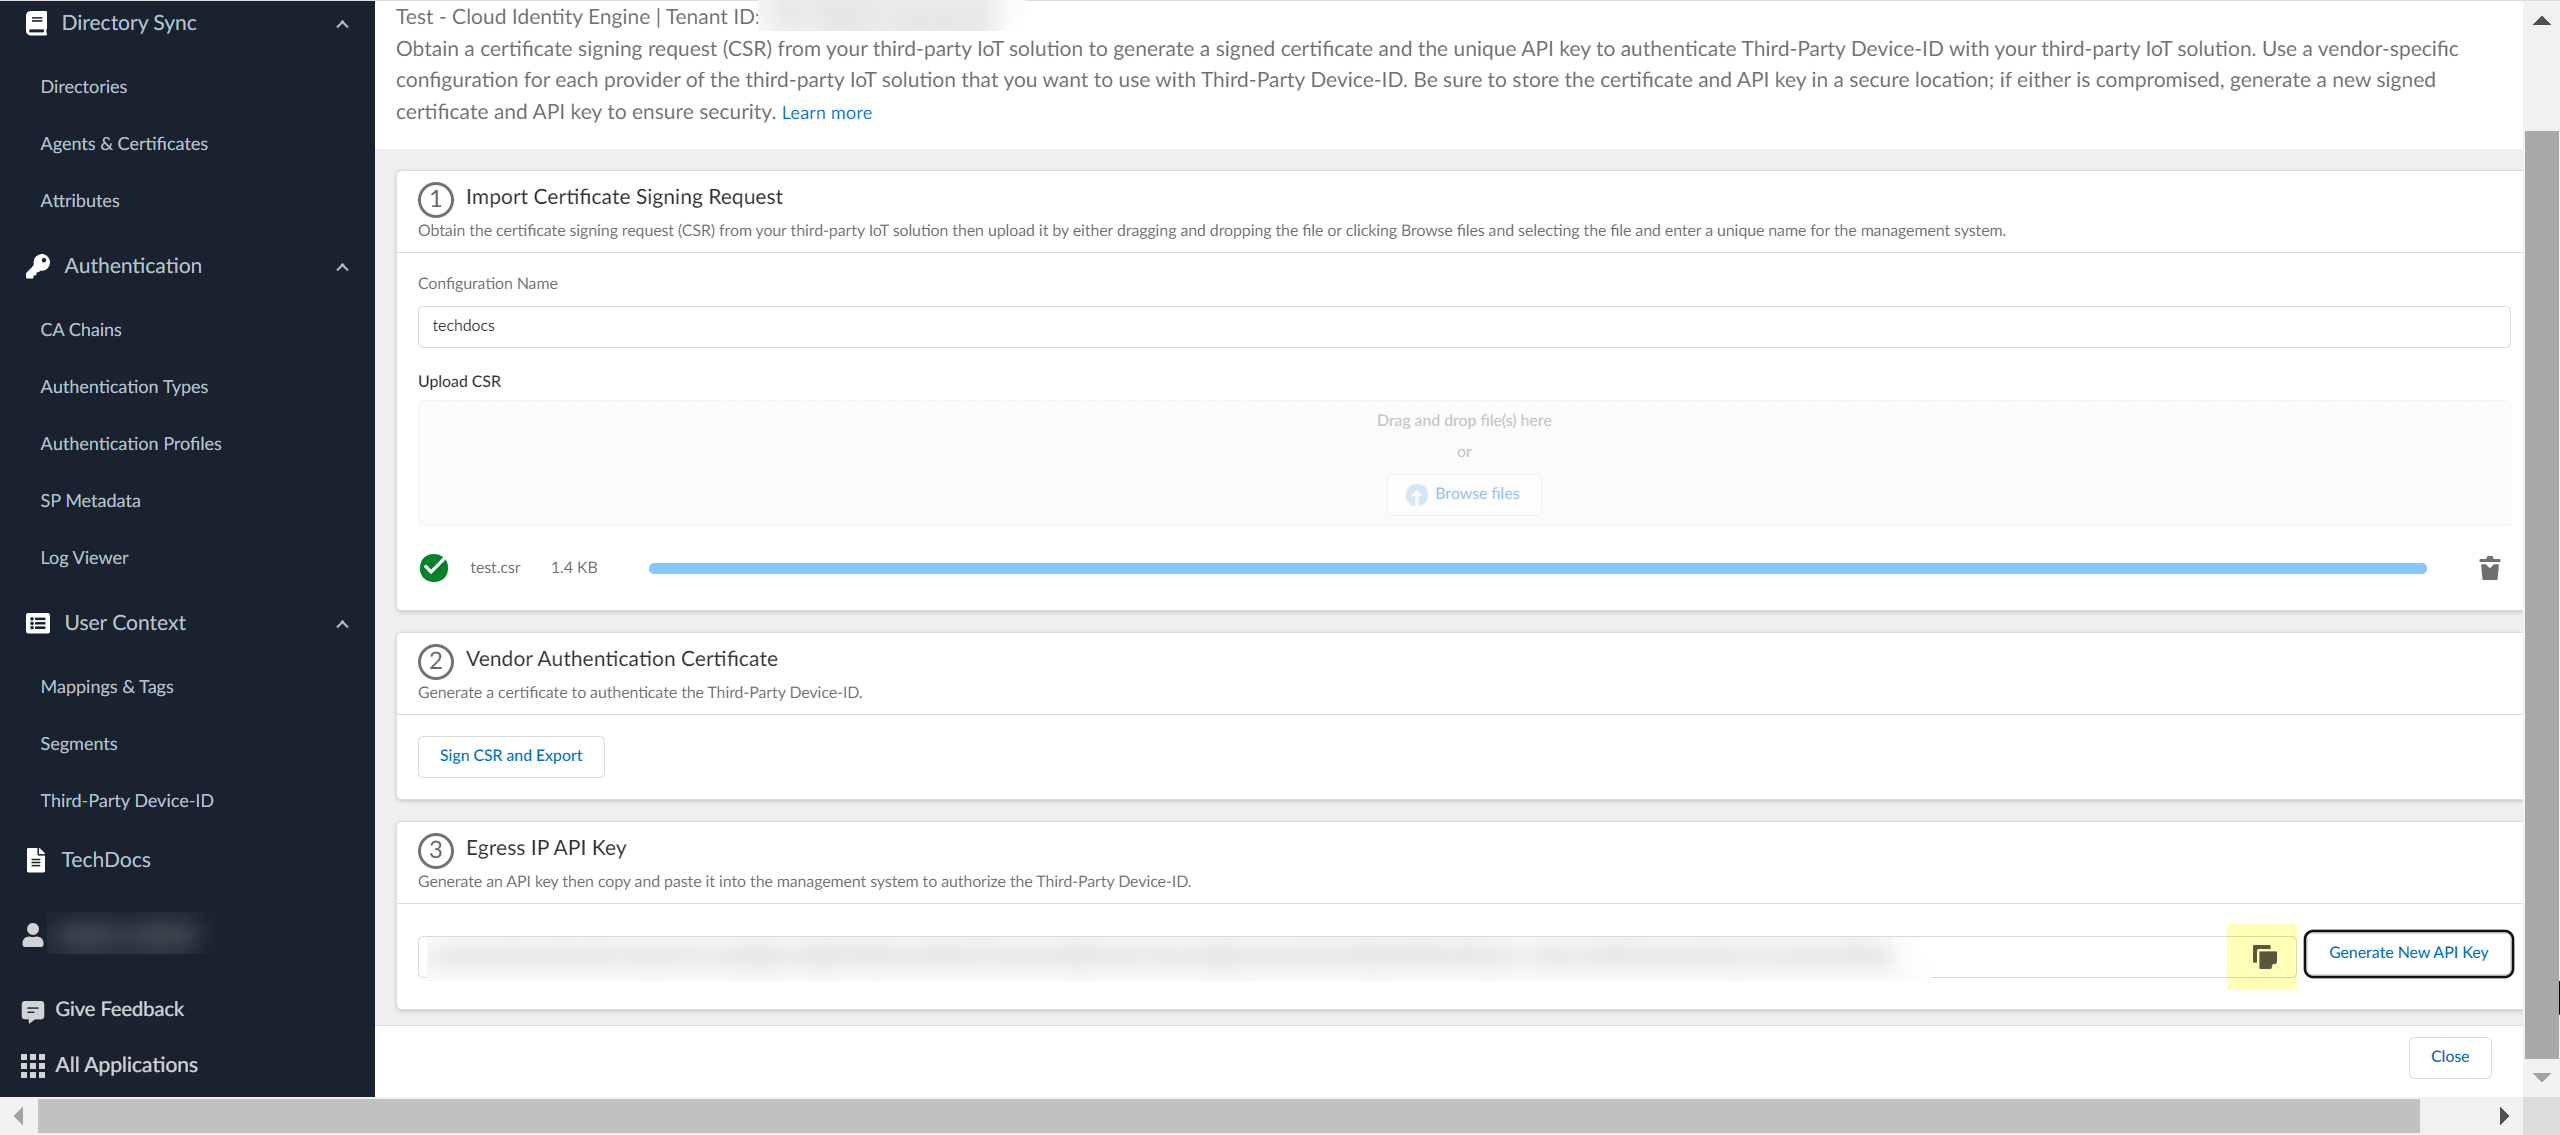
Click Generate New API Key to generate an API token to authenticate the third-party IoT solution.The API key is a token that contains information about the third-party IoT solution and other required information, such as the identifier for the tenant and the token’s expiration.If the API key becomes compromised, you must generate a new API key and import the new key to the third-party IoT solution management system.![]() Copy the API key then import both the signed certificate that you downloaded and the API key that you generated to the management system for your third-party IoT solution and configure the IoT solution to use these files to communicate with the Third-Party Device-ID.To ensure that the third-party IoT solution can successfully communicate with the Third-Party Device-ID, you must upload both the signed certificate from the previous step and the API key. Create a configuration for each third-party vendor in your network that you want to use with Third-Party Device-ID. The configuration for each vendor must have a unique signed certificate and API key; don't use the same certificate or API key in more than one configuration.
Copy the API key then import both the signed certificate that you downloaded and the API key that you generated to the management system for your third-party IoT solution and configure the IoT solution to use these files to communicate with the Third-Party Device-ID.To ensure that the third-party IoT solution can successfully communicate with the Third-Party Device-ID, you must upload both the signed certificate from the previous step and the API key. Create a configuration for each third-party vendor in your network that you want to use with Third-Party Device-ID. The configuration for each vendor must have a unique signed certificate and API key; don't use the same certificate or API key in more than one configuration.![]() Review the information to verify the configuration is correct.
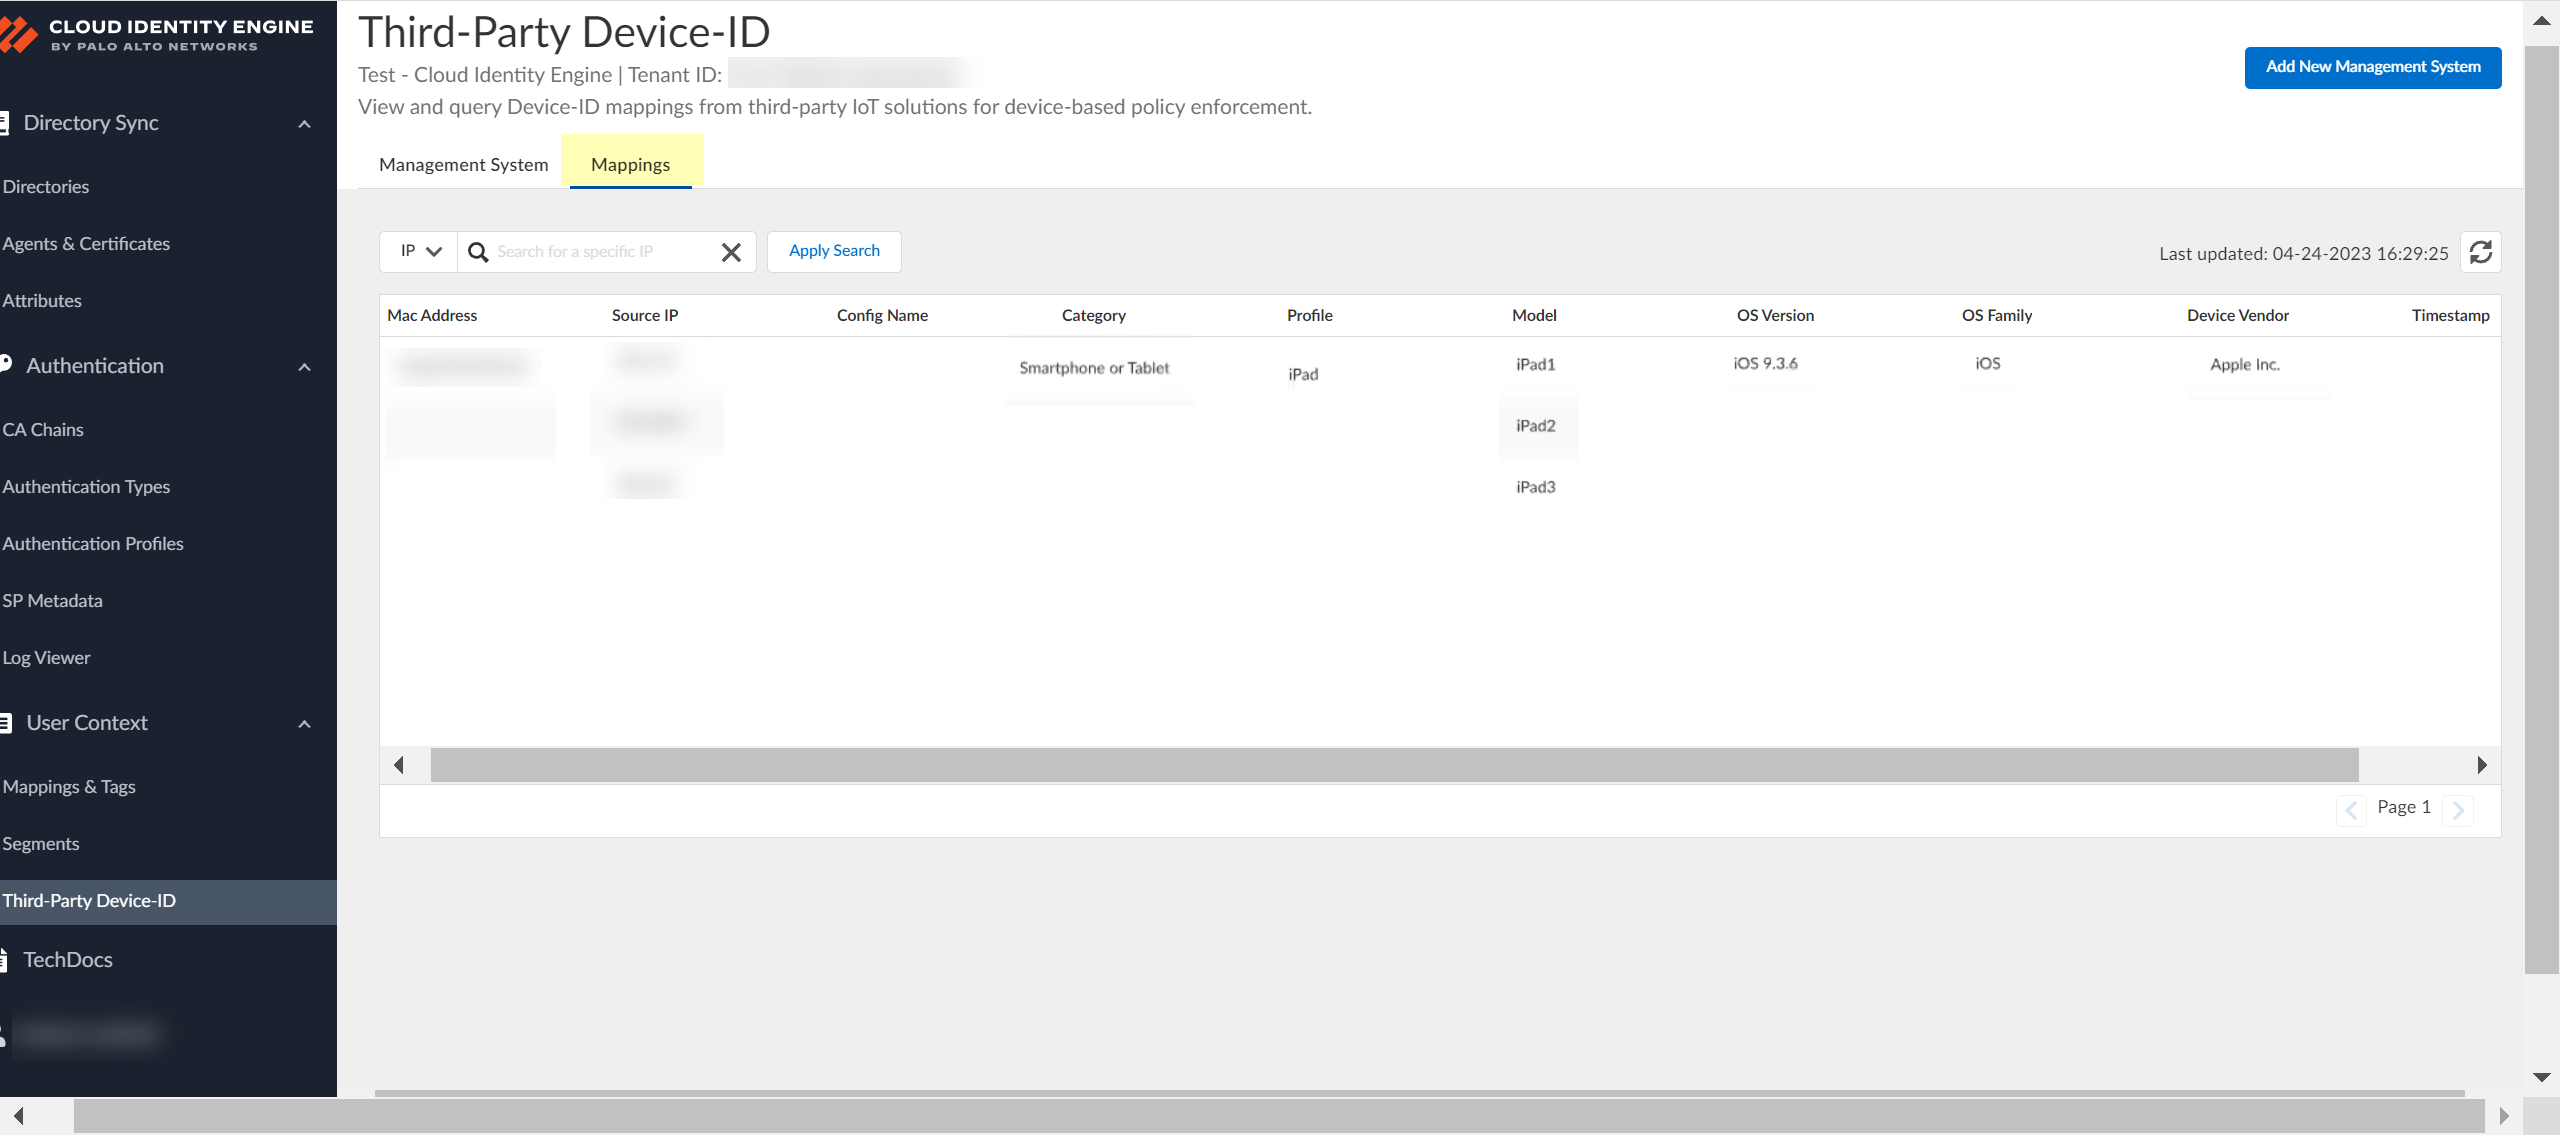
Review the information to verify the configuration is correct.![]() After you use the API commands to obtain the information from the third-party IoT solutions, select Mappings to view information about the devices that the Third-Party Device-ID has detected and their IP address-to-device mappings.You can search the IP address-to-device mappings by IP address by entering the IP address and clicking Apply Search.
After you use the API commands to obtain the information from the third-party IoT solutions, select Mappings to view information about the devices that the Third-Party Device-ID has detected and their IP address-to-device mappings.You can search the IP address-to-device mappings by IP address by entering the IP address and clicking Apply Search.![]() Select Management Systems to view information about your management systems, such as certificate expiration date and API key.(Optional) Edit the management system configuration.
Select Management Systems to view information about your management systems, such as certificate expiration date and API key.(Optional) Edit the management system configuration.- In the row for the management system you want to edit, select .
![]() Make the necessary changes to the configuration, such as uploading a new CSR or vendor authentication certificate or generating a new API key.You can't change the name of the configuration.
Make the necessary changes to the configuration, such as uploading a new CSR or vendor authentication certificate or generating a new API key.You can't change the name of the configuration.![]() (Optional) Remove the management system configuration.
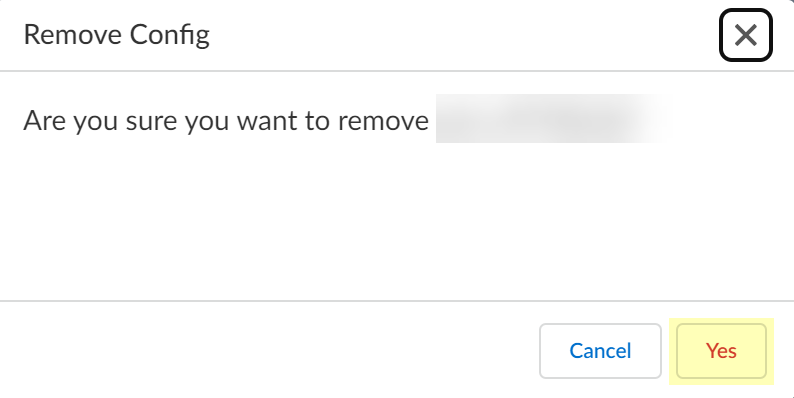
(Optional) Remove the management system configuration.- In the row for the management system you want to remove, select .
![]() Click Yes to confirm that you want to remove the configuration.
Click Yes to confirm that you want to remove the configuration.![]() Now that your Third-Party Device-ID configuration is complete, you can:
Now that your Third-Party Device-ID configuration is complete, you can:- Use the APIs to manage how your third-party IoT solutions share information with Third-Party Device-ID.
- Use Device-ID features such as the Device Dictionary to manage and edit device information.
For more information, refer to the Prisma Access documentation.