Identity
Set Up an Authentication Profile
Table of Contents
Set Up an Authentication Profile
| Where Can I Use This? | What Do I Need? |
|---|---|
| The Cloud Identity Engine service is free; however, the enforcement points utilizing directory data may require specific licenses. Click here for more information. |
Before you begin:
- Configure Directories for User Identification and add your users.
- Set Up a SAML 2.0 Authentication Type or Set Up a Client Certificate to use as an authentication type.
After configuring your specific authentication sources—such as a SAML 2.0 Identity
Provider, OpenID Connect (OIDC), or Client Certificates—you must
create an Authentication Profile to define how these methods are applied to
your users. This profile functions as the policy layer of your identity
infrastructure, allowing you to specify exactly which verification method is used
for different segments of your organization. You can specify one or more
authentication types by group or by directory or for all directories.
To use more than one authentication type in your authentication profile, you must configure a directory in
the Cloud Identity Engine. For a single client certificate authentication type,
configuring a directory in the Cloud Identity Engine is optional. There is no
directory requirement for a single SAML 2.0-compliant authentication type.
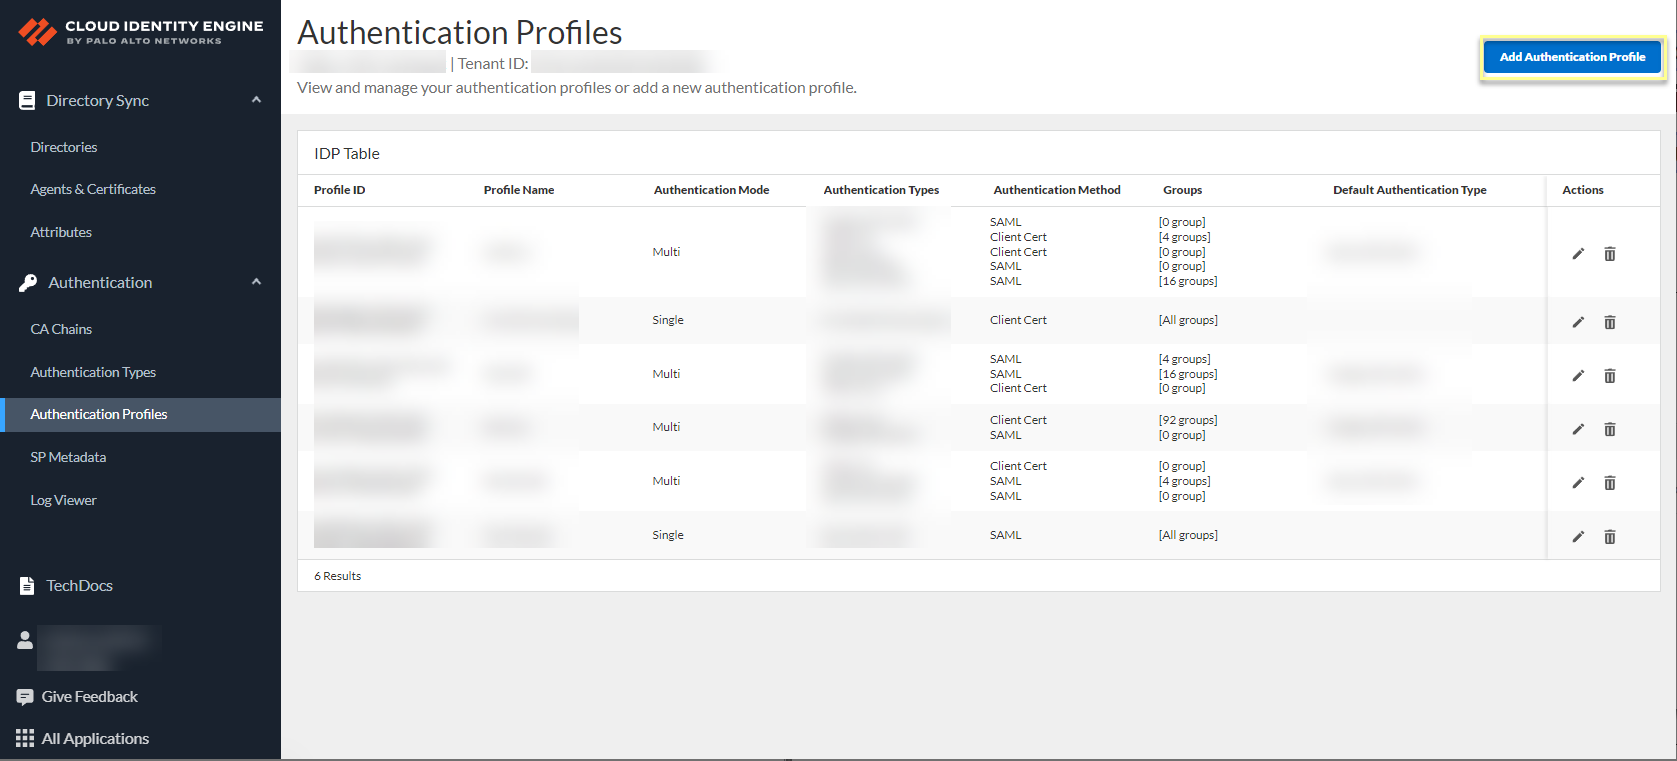
- Select then Add Authentication Profile.
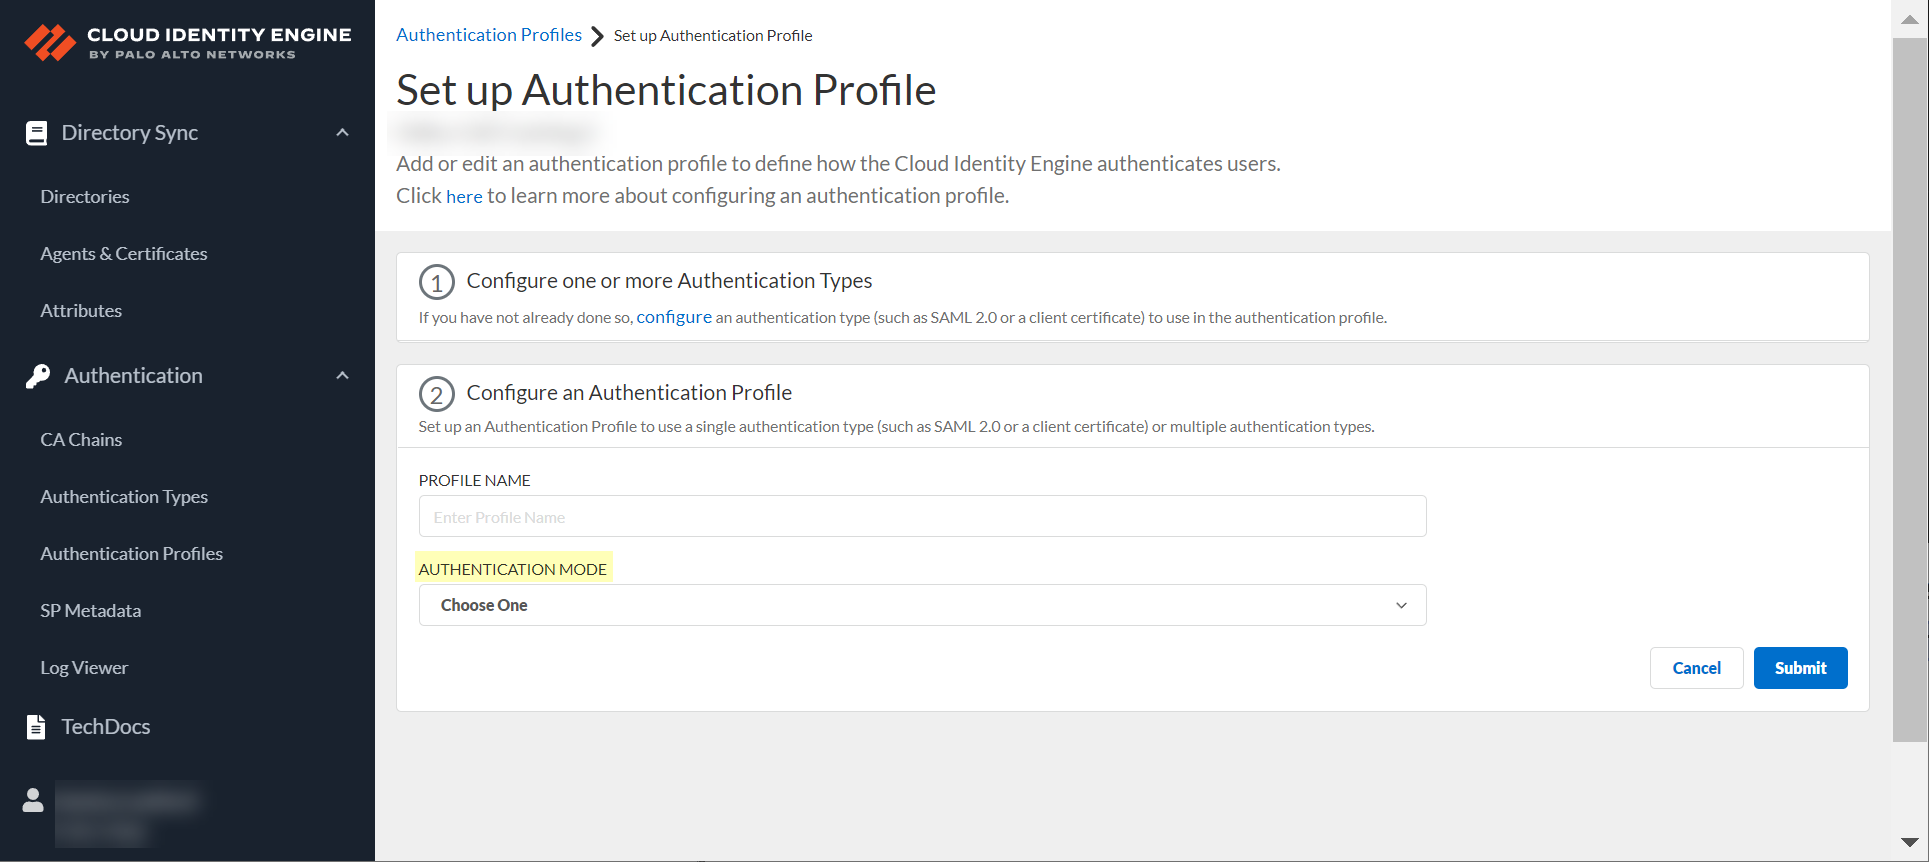
![]() Enter a unique Profile Name.Select the Authentication Mode.
Enter a unique Profile Name.Select the Authentication Mode.![]()
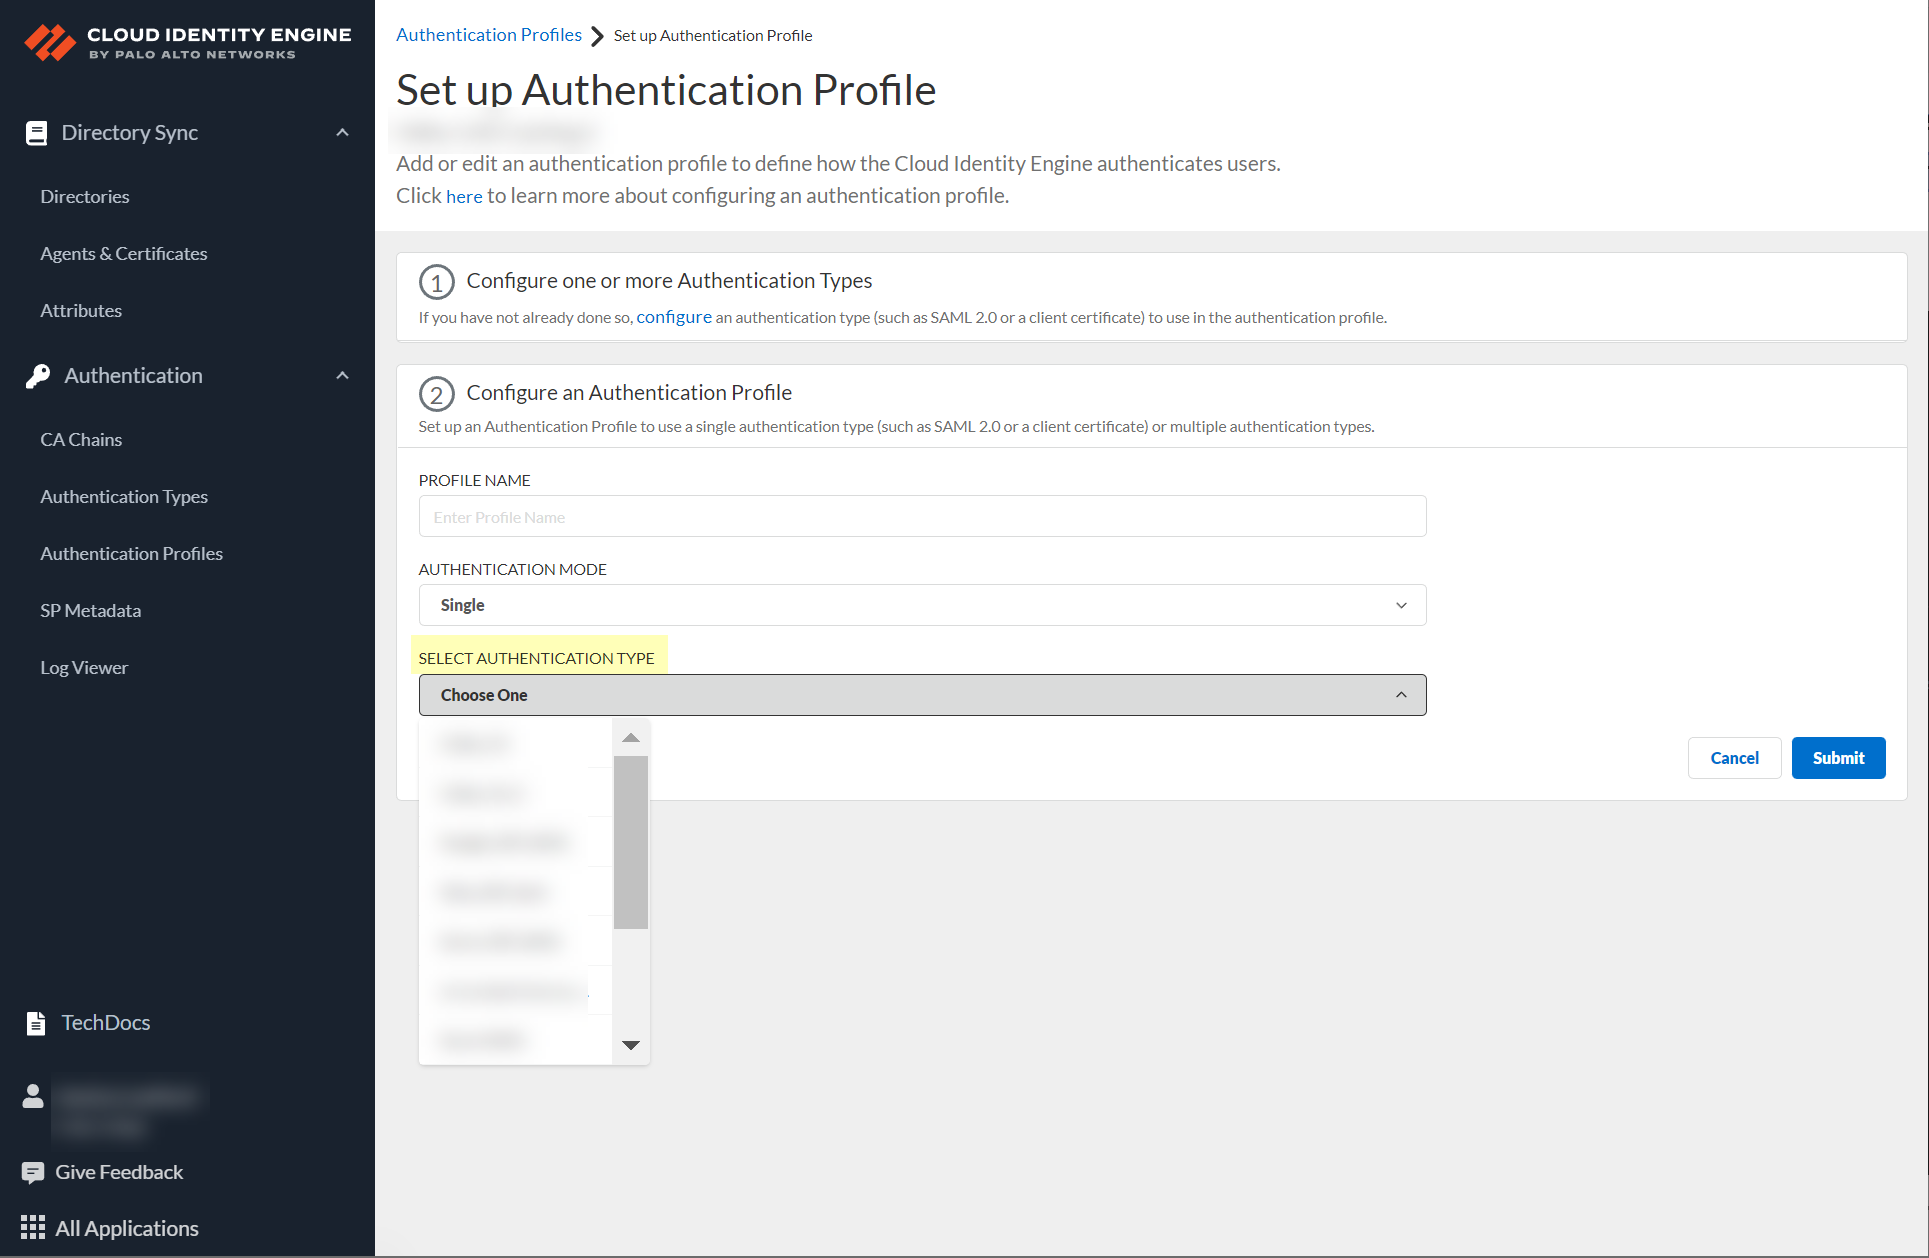
- If
you select Single as the authentication mode,
click Select authentication type and select
the authentication type you want to use.
![]()
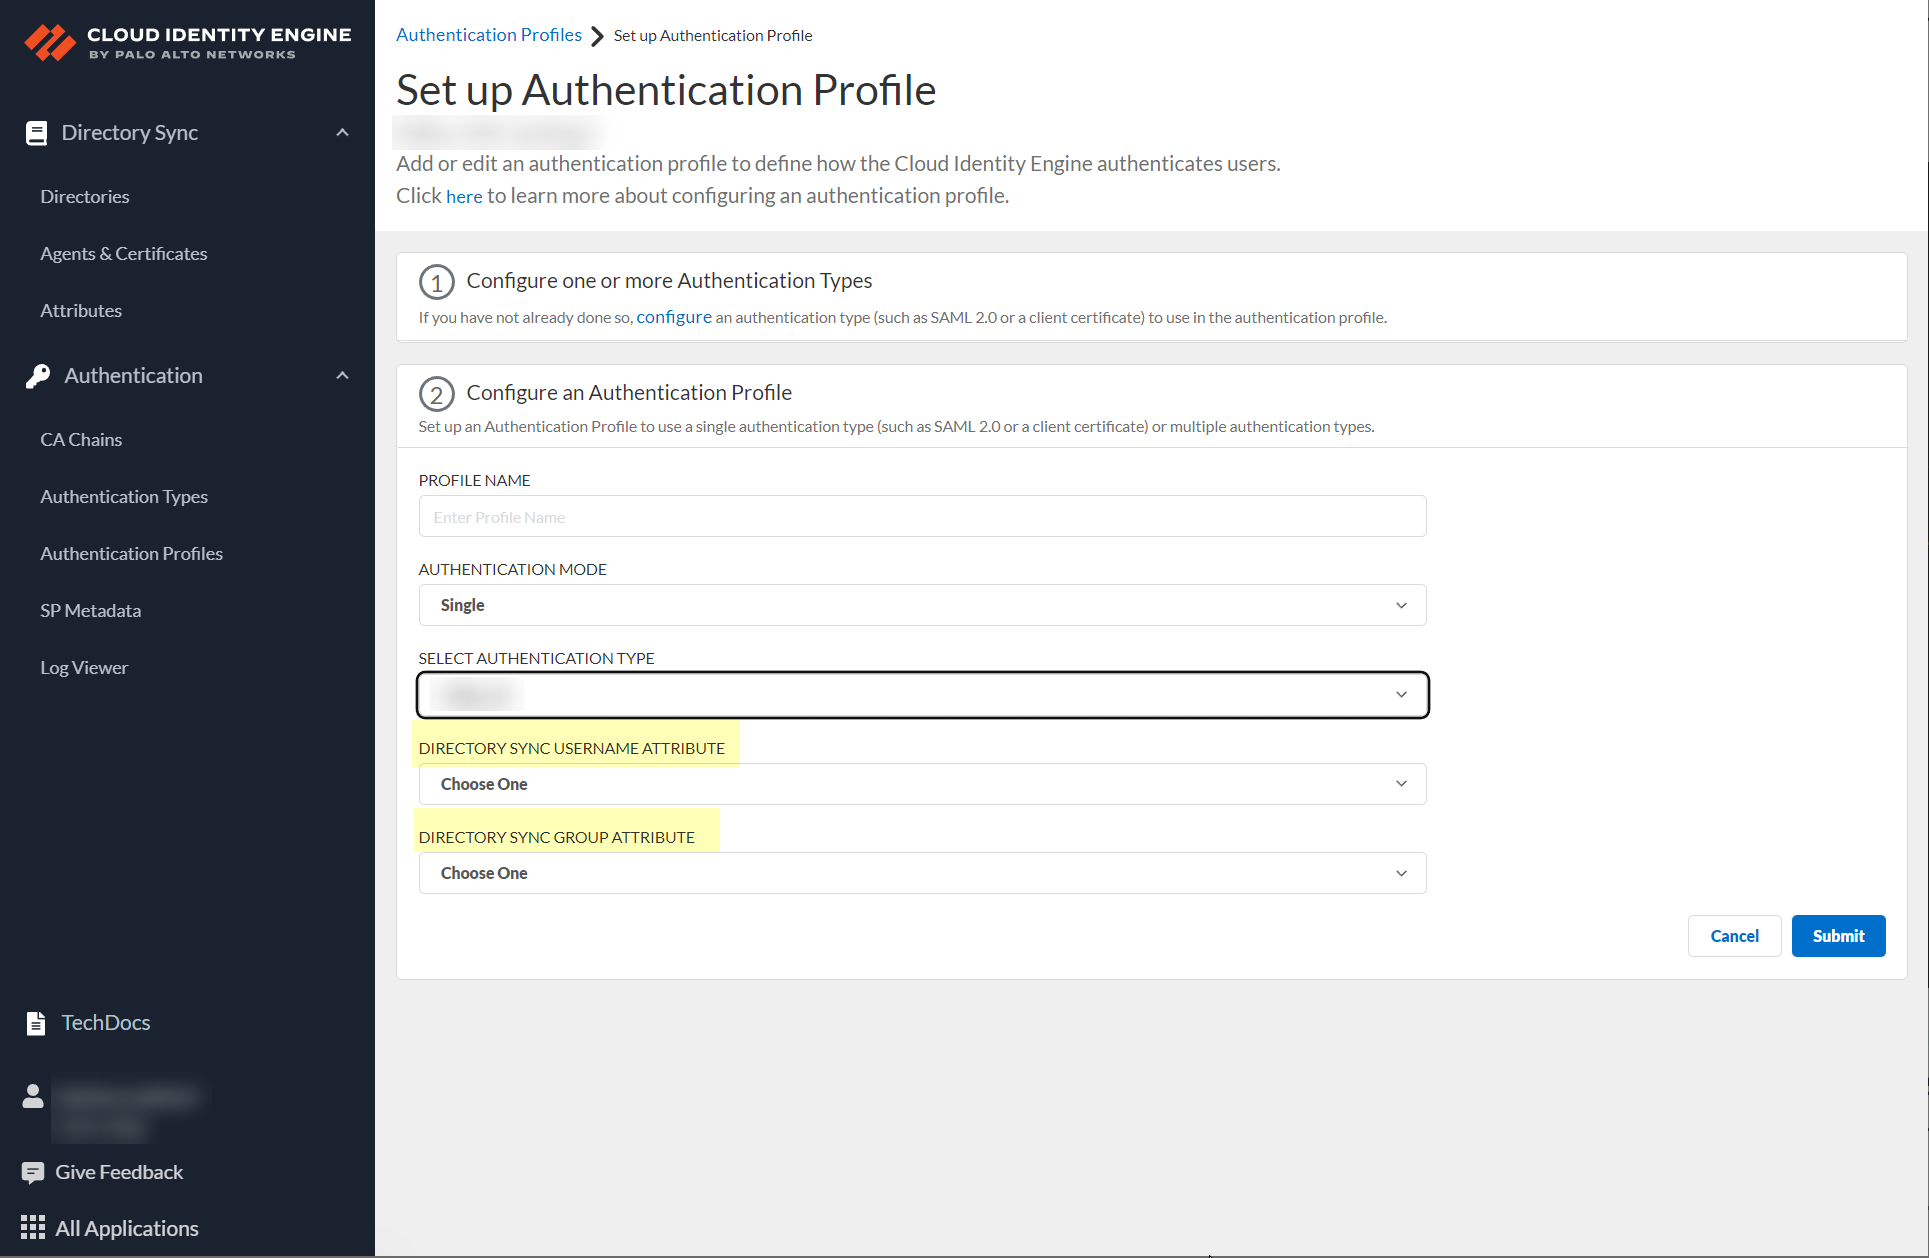
- If either of the following apply to your configuration, select the Directory Sync
Username Attribute and Directory Sync Group
Attribute. To successfully authenticate users using a client certificate, the value of the Directory Sync Username Attribute must match the value of the Username Attribute you select when you configure the Client Certificate Authentication Type.
- You selected Multiple as the Authentication Mode and you have configured a client certificate.
- You selected Single and the Authentication Type is Client Certificate.
Palo Alto Networks strongly recommends using the User Principal Name (e.g., bobsmith@corporation.com) format for the Directory Sync Username Attribute.![]()
(Multiple Authentication Mode only) Define the Authentication mapping order by selecting the configured authentication types that you want to use to authenticate users.![]() (Multiple Authentication Mode only) During authentication, the Cloud Identity Engine uses the user identity information in the given Authentication mapping order to obtain the directory group information for the user to determine if the user’s group has an assigned authentication type. You can optionally Drag to reorder authentication types. If the user belongs to multiple groups, the Cloud Identity Engine uses the first authentication type you assign to the group for user authentication.
(Multiple Authentication Mode only) During authentication, the Cloud Identity Engine uses the user identity information in the given Authentication mapping order to obtain the directory group information for the user to determine if the user’s group has an assigned authentication type. You can optionally Drag to reorder authentication types. If the user belongs to multiple groups, the Cloud Identity Engine uses the first authentication type you assign to the group for user authentication.![]() Select the Default authentication type that you want the Cloud Identity Engine to use to authenticate users if the user is not in an assigned group.As a best practice, assign a default authentication type for each group you want to authenticate using the Cloud Identity Engine.
Select the Default authentication type that you want the Cloud Identity Engine to use to authenticate users if the user is not in an assigned group.As a best practice, assign a default authentication type for each group you want to authenticate using the Cloud Identity Engine.![]() Choose directories and groups by selecting a directory or selecting All Directories.
Choose directories and groups by selecting a directory or selecting All Directories.![]() You can click the drop-down button to view or select individual users from a group.
You can click the drop-down button to view or select individual users from a group.![]() You can also search by Directory Sync Group Attribute (such as Common-Name).
You can also search by Directory Sync Group Attribute (such as Common-Name).![]() Select the group or groups from each directory that you want to authenticate using the authentication type you select in the next step.
Select the group or groups from each directory that you want to authenticate using the authentication type you select in the next step.![]() Select an authentication type and Assign it to assign this authentication type to the group or groups you selected.
Select an authentication type and Assign it to assign this authentication type to the group or groups you selected.![]() Review your selections by authentication type or select All Authentication Types to see all assigned groups.
Review your selections by authentication type or select All Authentication Types to see all assigned groups.![]() To remove access, make a selection from the Assigned Groups and click the Unassign button.
To remove access, make a selection from the Assigned Groups and click the Unassign button.![]() Submit your changes to configure the authentication profile.
Submit your changes to configure the authentication profile.Next Steps: - Configure the Cloud Identity Engine as a Mapping Source on the Firewall or Panorama
- Configure Cloud Identity Engine Authentication on the Firewall or Panorama
- Associate the Cloud Identity Engine with Palo Alto Networks Apps to combine the capabilities of the Cloud Identity Engine with the other Palo Alto Networks apps you use.